
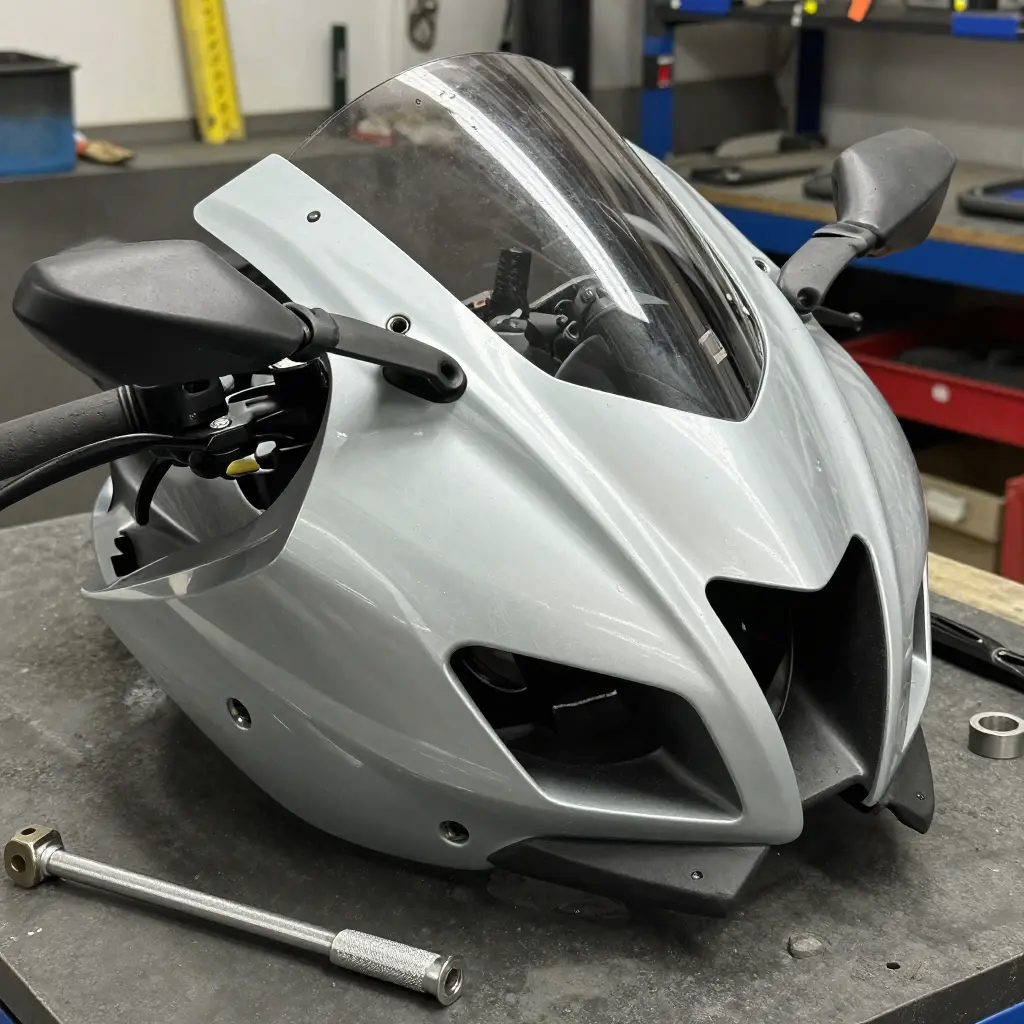
Why Aftermarket Fairing Bolt Holes Misalign
Aftermarket fairing bolt holes misalign for a short list of reasons, and most of them have nothing to do with a crashed bike. Manufacturing tolerances stack up differently from one production run to the next. Model-year updates quietly shift mounting points, even within the same model family. A tip-over, a heavily loaded tour, or one hard pothole bends a stay or subframe and pulls the mounting locations out of true. Some suppliers copy the outer shape of an original fairing but not its hole geometry. Order a panel built for a different trim, generation, or market and it will not fit no matter how carefully it is installed.
Owners can use the checks below to set realistic expectations before they buy and to avoid paying return shipping. Retailers get a better reply to fitment complaints than “it should fit.” Shops can quote installation time honestly and catch a badly tooled panel before it reaches a customer.
Bolt hole alignment is a measurement problem, not a mystery. Once you know where the variation comes from, a short set of checks at the ordering stage prevents most of what follows. Each cause below comes with a symptom to look for and a fix that works.
Common Causes of Aftermarket Fairing Bolt Hole Misalignment
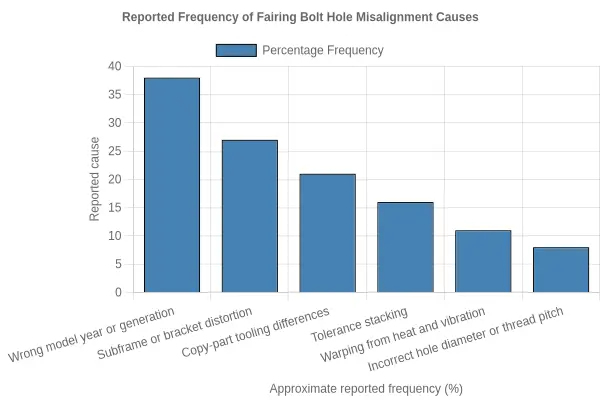
Fairing bolt hole misalignment rarely has a single culprit. It usually comes down to how the replacement panel was made, how the donor bike was built, and how both have aged since. The most frequent causes:
- Production tolerance stacking between the OEM fairing and the aftermarket replacement. Both parts are made to their own acceptable limits, and once those small variances combine, holes that match on paper can sit several millimetres apart.
- Model-year and trim-level variation across the same model name. Manufacturers quietly revise mounting points, radiator shrouds, and frame tabs between years, so a fairing that fits a 2018 model may not line up on the 2021 version of the same bike.
- Subframe or mounting bracket distortion after a tip-over. Even a low-speed drop can bend a stay or bracket by a few degrees, pulling every mounting point out of position before a new panel ever arrives.
- Heat and vibration warping of plastic fairings. Continuous engine heat and road vibration cause plastic panels to creep and distort over time, shifting bolt holes away from their original alignment.
- Differences in copy-part tooling and mould wear. Aftermarket producers cut their own moulds, and as those moulds wear, the panels they produce drift further from the original reference geometry.
- Incorrect hole diameter or thread pitch on aftermarket parts. Some suppliers drill the wrong bore or cut a mismatched thread, which stops fasteners from seating properly even when the panel position is correct.
- Mismatch caused by ordering a fairing for the wrong motorcycle generation. Ordering a panel for a different generation of the same model name is one of the simplest and most common sources of confusion.
None of this makes the panel defective. When a fairing will not sit flush, the usual cause is two imperfect parts meeting, a worn donor bike, or the wrong specification. Treat fitment as a verification step: confirm the year, generation, and mounting geometry before ordering, and test-fit the fasteners before final torque. That clears up the large majority of alignment problems without blaming the part.
Common Causes of Aftermarket Fairing Bolt Hole Misalignment, Symptoms, and Remedies
| Cause | Typical Symptom | Check to Perform | Practical Remedy |
|---|---|---|---|
| Production tolerance stacking | Bolts thread a few millimetres off; some holes line up while others do not | Measure hole-to-hole spacing against the OEM reference points on the frame and fairing | Enlarge the tight holes slightly with a step drill, then use shoulder washers to keep alignment |
| Model-year variation | Panels fit a similar year but sit slightly proud or clash at seams | Confirm the exact model year, sub-model, and VIN against the part listing | Order the correct year-specific kit or use year-matched adapter brackets |
| Subframe distortion | Gaps open on one side and widen toward the tail or nose | Check subframe straightness with a plumb line, straightedge, or frame gauge | Straighten or replace the subframe before fitting panels; realign mounts to spec |
| Warping from heat and vibration | Holes drift out of line after a season of riding, often near the exhaust or engine | Inspect for ripples, soft spots, and cracked gel coat around hot zones | Re-shape with gentle heat, add rubber grommets, and use thread locker to resist loosening |
| Copy-part tooling differences | Holes are consistently offset in the same direction on every panel | Overlay the aftermarket panel on the stock part to compare hole positions | File or re-drill the pattern to match the stock holes; shim with nylon spacers |
| Incorrect hole diameter or thread pitch | Bolt binds, cross-threads, or never fully seats | Gauge the hole and threads using a drill bit, tap, or thread pitch gauge | Re-tap to the correct pitch or fit a thread insert to restore a clean fastening |
| Wrong model generation ordered | Kit looks right but mounts sit in the wrong location entirely | Cross-check part number, generation code, and year range against the bike | Return for the matching generation or source a conversion bracket set |
How Tolerance Stacking Works
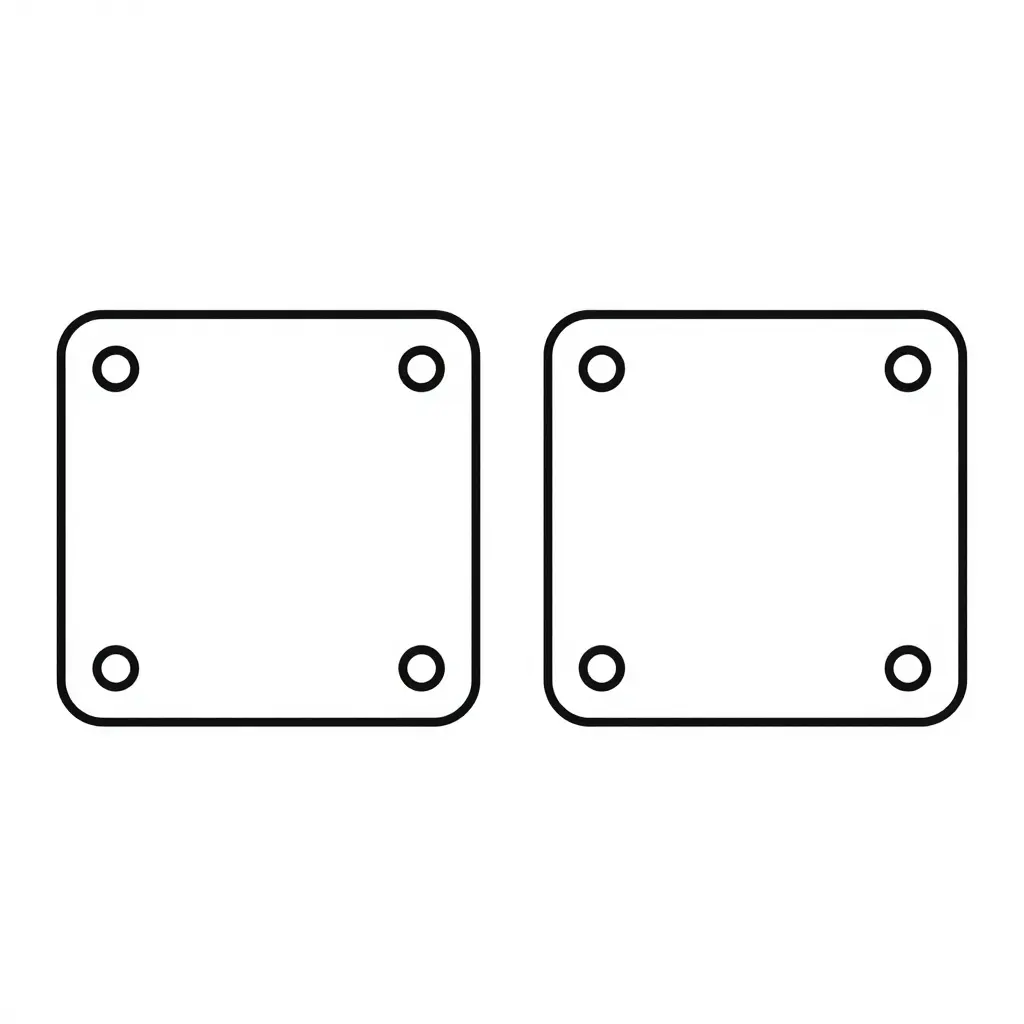
Tolerance stacking is what happens when the acceptable variation of several parts adds up across a series of mounting points. Three inputs matter in fairing production: the OEM fairing, the mounting brackets, and the aftermarket replacement. Each carries its own permitted deviation. Individually those deviations are small. Combined, they multiply.
At a single bolt hole, a fraction of a millimeter rarely matters. Move the same deviation to the far end of a panel and geometry takes over: a tiny angular shift at one fastener becomes a wide gap or overlap at the opposite edge. The distance between the pivot point and the far edge amplifies the error, so the longer the panel, the larger the offset.
Where tolerance is usually introduced
- The OEM fairing, molded to a factory specification with its own allowable range
- The mounting brackets, which may bend, seat differently, or hold their own slight variation
- The aftermarket replacement part, which is tooled to its own dimensions
An aftermarket fairing can measure within tolerance on its own and still fail a real fitment check. Multi-piece assemblies make it worse, because every panel inherits the stacked error of everything installed before it. A nose section, a side panel, and a lower cowl each add their own deviation to the joint, so the last piece fitted usually shows the worst result. Bolt hole alignment is where the accumulated offset becomes visible: once it pushes holes past their usable range, the fastener will not pass through. A part can be “correct” by itself and still misalign once assembled.
Model-Year and Generation Differences
Motorcycle manufacturers rarely retire a model name when they redesign a bike. They keep the badge and roll out a new generation underneath it, so two machines sharing a name can have completely different fairing mounting geometry. Bolt spacing, panel angles, and the height of the headlight cowl shift from one generation to the next, and often again at mid-cycle facelifts. Order the wrong one and the aftermarket fairing bolt holes misalign, leaving gaps, stress cracks, and panels that refuse to sit flush.
Why the same name keeps changing
A full generation update usually brings a new frame, a revised subframe, and repositioned mounting tabs. Even a mild facelift, with new bodywork over the same engine, can move a bolt hole by several millimeters. Trim levels compound the problem: a base model, an ABS variant, and a high-spec performance version sold in the same year may use different side panels and different mounting points. That is why fairing model-year fitment has to be checked against the specific bike, not just its name on a listing.
How to identify the correct year range and generation code
The frame and model identification details are the fastest way to pin down the exact build. The main ID plate is usually riveted to the steering headstock or stamped into the frame near the neck, and it lists the model code, production year, and sometimes a generation letter. The engine number, stamped on the crankcase, confirms the series when the plate is worn or missing. Cross-reference these before ordering.
| Identifier | Where to find it | What it tells you |
|---|---|---|
| VIN plate | Steering headstock or frame neck | Exact production year and market version |
| Model / generation code | Frame plate or decal | Which bodywork generation the bike uses |
| Engine number | Crankcase | Confirms the series and families of parts |
| Sub-model label | Swingarm or under-seat decal | Base, ABS, or performance trim level |
Confirm the sub-model before shipping
Retailers should treat the sub-model as part of the order, not an afterthought. A single year can cover several trims with unique nose cowls, tail sections, and bracket layouts, so shipping a general-year fairing risks a return and a frustrated customer. Asking for the VIN, the generation code, and a photo of the current mounting tabs takes a minute and prevents most misalignment complaints.
Treat the fairing like any other structural upgrade: confirm the part matches the exact build before the order is finalized. When year, generation, and trim all line up, the panels drop on cleanly and the bolt holes line up the way they should.
A Fitment Check Before Ordering
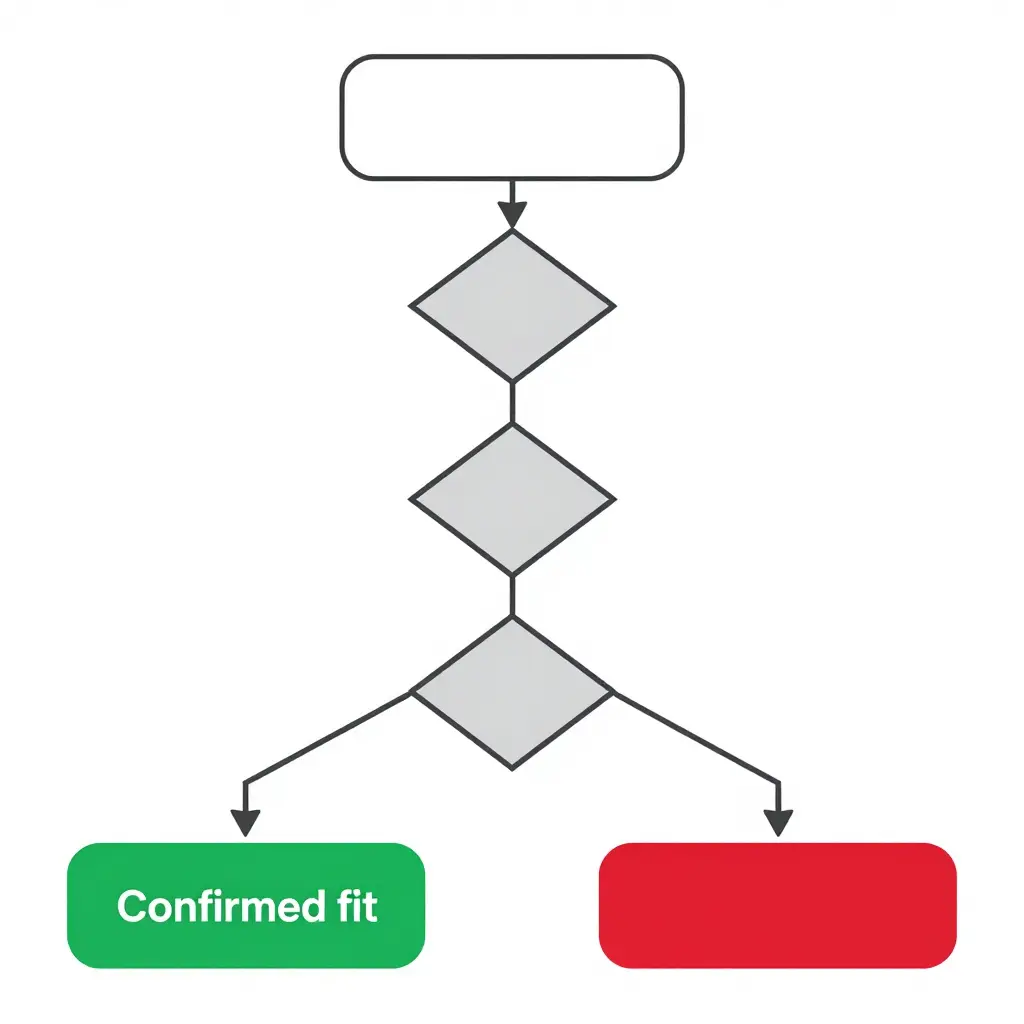
A fairing fitment check before ordering takes only a few minutes and prevents the frustration of a part that almost fits. Work through these steps in order.
-
Photograph and measure the existing fairing mounting points. Take clear, well-lit photos of every tab, grommet, and bolt location on the current fairing. Measure the spacing between mounting points with a tape or caliper and write the numbers down. These reference points tell you exactly what geometry the new panel must match.
-
Record the motorcycle year, model, and generation code. Even a single model name can span several redesigns, and the fairing shape often changes between them. Note the production year, the model name, and the generation or revision code stamped on the frame or VIN plate.
-
Confirm the exact sub-model and trim. A base model, an ABS version, and a sport or touring trim frequently use different side panels. List your specific variant so the seller can match the correct part number.
-
Check the subframe and brackets for bends. Inspect the subframe, stays, and mounting brackets for twisting or impact damage. A bent bracket will shift every hole, so genuine fairing bolt hole alignment depends on straight mounting hardware.
-
Compare photos of the aftermarket part with the original before purchase. Place seller photos beside your own and look for differences in tab angle, panel curvature, and hole placement. Visual mismatches are the earliest warning sign of a poor fit.
-
Verify bolt hole diameter and thread pitch. Confirm that the replacement holes accept your existing bolts and that the thread pitch matches your fasteners. Oversized or mismatched holes lead to stripped threads and rattling panels.
-
Review the seller’s return and fitment policy. Read the terms on returns, restocking fees, and fitment guarantees before you pay. A clear policy protects you if the part does not seat correctly.
Running through a fairing fitment check before ordering saves return shipping and shortens the time you spend wrestling panels on and off the bike. When a fitment issue points to deeper mechanical trouble, it also helps to recognize when to trust a professional rather than guessing. A little preparation up front keeps the installation on schedule and the finish clean.
Measuring Bolt Patterns and Mounting Points Before You Order
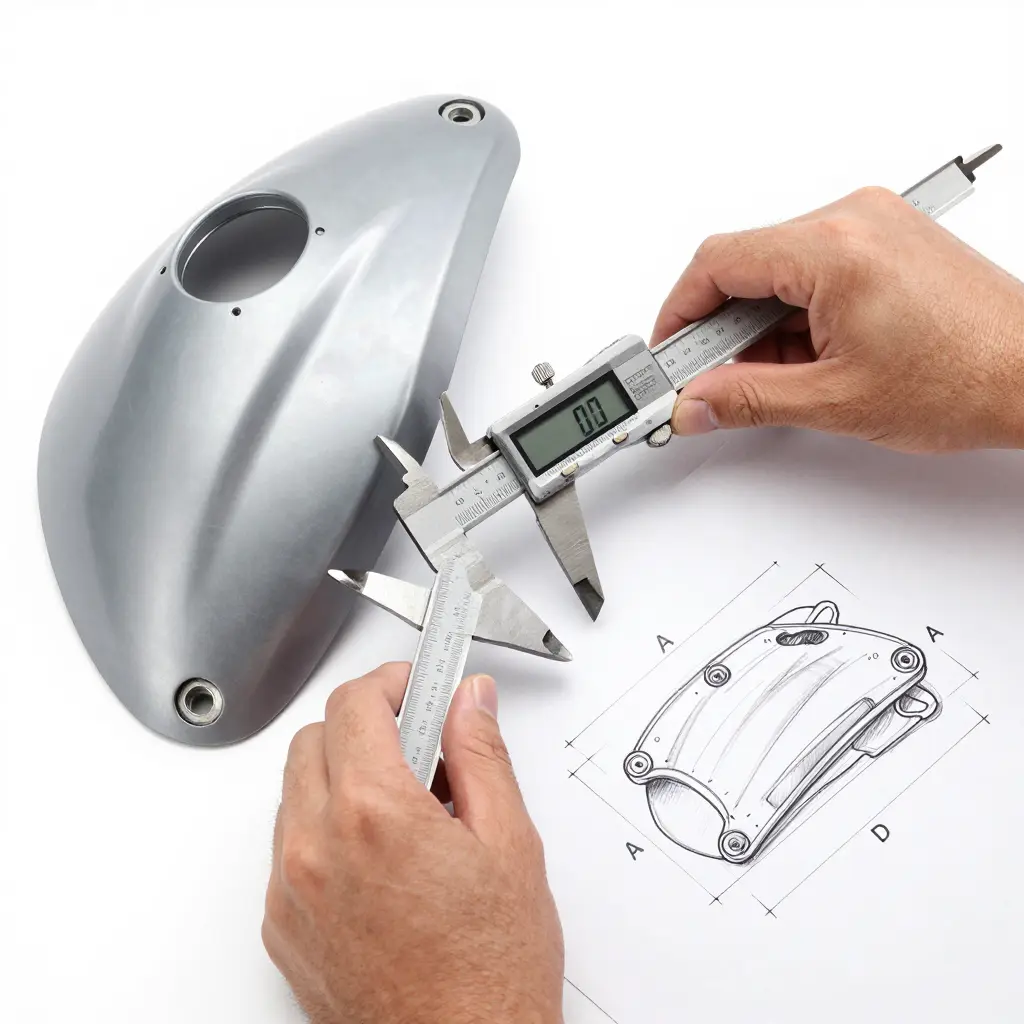
A fairing fits only when its mounting points line up with the holes already drilled in your bike. Aftermarket panels are usually produced from reverse-engineered molds, so small differences in hole spacing happen all the time. Accurate fairing bolt hole measurement is the cheapest protection you can buy against return shipping, refund disputes and wasted shop time, and it is what separates a simple bolt-on job from a drilling-and-filing project.
Measure the centre-to-centre distance
Hole centre-to-centre distance is the single most important number in aftermarket fairing fitment. Place the tip of your calliper, or the zero mark of a steel ruler, exactly on the centre of one hole and read across to the centre of the next. Never measure edge to edge: panel edges rarely align cleanly, and an edge-to-edge reading adds the full hole diameter to your result.
For holes that sit diagonally or in a multi-point pattern, measure the horizontal and vertical offsets instead of one angled span. On a triangle or four-hole pattern, measure the widest span first, then confirm the shorter spans that close the shape.
Measure hole diameter and thread pitch
Use a calliper’s inside jaws to measure hole diameter and record it to 0.1 mm. If the bolt threads into a captured nut or clip behind the panel, measure thread pitch with a pitch gauge, or count the threads over a known length and divide. Ordering hardware by diameter alone is a common mistake that ends with stripped threads.
Record mounting points on a rough sketch
Draw a simple rectangle for the panel and mark every mounting point by hand. Label each point with a letter, then write its measurements beside it: distance to the nearest edge, plus the centre-to-centre distance to the neighbouring point. Note which points are slots or slotted holes rather than round holes, because slots allow adjustment and round holes do not.
Use the right tool and account for error
A calliper reads to 0.01 mm, a ruler to roughly 1 mm. Whichever you use, measure each distance three times and average the results so a single slip does not skew the figure. Always add your tolerance range, typically plus or minus 0.5 mm, so the supplier can interpret the numbers correctly. If you want a general refresher on handling measuring and maintenance tools safely, this guide to basic measuring and maintenance know-how is a good starting point.
| Measurement | Tool | Example reading |
|---|---|---|
| Centre-to-centre distance | Ruler or calliper | 120 mm |
| Hole diameter | Calliper inside jaws | 8.0 mm |
| Thread pitch | Pitch gauge | 1.25 mm |
| Tolerance range | Estimate | plus or minus 0.5 mm |
What to send your parts supplier
- Centre-to-centre distance between every pair of adjacent holes
- Overall width and height of the panel outline
- Hole diameter for each mounting point
- Thread pitch and bolt size where threads are captured in the panel
- Notes on slotted versus round holes
- Your tolerance range (for example, plus or minus 0.5 mm)
Frequently Asked Questions About Aftermarket Fairing Bolt Hole Misalignment
Why do aftermarket fairing bolt holes misalign even when the part is listed for the correct model?
Fairings are usually molded from a single reference part, so every panel inherits that one bike’s tolerance. The bike you fit it to carries its own frame tolerance, subframe alignment, and possibly hidden crash damage, and those differences shift the holes on the finished panel. Manufacturers also revise mounting points mid-generation without changing the model name, so a fairing marketed as “fits 2015-2019” may really match only one production year. Thin ABS panels can also warp during shipping or storage before they ever reach the bike.
Can bolt hole misalignment be fixed by drilling or slotting?
Minor misalignment of a few millimeters can sometimes be corrected by slotting a hole slightly with a round file or rotary tool. Drilling brand-new holes weakens the panel and is difficult to reverse, so keep it as a last resort. Over-enlarging any hole removes material that holds torque and often leads to cracks around the fastener. If you are building hands-on maintenance skills, practice on scrap panels before touching a finished fairing.
How much play is acceptable at a fairing mounting point?
A fairing mount should allow only enough play for thermal expansion and vibration isolation, typically under 1 to 2 millimeters at each fastener. Visible gaps, rattling, or bolts that need real force to line up all mean the panel is sitting under stress. Excessive play lets the fairing flex, which cracks tabs and fatigues the surrounding plastic over time.
Can heat or vibration worsen an existing misalignment?
Yes. Engine and exhaust heat soften ABS and, close to the exhaust, fiberglass, so a panel already under tension can creep and deform further as it warms. Continuous vibration loosens fasteners and enlarges elongated holes, letting aftermarket fairing bolt holes misalign even more over the course of a season. Both factors accelerate cracking at the mounting tabs, so correcting the fit early saves the panel.
How can retailers reduce fitment complaints?
Retailers can publish real fitment notes, close-up photos of the mounting points, and precise year and trim ranges instead of a broad model claim. Offering a printed or digital fitment checklist before purchase helps buyers confirm their subframe and hole spacing in advance. A clear return policy for panels that will not sit flush also builds trust and cuts back-and-forth disputes.
Will a fairing that fits one production year fit another?
Not always. Manufacturers frequently revise mounting brackets, dash panels, and subframes within the same model generation, so a fairing that fits a 2016 bike may not fit a 2018 example. Match the part to the specific year, trim, and any mid-cycle update rather than assuming the model name guarantees a fit. When aftermarket fairing bolt holes misalign on a near-match year, a hardware or bracket change is usually the reason.
Closing Summary and Supplier Guidance
Aftermarket fairing bolt holes misalign for a small set of predictable reasons, and once you know them the problem stops looking mysterious. The gap between what you ordered and what your bike actually needs usually traces back to one of these:
- Tolerance stacking – tiny manufacturing variances that add up across several panels, so a set that fits on one bike drifts out of line on another.
- Model-year variation – a fairing tooled for a 2019 model may not sit cleanly on a 2021 with revised bodywork and mounts.
- Subframe distortion – often invisible until you try to mount a panel, this pushes the mounting points out of true.
- Tooling differences – each brand and each production run can place holes in a slightly different spot.
- Wrong part selection – an easy mistake when listings look alike but cover different trims or markets.
A structured fitment check before ordering prevents most of these headaches. Confirm your exact year, model, and trim; measure mounting-point spacing; inspect the subframe for bends or corrosion; and dry-fit panels before paint or final torque. Five minutes of verification saves hours of drilling, filing, and returns.
If you are sourcing replacement bodywork, Summit Fairings describes itself as one of the leading motorcycle fairing export sites, carrying over 3,000 styles that cover almost every motorcycle model on the road. Orders go through summitfairings.com, the company says its prices run 10-40% less than those listed on other sites, and it answers any question within six hours. Just as staying on top of routine parts and maintenance awareness keeps the rest of your machine reliable, a careful fitment check keeps your fairing job clean the first time.