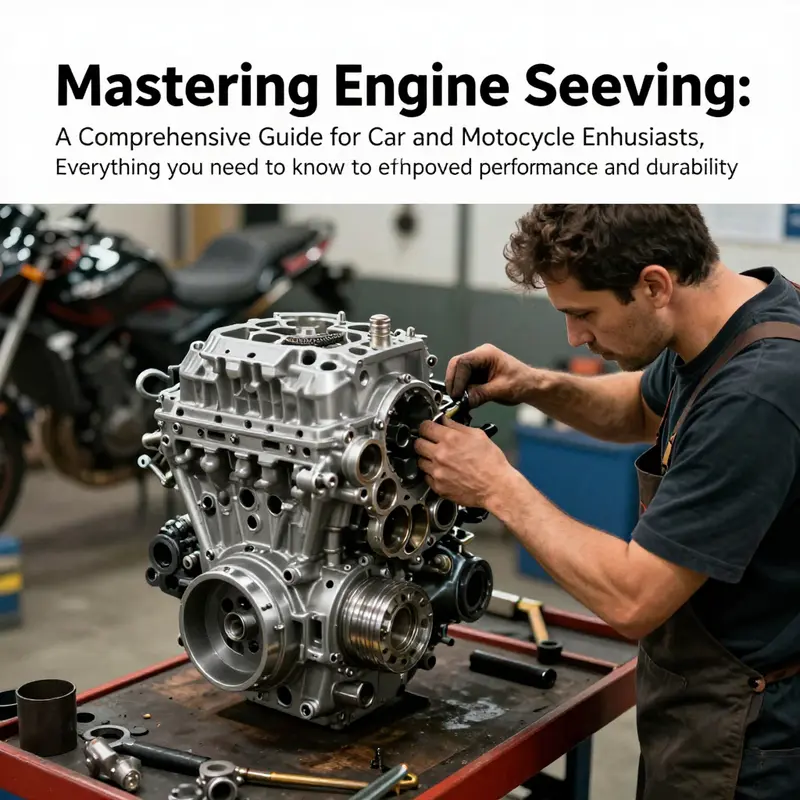
Sleeving an engine is an intricate process that demands technical knowledge and precision. Whether you’re a motorcycle enthusiast, a car owner, or a professional in the automotive industry, understanding the importance and method of sleeving can offer significant benefits. In the chapters that follow, we’ll explore how to assess the need for sleeving, select appropriate sleeve types, prepare your engine block, and successfully install those sleeves. By the end of this guide, you’ll have the confidence to enhance engine performance and longevity.
Assessing the Call: Deciding What You Need Before Sleeving an Engine

Sleeving an engine is a critical decision that blends diagnosis, planning, and precision machining. It isn’t simply about pushing a sleeve into a bored hole; it is a strategic choice that affects durability, heat management, and long-term reliability. Before selecting a sleeve or a press, you must determine whether sleeving is the right path and, if so, what sleeve type and material best suit the block, coolant strategy, and duty cycle.
The assessment starts with wear and condition. A bore out of spec, excessive taper or out-of-roundness, or corrosion signals the need for sleeving, but the decision goes beyond wear. Cracks, distortion, or heavy oil contamination can compromise seal integrity and prevent true concentricity. For high-load or high-heat applications, sleeving can restore cylindrical geometry and control oil clearance under thermal stress. The technician uses a bore gauge, micrometer, and a straight edge with feeler gauges to map diameter, roundness, and deck flatness. A rule of thumb is that bore deviation beyond manufacturer limits makes sleeving a consideration.
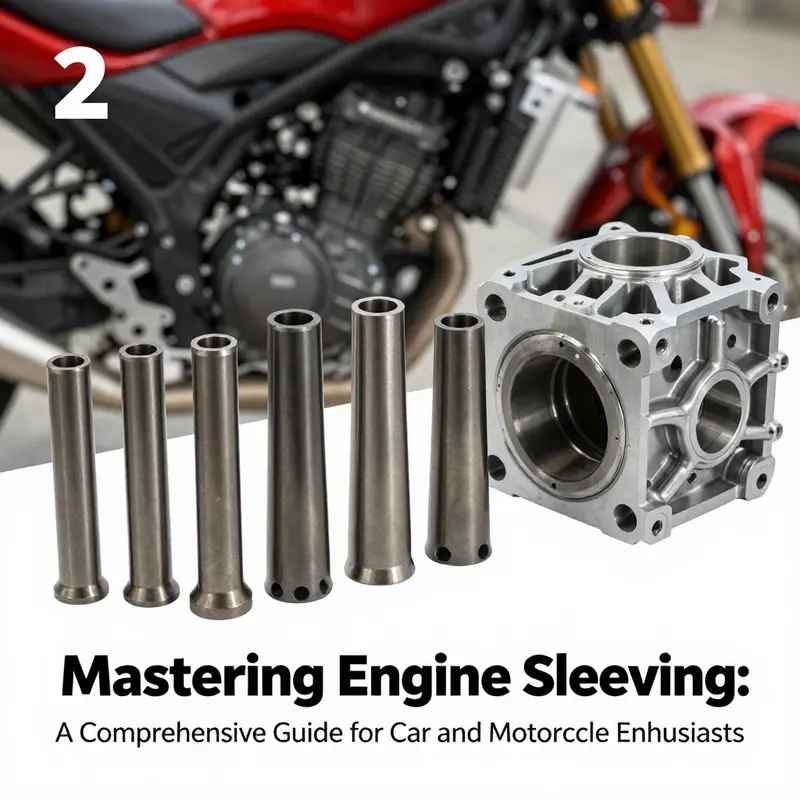
Sleeve type selection involves two broad options: dry sleeves and wet sleeves. Dry sleeves are pressed into the block and do not contact coolant, simplifying installation and often lowering cost, provided the block material permits adequate heat transfer. They suit blocks with rigid structure and where coolant penetration is limited. Wet sleeves are in direct contact with coolant and are common in aluminum blocks or high-performance engines because they improve heat transfer and temperature control. The trade-offs include more meticulous machining, sealing at top and bottom, and careful depth control to ensure concentricity and leak resistance.
Material and coating are the next levers. Cast iron sleeves offer rugged wear resistance; aluminum-alloy sleeves provide lower weight and improved heat transfer in suitable blocks; chrome-coated interiors offer improved abrasion resistance in demanding service. Hard chrome interiors can extend life in high-heat environments but require compatible piston rings and oil clearances. The choice must align with piston rings, oil viscosity, cooling strategy, and installation tolerances to avoid glazing or accelerated wear.
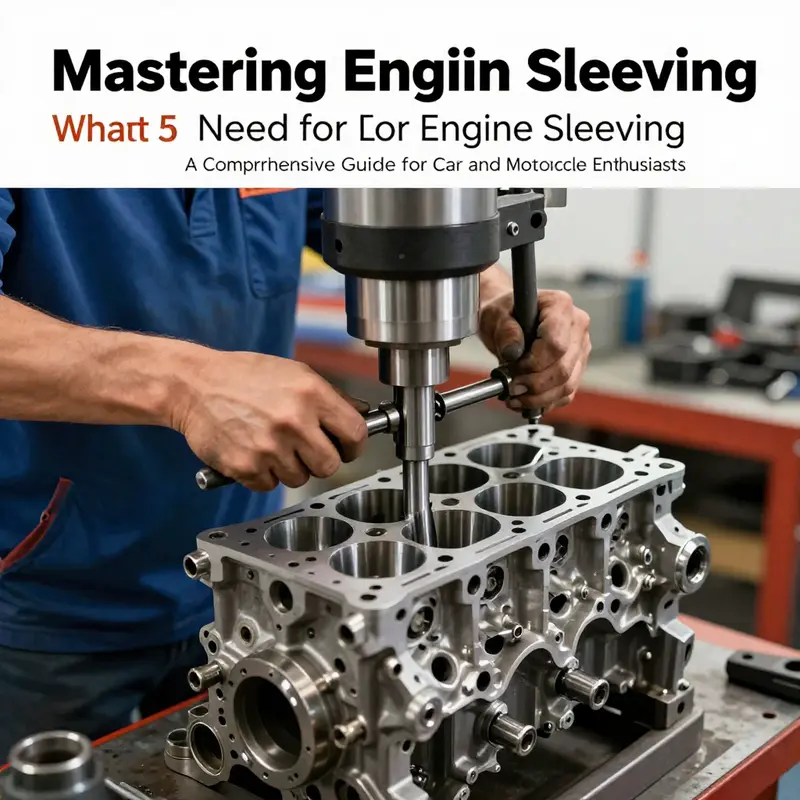
Block preparation and installation follow. The block is completely disassembled, cleaned of carbon and sludge, and inspected for cracks or distortions. Machining then establishes the final bore size for the sleeve, followed by honing or reaming to achieve roundness and finish. Deck flatness must be controlled to ensure even contact with the sleeve. Dry sleeves are pressed flush and aligned with the crank axis; wet sleeves require top and bottom seals and precise depth to maintain oil clearance. After installation, the bore is finished to the final size and cross-hatch is optimized to promote oil retention.
Finally, inspection and reassembly confirm concentricity and sealing. The engine is reassembled with correct torque sequences, then leak-down and compression tests verify uniformity and sealing. A coolant pressure test helps confirm that sleeves remain tight under operating pressure. The overall goal is a bore that maintains stable compression, oil control, and predictable thermal behavior across thousands of revolutions.
In practice, sleeving demands careful measurement, strict tolerances, and disciplined procedures rather than intuition. When in doubt, consult the engine’s OEM service manual or a certified rebuilder. For those seeking deeper understanding, sources on sleeve behavior and thermal management provide practical context on how sleeve choice influences wear resistance and heat transfer.
External references, such as aviation-adjacent maintenance standards and engineering best practices, reinforce the importance of traceable procedures and validated processes in engine work.
Choosing the Right Sleeve: Aligning Heat, Wear, and Fit in Engine Sleeving
Sleeving an engine is a precision-driven stage in a rebuild or performance upgrade. The choice between sleeve types is not just about size; it defines how heat moves, how wear is managed, and how reliably the engine holds tolerances under load. The decision hinges on a balance between heat transfer, sealing complexity, and long-term durability. In practice, the selection process begins with understanding the two primary sleeve concepts—dry and wet—and ends in a carefully engineered fit that respects the block’s metallurgy, the cooling system, and the engine’s intended duty. When the goal is to restore a worn bore or to prepare a block for higher displacement, the sleeve path becomes the keystone that connects the block’s foundation to the engine’s ultimate performance envelope. For readers who want a concise primer on what sleeving entails, the broader concepts are summarized in the linked article that explains sleeve concepts in accessible terms: What sleeving an engine means.
Dry sleeves and wet sleeves each have a place in engine design and service philosophy. Dry sleeves sit inside the bore and rely on the block to conduct heat away; they do not contact the coolant. This arrangement can simplify installation, reduce upfront cost, and deliver solid rigidity—benefits that matter in cast-iron blocks or engines where the cooling circuit around the sleeve is limited. The trade-off is heat handling. If the block itself is less capable of shedding heat, the cylinder wall may experience higher thermal stress, which can influence piston temperature, ring seal stability, and long-term durability. Dry sleeves tend to work well in applications where the operating temperatures stay within moderate ranges and where the block geometry allows a precise, interference-fit.
Wet sleeves, by contrast, are designed to be immersed in the cooling circuit. The outer surface of the sleeve is exposed to coolant, and the heat is pulled away directly through the sleeve-wall into the cooling system. This configuration shines in high-output, high-temperature applications and in blocks designed for liquid cooling around the cylinders. The advantages are clear: superior thermal management, reduced risk of hot spots, and greater tolerance for sustained high-load operation. The downsides require meticulous machining and sealing. Precise depth and concentricity are critical; the installation must incorporate reliable top and bottom sealing to keep coolant from invading the oil side. Wet sleeves often pair with hard chrome-coated interiors or specialized alloy surfaces to resist scuffing and wear under aggressive duty. In practical terms, wet sleeves are favored when the engine will spend significant time in high-load cycles or where extended service intervals demand robust cooling and wear resistance.
Material choice adds another layer to sleeve selection. Cast iron sleeves remain a traditional choice for many blocks because of their wear resistance and dimensional stability. In blocks with aluminum or other lightweight alloys, the heat-transfer characteristics can be more sensitive to the sleeve-block interface, so sleeves engineered for better thermal compatibility are essential. Chrome-plated or specially alloyed sleeves further boost wear resistance and enable smoother bore surfaces under high RPM or high thermal load. OEM sleeves—engineered to exact block tolerances—often provide the safest baseline because they are matched to the block’s geometry, cooling passages, and oil bores. Material quality, design precision, and fitting accuracy come together to determine how well a sleeve performs in the real world. This is why technicians weigh not only the sleeve’s material but also the integrity of the block’s surface, the depth of the bore, and the quality of the seal interface when selecting a sleeve.
Preparation of the block is the next critical phase. Before sleeves meet the bore, the block must be cleaned thoroughly to remove carbon, sludge, and gasket remnants. Even microscopic debris can hamper seating or create misalignment that shows up as leaks or a loss of compression. The cylinder bore must be prepared to the exact dimension specified for the chosen sleeve. This typically means boring and then honing to achieve proper roundness and finish. The deck surface has to be flat and parallel to the crankshaft centerline; a skewed deck can undermine seal integrity and cause coolant leakage around the sleeve shoulder. Precision here is non-negotiable. A subtle deviation can cascade into sealing failures after the engine warms up.
Installation choices for sleeves hinge on whether you choose a dry or a wet path. For a dry sleeve, the process is straightforward in concept: press the sleeve in with appropriate tooling, lubricate the outer diameter with a high-temperature assembly lubricant or anti-seize compound, and verify the sleeve sits flush with the deck and remains concentric with the bore. The alignment check is typically performed with a dial indicator to ensure there is no tilt or misfit that could introduce eccentric wear. Wet sleeves introduce additional complexity. They require seals at the top and bottom to prevent coolant leakage into the oil pathway, and the installer must use a sleeve installer tool that distributes pressure evenly to avoid cocking or bending the sleeve. Achieving the required precision in depth and concentricity is essential, because even a small misalignment becomes a pathway for leakage or overheating.
After the sleeves are seated, final machining brings the bore to its final size and finish. This often means a precise oversize cut, followed by honing with a cross-hatch pattern to promote oil retention on the cylinder walls. The surface finish matters nearly as much as the diameter itself. A proper cross-hatch aids oil control and helps the rings seat consistently. Inspection follows, using bore gauges, a bore scope, or laser measurement devices to confirm roundness, concentricity, and the absence of any steps at the sleeve shoulder. Any irregularities in the sleeve-to-block interface—whether due to misalignment, untrue deck, or an improper seal—can become a source of leaks, overheating, or accelerated wear. In short, the final machining and inspection phase seals the difference between a durable sleeved engine and a fragile component that may fail under load.
With sleeves in place and the block prepared and re-machined, the rebuild moves into the restorative stages: reinstall pistons, rings, and related components; torque fasteners to spec; and perform a battery of tests designed to confirm integrity. A leak-down test across all cylinders helps verify that compression is even and that the sleeve interfaces are not leaking. A coolant pressure test is essential to ensure there are no leaks around the sleeves and that the seals hold under pressure. A successful result is indicated by uniform compression readings across cylinders and a clean oil sample free of coolant contamination. This practical feedback loop—from assembly through testing—is what transforms a sleeved bore from a shop project into a reliable engine component.
The decision to sleeve, and the choice between dry and wet, should ultimately reflect the engine’s expected service life and operating environment. If the bore wear is severe but the block remains structurally sound, sleeving can restore performance at a fraction of the cost of block replacement. If the block shows cracks, core distortion, or other structural deficiencies, replacement may be more economical in the long run. Material quality, exact fit, and proper installation practices remain the hinge factors for success in either scenario. This is why many service manuals and OEM guides emphasize sleeves that are designed to work with the specific block geometry and cooling strategy, rather than generic, one-size-fits-all solutions. If you want a concise primer on sleeve concepts and how they fit into overall engine restoration, you can follow the internal link provided above for a clear, practitioner-friendly overview.
In closing, sleeve selection is more than choosing a size. It is a decision about how heat, wear, and tolerances will behave under real-world use. A well-chosen sleeve path aligns material properties with block design, harmonizes with the cooling system, and supports a robust seal at the sleeve interfaces. It demands careful block preparation, precise boring and honing, and a disciplined installation practice. When done with attention to these details, sleeved engines deliver durable cylinder integrity, dependable compression, and reliable performance throughout their service life. The discipline of this process—the measurement, the fit, and the verification—connects the mechanical heart of the engine to the daily realities of operation and maintenance. For deeper technical context on how sleeves influence thermal management and long-term durability in high-demand applications, refer to the external industry documentation linked here: https://www.hino.com/en/technical-support/repair-guides/j05e-sleeve-guide
From Flat Deck to Tight Fit: Mastering Block Preparation for Sleeve Installation

Preparing the engine block for sleeving is the quiet, foundational work that sets up every later measurement, fit, and seal for a durable cylinder. It is where precision begins and where the success or failure of an entire rebuild hinges. You don’t sleeve a block in a vacuum; you prepare it so the new sleeves can sit true, seal perfectly, and carry compression evenly across all cylinders. If you want a quick primer on the subject before you dive in, see What are engine sleeves. Understanding sleeves—what they do and how they interact with the block surface—frames every subsequent decision in this preparation phase. A clean, flat, undistorted deck, a bore line that is true to itself, and a bore that is round within a few tenths of a thousandth are not luxuries—they are prerequisites for a reliable sleeved engine.
The preparation begins long before any cutting tools touch metal. It begins with a careful, measured assessment of the block’s history and condition. You pull the block from the machine, or from the vehicle, with the awareness that this is where microscopic deviations become large problems later. The disassembly itself is more than removing parts; it’s a reconfirmation of what survives and what must be addressed. Pistons, rods, and the crankshaft may all look ordinary, but any preexisting misalignment, hidden crack, or hidden warp can undermine a sleeving project. Cleaning follows, and it is not a cosmetic gesture. The block must be free of oil sludge, carbon, and old gasket residues. Contaminants become craters for coolant leaks and worn interfaces once the sleeves are in place. A thorough cleaning—using chemicals appropriate to the alloys involved and, when needed, media blasting to remove stubborn encrustations—paves the way for accurate measurements and consistent machining.
Once the block is clean, the scrutiny begins in earnest. Cracks, warping, and distortion must be identified and addressed. A straight edge across the deck coupled with a feeler gauge will reveal warpage; magnetic particle testing can expose hidden flaws in ferrous blocks, while dye penetrant inspection helps surface-dreaked areas on non-ferrous alloy blocks. Any flaw detected at this stage is not merely an issue of repair cost; it is a determinant of whether sleeving is viable at all. If the integrity cannot be restored to a state that will hold a sleeve with a reliable seal and uniform bore geometry, the block must be set aside. This is not a decision to be rushed. Skimping on crack repair or discarding a marginal block can save time in the moment but condemns the project to failure down the road.
With the block deemed solid enough to proceed, the next crucial milestone is establishing a precise bore condition. Cylinder bores are first machined to remove the worst wear and to form a uniform, true axis for the sleeve. This step often involves a careful sequence: rough boring to remove material, followed by finishing passes to bring bore size and roundness to exact specifications. Honing then follows to generate the cross-hatch pattern necessary for oil retention and cylinder finish. The deck surface must be flat and parallel to the crankshaft centerline, a geometry check that ensures the sleeves will sit flush with the deck and will not invite a step or a tilt in the seating plane. Even small deviations in deck flatness or bore roundness can translate into sleeve seating errors, which, in turn, can compromise seal integrity and cooling efficiency. In practice, you’re looking for a bore that is consistently round to within a few tenths of a thousandth and a deck that shows no sign of twist or tilt when measured against the crankshaft plane.
A stubborn truth about sleeving is that preparation and measurement are as important as the machining itself. You will utilize precision tools—micrometers, bore gauges, and dial indicators—to verify dimensions. Each measurement guides the next operation and helps you validate that the bore axis aligns with the block’s main bearing bore and deck surface. It is common to encounter a scenario where the bore is slightly out of round or the bore axis is not perfectly coaxial with the deck. In such cases, you may ream or hone to refined tolerances, always keeping the goal of final bore geometry in mind. The block’s deck must also be checked for proper parallelism to the crank centerline because any misalignment at the seating surface can cause the sleeves to sit crooked, compromising compression and coolant sealing. In short, the block must earn its sleeve by proving it can maintain consistent geometry under the load of engine operation.
During this phase, the decision about sleeve type and the preparation for sleeve installation are sharpened by the measurements already taken. If the plan calls for dry sleeves, the emphasis is on achieving a clean, flat deck and a bore that can orient the sleeve coaxially with minimal play. If wet sleeves are intended, the tolerances tighten further around the sleeve seats to accommodate O-rings and seals without leaks, and the machinist must ensure that the top and bottom sleeves align with their sealing surfaces and coolant ports. The choice between sleeve types often echoes a doctrine of heat management and wear resistance, particularly in high-load or high-temperature applications. Wet sleeves excel in heat transfer, especially when the block is aluminum or subjected to high thermal cycling, while dry sleeves offer simplicity and rigidity in certain iron-block contexts. The guidelines you follow during block preparation should align with that choice, ensuring seating surfaces are free of burrs and that any finishing work preserves the intended seal geometry.
Finally, the block comes back into the light of day after the final cleaning. The goal is not simply to install sleeves but to install sleeves into a block that has become a stable, predictable environment for them. The internal surfaces that will contact the sleeve—the bore walls, the deck, and the sleeve’s seating shoulders—must be smooth, clean, and free of any matter that could disrupt seal faces or hinder heat transfer. A careful recheck of the deck flatness, with any provisional runout checked against the intended sleeve seating plane, closes the loop on preparation. In a well-executed preparation, the block’s geometry supports concentric sleeve seating, uniform compression, and predictable oil film behavior in the gap between sleeve and bore. In this sense, preparation is more than a step in a sequence; it is the guarantor of mechanical harmony once the sleeves are in place.
The discipline of block preparation also carries implications for the subsequent inspection and testing phase. After sleeves are installed, a final hone may be performed to finish the bore to its final size, followed by a precise cross-hatch pattern that promotes oil retention and reliable seating of piston rings once the rebuild proceeds. The block then enters a phase of verification: the bore must be measured for roundness, cylindricity, and true alignment with the deck. The line between precision and overreach is narrow here. You can overfinish a bore and waste material or underfinish and invite leakage paths or improper ring sealing. The result should be a bore that accepts the sleeve with minimal resistance, that is perfectly coaxial with the deck, and that accepts the sleeve’s outer geometry without the need for forced seating, misalignment, or gasketed anesthesia on the final assembly.
For those who want a quick mental map of the process, think of block preparation as three overlapping circles: cleanliness and inspection, precise machining, and careful reassembly readiness. Each circle informs the next. Cleanliness ensures measurements reflect true geometry. Accurate machining realizes those measurements in physical form. And reassembly readiness binds the entire process into a final, consistent surface ready for the sleeves and the rest of the engine. The artistry lies in knowing when to push for tighter tolerances and when to preserve material and thermal capacity for the long haul. This understanding grows with experience, but the core principle remains constant: sleeves deliver their value most when seated against a block that has earned its surface with patience, precision, and a relentless attention to detail.
As you progress through the block-prep phase, remember that sleeves are not a cure-all for a misbehaving block. If the base geometry cannot be brought to the necessary standard, sleeving will just mask faults rather than fix them. The right preparation approach recognizes this early, preserves material where possible, and prioritizes a seating surface that can support durable, long-term operation under load. For the engineer who values reliability, the block’s journey from rough casting to a clean, flat, and true platform is as critical as the sleeves themselves. External references and manuals, often specific to the engine family and sleeve type being used, should guide any decision that deviates from standard practice. And while the specifics of tools and procedures may vary, the underlying criterion remains universal: the block must be prepared so the sleeve can perform as intended, not merely fit in place.
External resources and technical references can illuminate particular tolerances and procedures for specialized blocks or sleeve technologies. For broader context on how engines and long-block assemblies approach sleeving, see external resources such as Atlas Copco’s long-block engine overview, which provides a structural backdrop for understanding how robust blocks are configured and tested in practice. https://www.atlascopco.com/en/products/engines/long-block-engines.html
Choosing and Preparing Cylinder Sleeves: The Precision Path to a Durable Engine Sleeve Job
Choosing and preparing cylinder sleeves is a precision driven craft that sits at the heart of a durable engine rebuild. The choice of sleeve type, the material it is made from, and how well the block is prepared determine how the engine will handle heat, wear, and the stresses of higher displacement or sustained high load. A sleeve is not merely a hole filled with metal; it is a carefully engineered interface between the piston, the cooling system, and the block itself. The right sleeve supports consistent bore dimensions, ensures reliable oil control, and contributes to predictable compression and combustion. In practice, the path from selection to fit is linear in purpose but exacting in technique. The process hinges on balancing heat management, structural integrity, and fit with the final piston and ring package. When done correctly, the sleeve becomes a true ally to engine longevity rather than a limiting point of failure.
The decision between dry and wet sleeves frames the entire approach. Dry sleeves press into the block and remain isolated from the coolant, which can simplify installation and keep temperatures more dependent on the block’s own thermal characteristics. Wet sleeves, by contrast, share a surface with the cooling system, offering superior heat dissipation and more even temperature distribution during peak load. The trade-offs extend beyond cooling: dry sleeves tend to be less complex to install, while wet sleeves demand precise sealing, compatible gaskets or o rings, and careful depth control to prevent coolant leaks. In blocks engineered for high output or high heat applications, the industry trend favors sleeves with enhanced interior surfaces—often chrome coated or otherwise treated—to resist scuffing and to reduce friction under heavy loads. This preference aligns with the broader requirement for durable wear resistance in engines that see frequent overbores or elevated cylinder pressures.
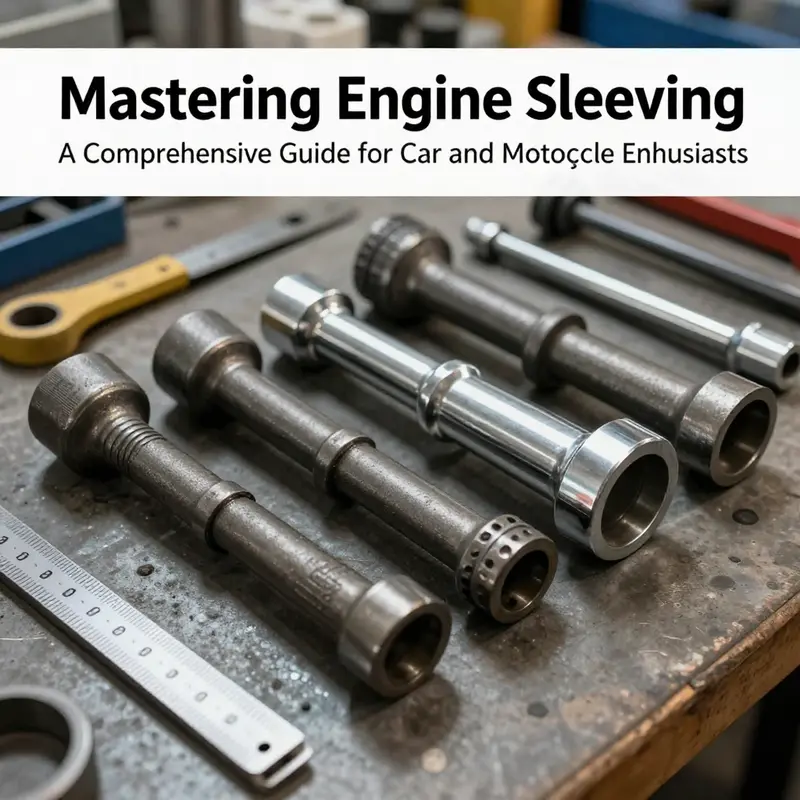
Material choice and wall thickness play a pivotal role in how a sleeve handles wear, heat, and mechanical stress. Cast iron sleeves offer time tested wear resistance and are common in many standard applications. Aluminum alloy sleeves, or chrome plated varieties, serve environments where heat transfer and thermal expansion are most critical. Among the options, hard chrome coated interiors provide an additional layer of abrasion resistance and reduced friction in high performance scenarios, where the sleeves endure more intense contact between the piston, rings, and bore. Wall thickness matters almost as much as the material itself. Thicker walls generally translate to greater structural stiffness and better heat distribution under heavy loads, but they require precise bore sizing and block preparation to keep overall assembly to spec. The art here is to select a sleeve that matches the block’s material, the intended torque and RPM envelope, and the desired lifespan of the rebuild.
Before any sleeve is installed, the engine block must be readied with a surgeon’s exactitude. Block preparation begins with removing the engine from the vehicle and disassembling to the bare block. Thorough cleaning follows, with carbon deposits, sludge, and old gasket remnants scrubbed away so that the bore areas are pristine. A careful inspection then reveals any cracks, corrosion, or warping. A straightedge and feeler gauges are used to verify flatness and parallelism between the deck surface and the crankshaft centerline. Any deviation can undermine the sleeve seal, invite coolant leakage, or cause early wear on the new bore. Once the block passes the integrity test, machining proceeds: the cylinders are bored to the correct oversize to accommodate the chosen sleeves, then honed or reamed to establish perfect roundness and a right surface finish that interacts optimally with the sleeve inner diameter. The deck surface must be flat and true to avoid misalignment with the piston travel; even small missteps here can translate into poor sealing, oil control problems, and compromised compression.
With sleeves chosen, installation becomes the next crucible of precision. For a dry sleeve, installation relies on a press or hydraulic press to seat the sleeve evenly into the block, with a thin film of high temperature grease or anti seize on the outside diameter to aid seating and prevent galling. The sleeve must sit flush with the deck; any protrusion or tilt can lead to sealing problems and premature wear around the sealing lip. A dial indicator is typically used to confirm coaxiality and seating depth. Wet sleeves demand a different mindset. They require gaskets or O rings at the top and bottom to seal off coolant paths, and installation tools that reduce the risk of tilting or misalignment. A sleeve installer tool is commonly employed to apply uniform pressure and avoid damaging the sleeve or the block’s bore, while the depth is checked with careful measurements to retain proper piston travel and ring contact. The installer steps must be performed with cleanliness and attention to surface finish, because even microscopic particles can seed leaks or hinder sealing. Both dry and wet sleeve paths culminate in meticulous checks for concentricity and perpendicular alignment to the crankshaft axis, since any eccentricity translates directly into uneven wear and knock in service.
After the sleeves are in place, the block must be finagled through one more round of precision machining. The inner bore of the sleeve is honed to the final size and finish, usually in a very tight oversize window such as 0.0005–0.001. The goal is an oil retentive cross-hatch texture that correlates with the engine’s oil system and ring geometry. A bore scope or laser measurement device is often employed to verify roundness and surface finish. The result should be a bore that feels perfectly smooth when a ring or piston ring groove is rolled along the surface, with no audible chatter and no visible waviness on inspection. This final honing step is crucial; a rough surface or an out of round bore will undermine compression, invite oil consumption, or cause early wear on the new sleeve.
The rebuild continues with reassembly: pistons, rings, bearings, and all fasteners are torqued to specification, with careful cleanliness and correct lubrication every step of the way. A controlled testing regime follows: leak-down tests assess each cylinder’s integrity, compression gauges verify uniform cylinder pressure, and a coolant pressure test checks for leaks around the sleeves. The success indicators are clear—a uniform set of compression readings across cylinders, minimal or no coolant in the oil after tests, and stable readings under load tests that mimic real world operation. The path from selection to test is a linear thread, but it is threaded through with a series of exacting checks that ensure the final assembly returns reliable performance rather than unpredictable behavior.
To readers seeking a concise orientation about what sleeving entails, consider exploring a dedicated overview that frames the concept and the terminology. See What sleeving an engine means at ITW Auto Sleeve. External resource: https://itw-autosleeve.com/blog/what-sleeving-an-engine-means/
null
null
Final thoughts
Sleeving an engine is a powerful technique for extending its life and boosting performance, but it requires meticulous preparation and execution. By assessing the need for sleeving, choosing the right sleeve type, and ensuring that your engine block is adequately prepared and fitted, you can achieve remarkable results. Whether you’re reviving an old motorcycle or enhancing a performance automobile, mastering the engine sleeving process will empower you to take your mechanical skills to the next level.