Introduction
Removing a car stereo mounting sleeve is an essential task for motorcycle and auto owners, as well as auto repair shops, that ensures optimal audio performance and safety. This seemingly minor process can greatly impact the overall functionality of an audio system. A mounting sleeve often hinders the installation of modern stereos and may cause sound distortion due to electromagnetic interference. For both motorcycle and auto owners, this means a clearer sound and improved system efficiency. Furthermore, auto repair shops can benefit from this practice as they report reduced warranty claims related to audio system failures. Not only is the process easy to carry out, usually involving just a few tools and steps, but it also enhances access for future upgrades. Understanding how to effectively remove a car stereo mounting sleeve is a vital skill that can save time and avoid potential risks in both personal and professional settings.
Common Reasons to Remove Car Stereo Mounting Sleeve
- Upgrading the stereo: When installing a new audio system, the dimensions or specifications may differ, necessitating the removal of the existing sleeve.
- Replacing defective units: Buller components behind the sleeve may prompt removal for repairs or replacements.
- Installing new technology: Features such as Bluetooth, navigation screens, or enhanced audio systems may require access to wiring.
- Cleaning and maintenance: Dust and debris accumulation behind the sleeve can impact sound quality, necessitating periodic removal for cleaning.
- Aesthetic modifications: Enthusiasts may remove the sleeve for cosmetic upgrades, including new faceplates or custom designs.
- Customizations: Integrating aftermarket accessories like backup cameras or dash displays can require sleeve removal.
For more on essential car maintenance skills, check our article.
Step-by-Step Guide to Remove Car Stereo Mounting Sleeve
Removing a car stereo mounting sleeve can seem daunting, but with the right tools and steps, it can be done efficiently and safely. This guide provides a detailed, step-by-step process targeting car owners, motorcycle enthusiasts, auto repair professionals, and auto parts distributors.
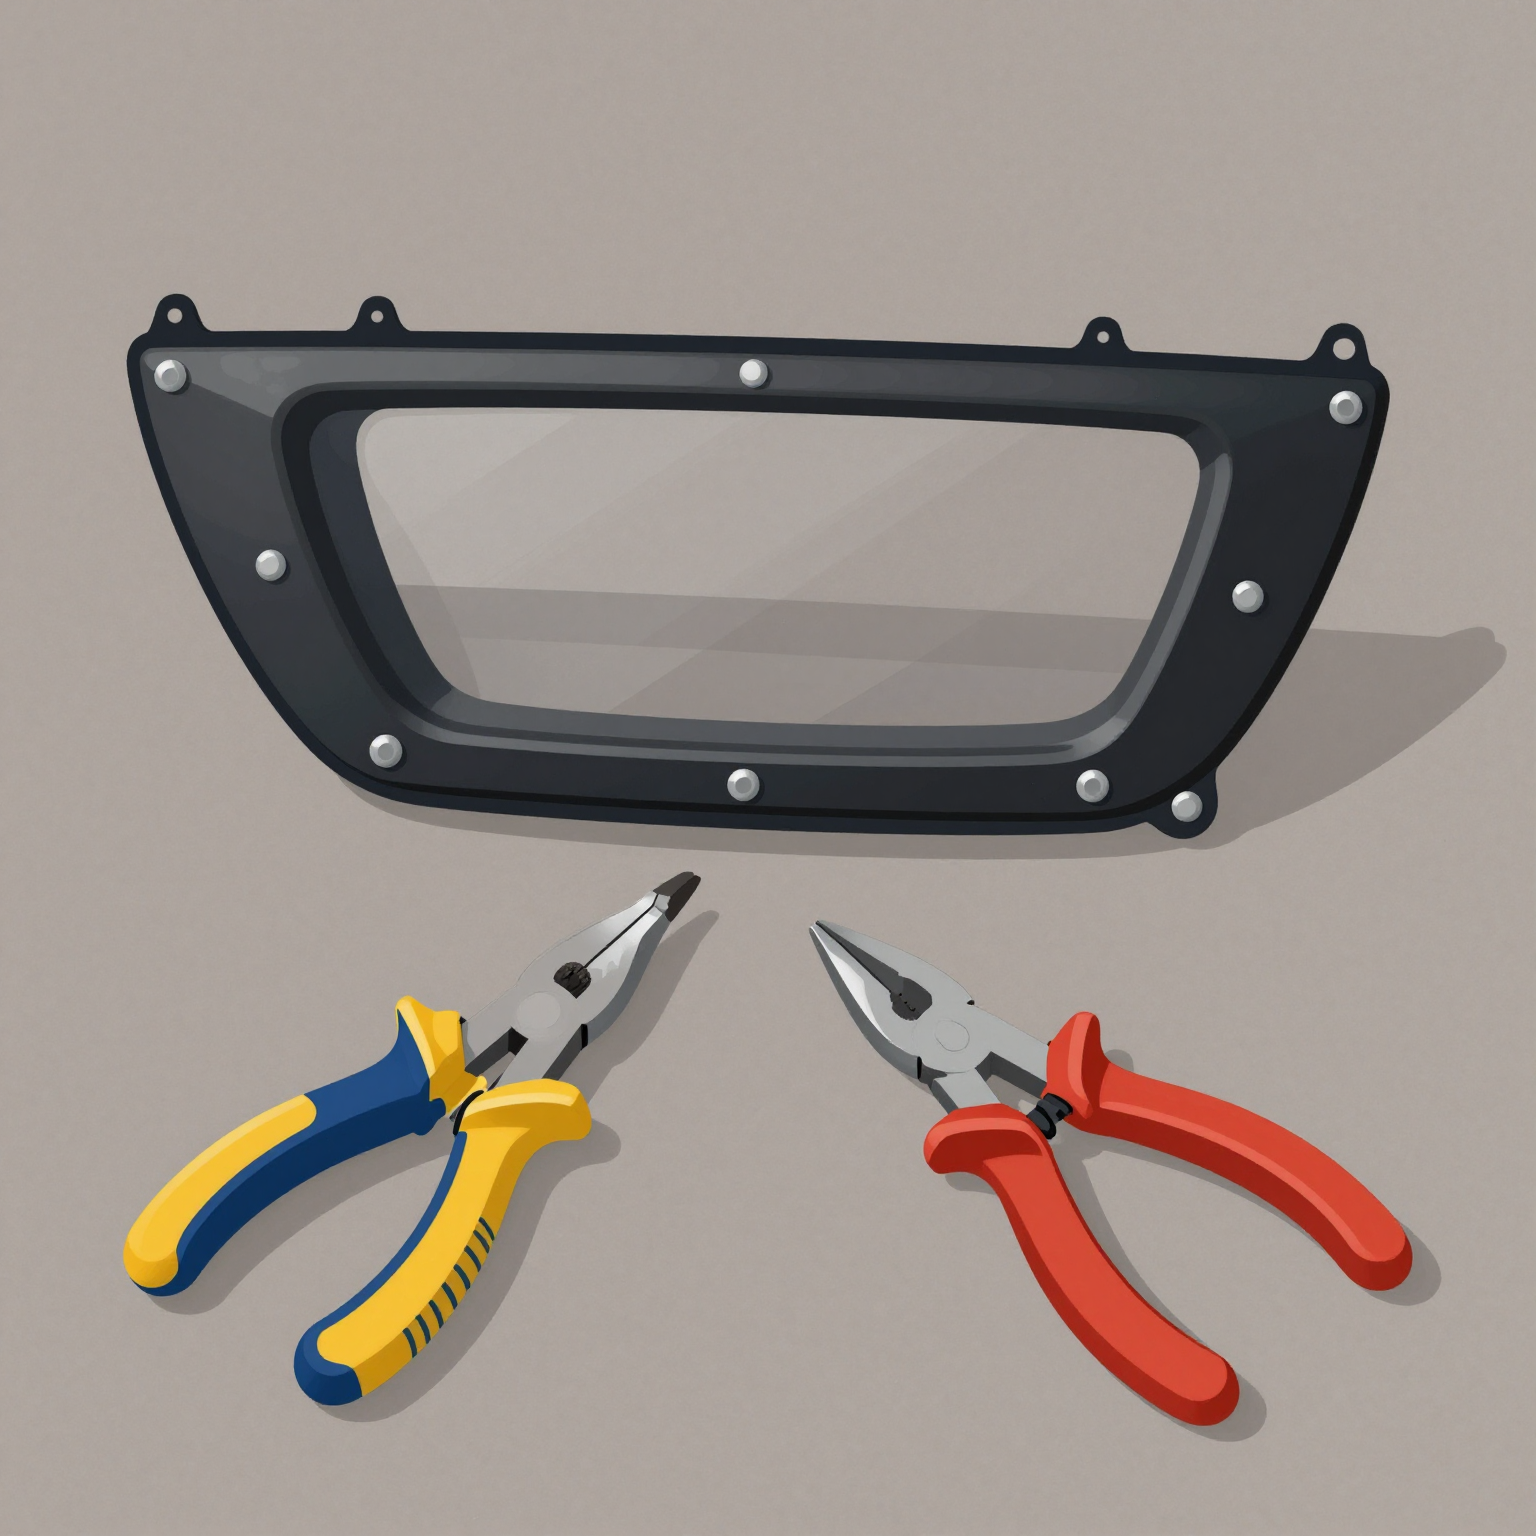
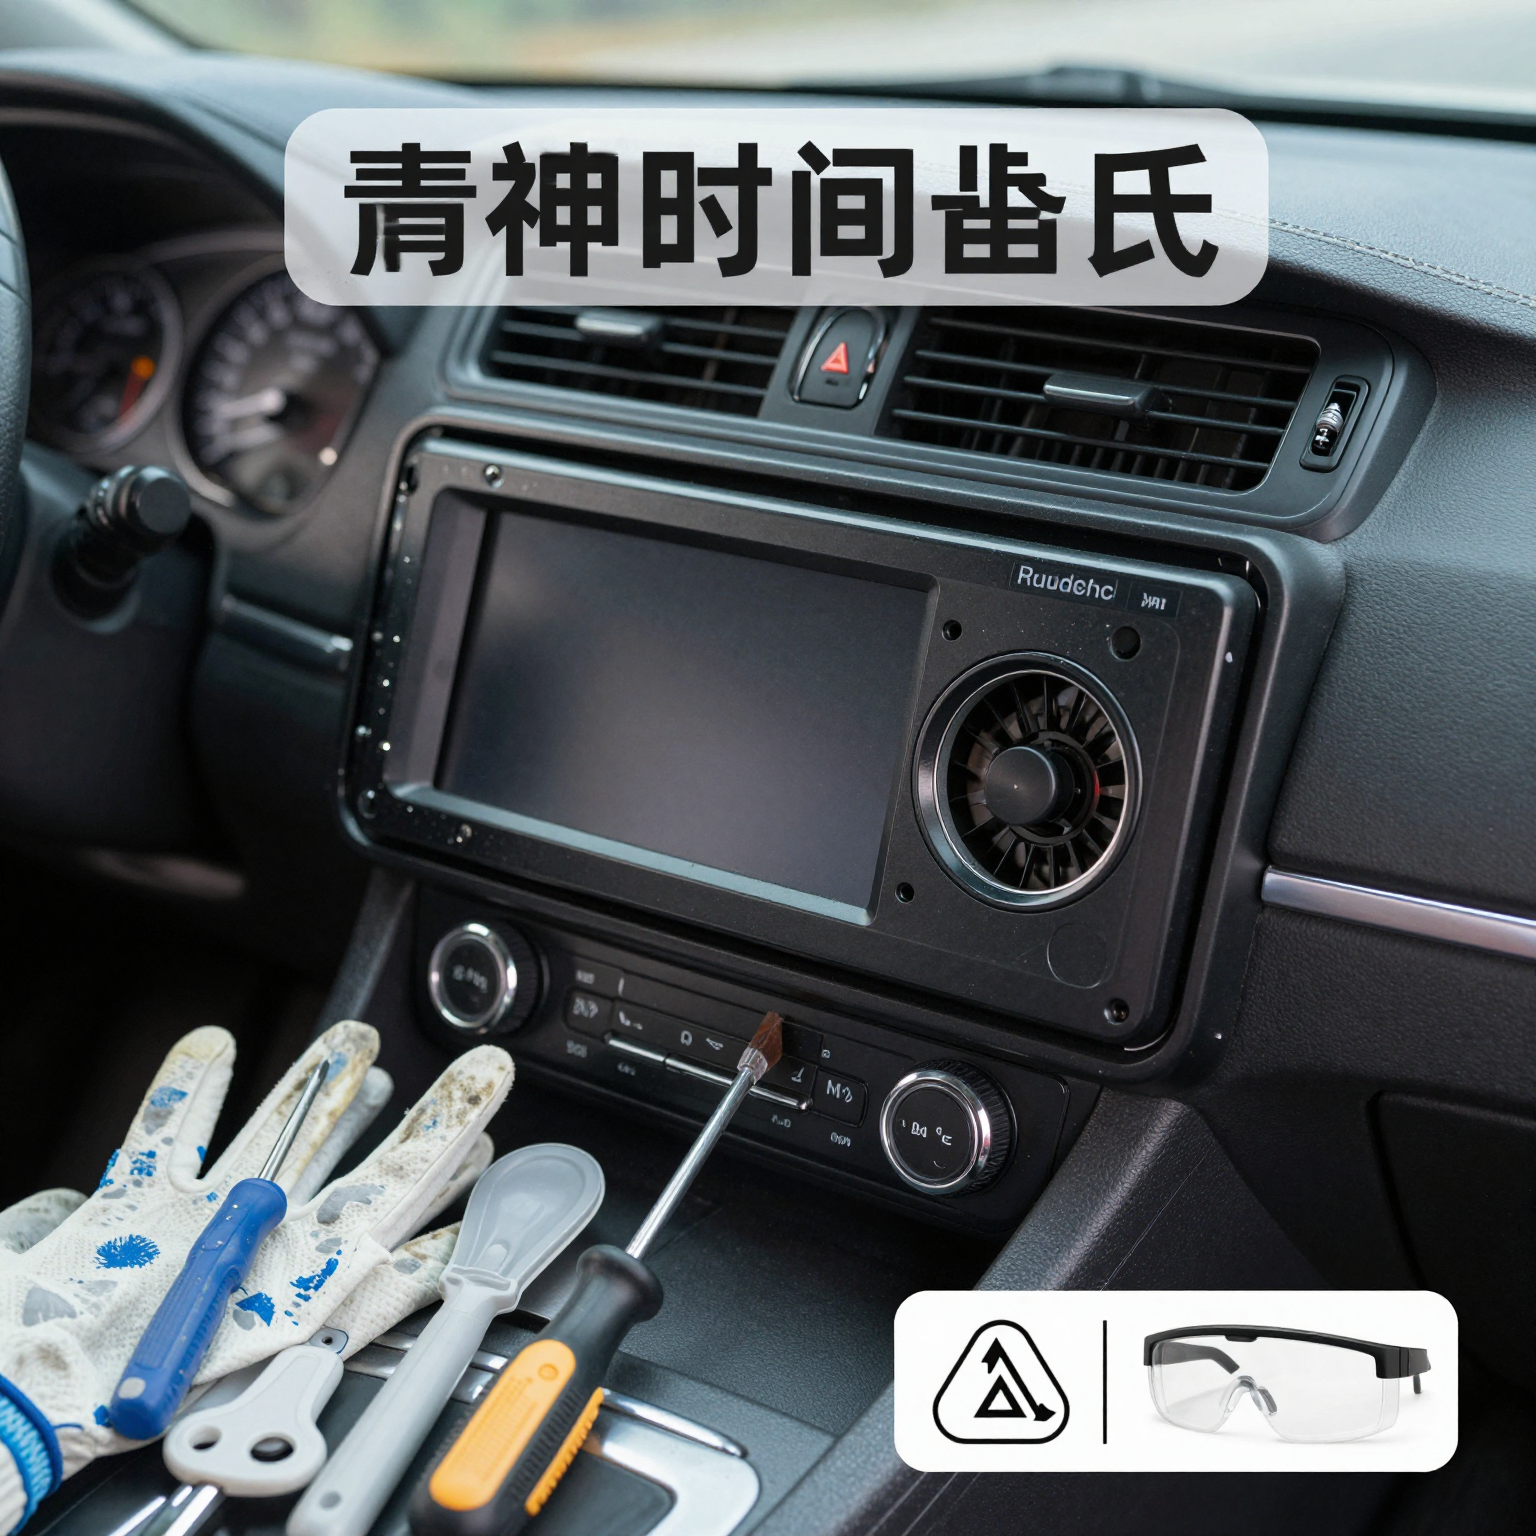
Tools Needed
- Plastic trim removal tool
- Phillips and flathead screwdrivers
- Ratchet and socket set (if necessary)
- Labeling tape or small containers for screws
- Safety glasses
Step 1: Disconnect the Battery
To prevent electrical shorts while working, always disconnect the car battery. Start by turning off your vehicle. Locate the negative terminal of the battery, usually colored black, and use a wrench to loosen the clamp before removing it.
Step 2: Remove Dashboard Panels
Using your plastic trim removal tool, carefully pry off the dashboard panel surrounding the stereo. Make sure to work gently to avoid scratching or breaking the panel. Insert the tool at key points where clips are located. If you encounter resistance, double-check for any hidden screws or clips.
Step 3: Unscrew the Mounting Sleeve
Once the panel is removed, locate the screws securing the mounting sleeve. These screws may require a Phillips or flathead screwdriver. Remove all screws carefully and store them in a labeled container to avoid losing any pieces.
Step 4: Disconnect Wiring Harnesses
Before you can fully remove the mounting sleeve, you will need to disconnect the wiring harnesses that connect to the stereo. Take a moment to identify the connectors-many have locking tabs that must be pressed down before pulling the connectors free. Always pull on the connector itself, not the wires, to avoid damage.
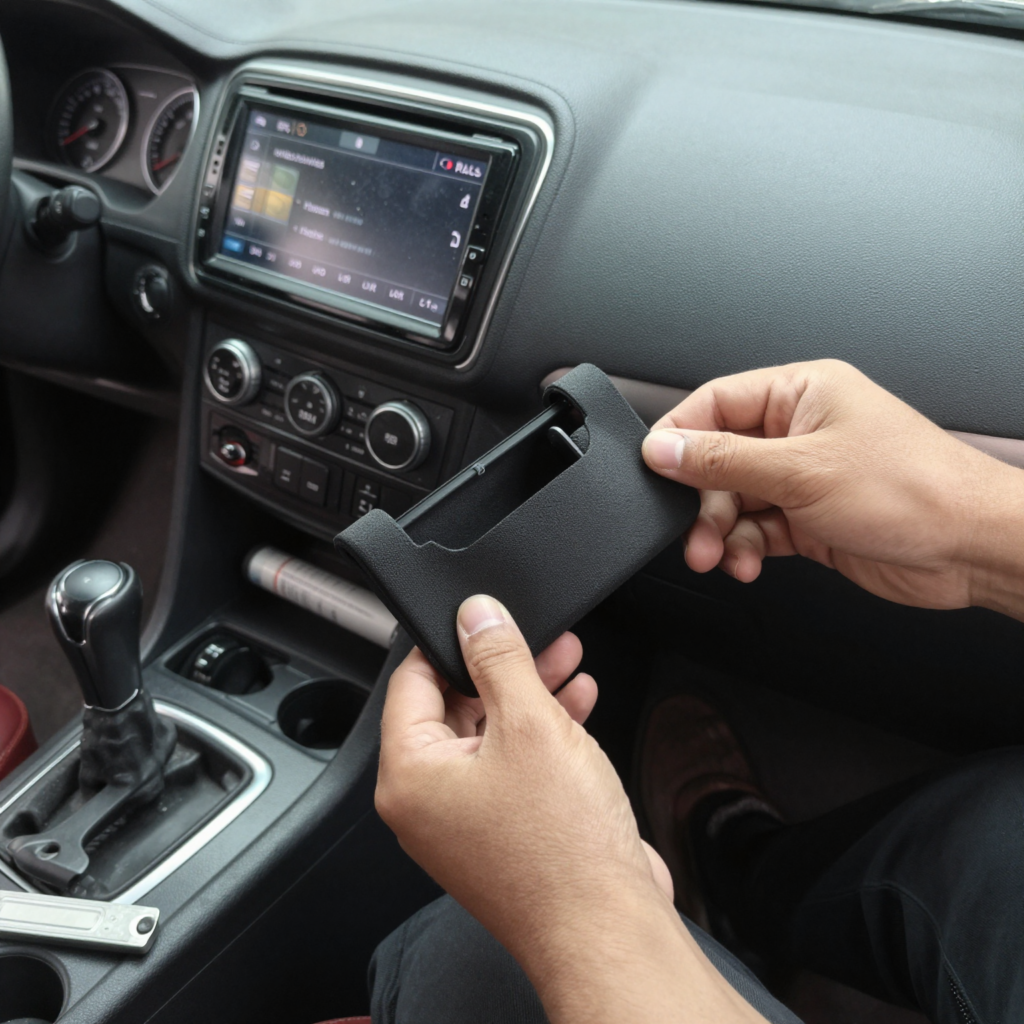
Step 5: Remove the Mounting Sleeve
With everything unscrewed and disconnected, you can now gently pull the mounting sleeve forward. Ensure that all wires and connections are clear of the mounting sleeve as you remove it to avoid any pulling. If you encounter resistance, double-check that all screws and locks have been released.
Step 6: Inspect the Area
After removing the mounting sleeve, take a moment to inspect the area for any dust or debris. Cleaning the area can prevent damage to the new stereo or unit you may install.
Step 7: Document the Process
It’s always a good idea to photograph or take notes on how components are connected. This documentation can help significantly during reinstallation, ensuring that all connections are restored correctly.
Safety Tips
- Always use plastic trim tools to avoid scratching surfaces.
- Avoid removing components with metal tools to prevent electric shocks.
- Make sure the vehicle’s power is off and battery disconnected at all times during the process.
- If you’re unsure about any connections, refer to your vehicle’s user manual or an online resource for specific guidance.
For further guidance on auto maintenance, you may want to explore essential car maintenance skills that can enhance your DIY projects. Following these steps will help you remove the car stereo mounting sleeve safely and effectively, making the process smoother for any auto repair or enhancement you intend to undertake.
Safety Tips for Removing the Car Stereo Mounting Sleeve
When it comes to removing the stereo mounting sleeve from your car, prioritizing safety is crucial for both car owners and auto repair technicians. Here are some essential safety tips to keep in mind:
-
Disconnect the Battery: Always start by turning off the vehicle and disconnecting the negative terminal of the battery. This action will prevent any electrical mishaps, such as short circuits or damage to the audio system.
-
Use the Right Tools: Utilize appropriate tools for the job. Plastic prying tools are ideal for removing trim and panels without scratching or damaging the dashboard. Have the correct screwdrivers, like a Phillips or Torx set, at your disposal to ensure precise removal of screws.
-
Wear Safety Gear: Protect yourself by wearing safety glasses and gloves. This gear will minimize the risk of injury from sharp edges or small components that may snap off during the removal process.
-
Take Your Time: Patience is key! Rushing can lead to mistakes. Carefully remove trim pieces, ensuring you don’t break any clips. If a component isn’t coming off easily, double-check for any hidden screws or clips that may still be holding it in place.
-
Label and Organize Parts: As you dismantle the stereo, keep track of screws and small components by labeling them or placing them in clearly marked containers. This will help avoid confusion when reassembling everything later.
-
Handle Wiring with Care: When unplugging connector cables, be gentle. Always press the clips and remove them without force to prevent any damage to the wires or connectors. Improper handling can lead to electrical faults or connectivity issues once you reinstall the stereo.
-
Stay Aware of Your Surroundings: Make sure the area is clear of unnecessary obstacles, and that others around you know you are working on the vehicle. This precaution can help prevent accidents and ensure a smooth operation.
For further guidance on general car maintenance skills to keep your vehicle in top shape, check out our article on essential car maintenance skills.
These careful steps can help ensure a smooth process as you remove your car stereo mounting sleeve, reducing the risk of injury and damage to your vehicle.
| Mounting Sleeve Type | Dimensions (mm) | Material | Compatibility | Price Range |
|---|---|---|---|---|
| Universal Double DIN | 110 x 180 | Galvanized steel | Most USA market double DIN car stereos | $25-$35 |
| Sony Single DIN | 180 x 100 | Precision-fit metal | Specifically for Sony; may fit other brands | $39.99 |
| VW Double DIN Cage | 180 x 110 | Durable metal | Tailored for Volkswagen models (Passat/Jetta) | $32-$45 |
| Universal Double DIN | 180 x 110 | Reinforced steel | Fits most aftermarket double DIN head units | $28-$40 |
For installation tips and further details on car stereo systems, check out essential car maintenance skills and car maintenance skills – air filters!
In conclusion, mastering the removal of a car stereo mounting sleeve is not only an essential skill for enhancing your vehicle’s audio system but also a process that is surprisingly easy when approached methodically. This task allows auto owners and enthusiasts to upgrade their car interiors with high-quality components, providing a significant boost in sound quality and overall driving experience. For those new to car repairs or auto shops looking to offer streamlined services, leveraging professional insights can add extraordinary value. For a deeper understanding and expert tips, consider exploring our detailed guides on car maintenance skills and essential engine upgrades for performance. Don’t hesitate to elevate your vehicle’s performance and comfort by investing time in these hands-on skills. Let’s get started on those upgrades today!
“Improper removal or installation of car stereo mounting sleeves can lead to dashboard damage, misaligned components, and compromised signal integrity. Professional installers emphasize that proper techniques ensure correct fitment and secure mounting, avoiding potential warranty voids and long-term reliability issues.”
-ASE-Certified Auto Audio Technician Marcus Chen, as featured in AutoTech Insights Journal.
Frequently Asked Questions (FAQs) About Removing Car Stereo Mounting Sleeves
1. What tools do I need to remove a car stereo mounting sleeve?
To remove a car stereo mounting sleeve, you will typically need the following tools:
- Plastic Trim Removal Tool: These help in prying without damaging the dashboard.
- Screwdriver Set: A Phillips and flathead screwdriver will be essential.
- Socket Wrench: Depending on the car model, various sizes may be required.
- Wiring Harness Connector Puller: Helpful for disconnecting the radio without damaging wires.
- Magnetic Tray: Use this for organizing screws and fasteners during the disassembly process.
Learn more about the tools you’ll need.
2. How do I avoid damaging my dashboard while removing the sleeve?
Gently pry the sleeve using plastic trim tools, which minimizes damage. Always pull straight out to avoid a slippage that could scratch the surface. If you encounter significant resistance, check for additional screws or fasteners.
3. Can I reuse the mounting sleeve?
In most cases, yes. If the sleeve is not damaged, it can often be reused, especially if you are replacing the stereo with a similar model. However, ensure it is compatible with the new unit.
4. How do I troubleshoot if the stereo won’t come out?
If your stereo is stuck, try gently wiggling it while pulling. Sometimes, adhesive or tight fits can cause the sleeve to grip the stereo more firmly. Disconnecting the battery beforehand can prevent any electric shorts.
For more troubleshooting tips.
5. What if the sleeve is glued in place?
If the sleeve seems glued, a heat gun on low setting can soften the adhesive, allowing for easier removal. Make sure not to apply too much heat to avoid damaging other components.
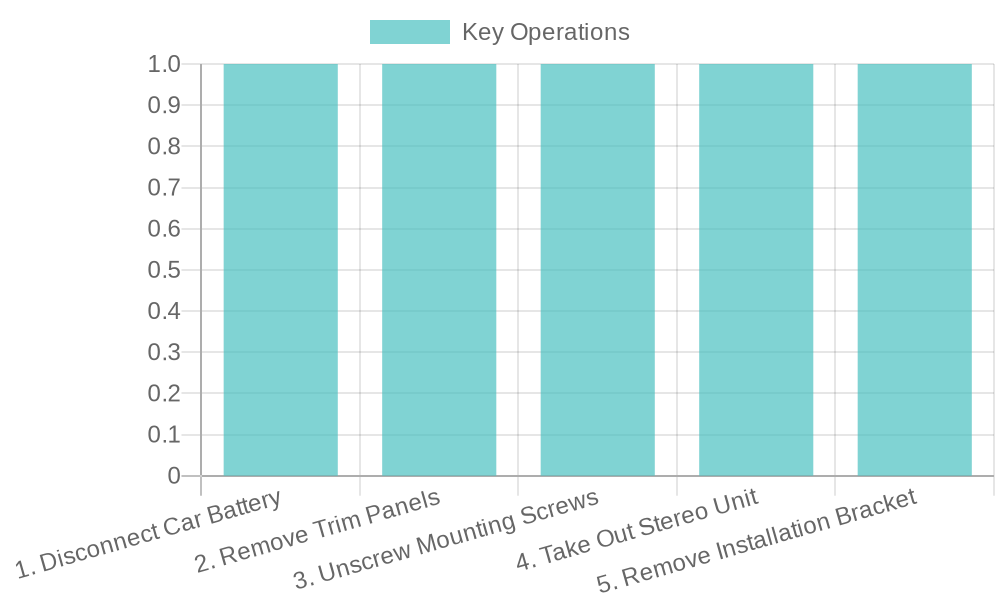
This chart illustrates the removal process of a car stereo mounting sleeve, showcasing the key steps:
- Disconnect the car battery
- Remove trim panels
- Unscrew mounting screws
- Take out the stereo unit
- Remove the installation bracket
The visual guide is essential for anyone looking to undertake this task, ensuring that the process is clear and accessible.
Source References: