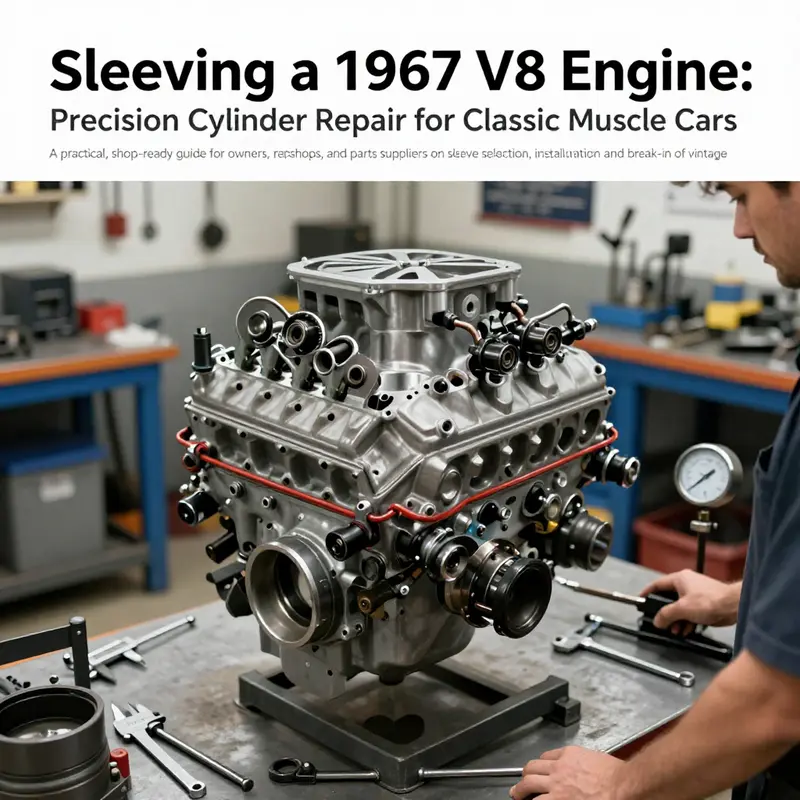
For classic muscle cars, a worn cylinder wall can compromise reliability, power, and longevity. Sleeving a 1967 V8 engine — whether you’re restoring a Mopar, a Ford Y-block, or a Buick big-block — restores cylinder integrity with precision-engineered sleeves that restore compression, oil control, and sealing. This guide speaks directly to motorcycle owners expanding into classic car maintenance, auto owners pursuing longevity, auto parts distributors stocking sleeves, and repair shops delivering professional rebuilds. Each chapter builds on the last: from disassembly and inspection to selecting the right sleeve, from careful installation to finish machining, and finally to reassembly and break-in. The goal is clear: provide a technically grounded, procedure-focused framework that helps practitioners assess wear, choose the right components, execute a precise fit, and verify results before the engine returns to service. With disciplined attention to measurement, heat-shrink fit, and proper honing, sleeving becomes a durable solution for aging V8s in classic performance machines.
Chapter 1: Rebuilding a 1967 V8’s Core — Disassembly, Inspection, and the Sleeve Assessment

The 1967 V8 era carried a particular sense of purpose. Heavy, muscular blocks formed the backbone of Saturn-quiet highway cruises and salt-spray nostalgia alike. When sleeves enter the conversation, they arrive not as a flashy upgrade but as a careful restoration of the engine’s heart. Sleeving a vintage V8 is a disciplined blend of metallurgy, precision measurement, and patience. It starts with respect for the block’s history and ends with the confidence that the rebuilt cylinder walls can withstand the life of a modern street and a healthy dose of horsepower. The chapter that follows treats the process as a continuum, not a checklist, because each engine block carries its own stories of heat cycles, stress, and maintenance gaps. Disassembly is not merely taking parts apart; it is cataloging the block’s memory and preparing a canvas that will receive a precise, durable sleeved bore.
Disassembly begins with access. The engine must be removed from the vehicle and mounted so every face can be evaluated and every port cleaned. As the valve train, timing set, and pistons are eased free, the mind must stay focused on orientation and corrosion signals that appeared over decades. Heads come off first, and it is easy to overlook the subtle clues behind each gasket surface. A careful eye will notice heat discoloration along the deck edges, slight warping at the cylinder diameters, or staining that hints at coolant or oil intrusion into the bore. When piston rings are extracted, the bores reveal their wear pattern in a way that is telling before any measurement device is even brought to bear. Remove the pistons with care, noting which way each ring lands for accurate reassembly later. The crankshaft may remain in place for some folks, but many sleeving procedures require the crank to be out of the way to gain unimpeded access to the bore surfaces and the sleeve seats. Photographing each corner, each bore, and each surface becomes a practical habit; it preserves the decision trail for sleeving and helps confirm the correct sleeve size and installation approach later.
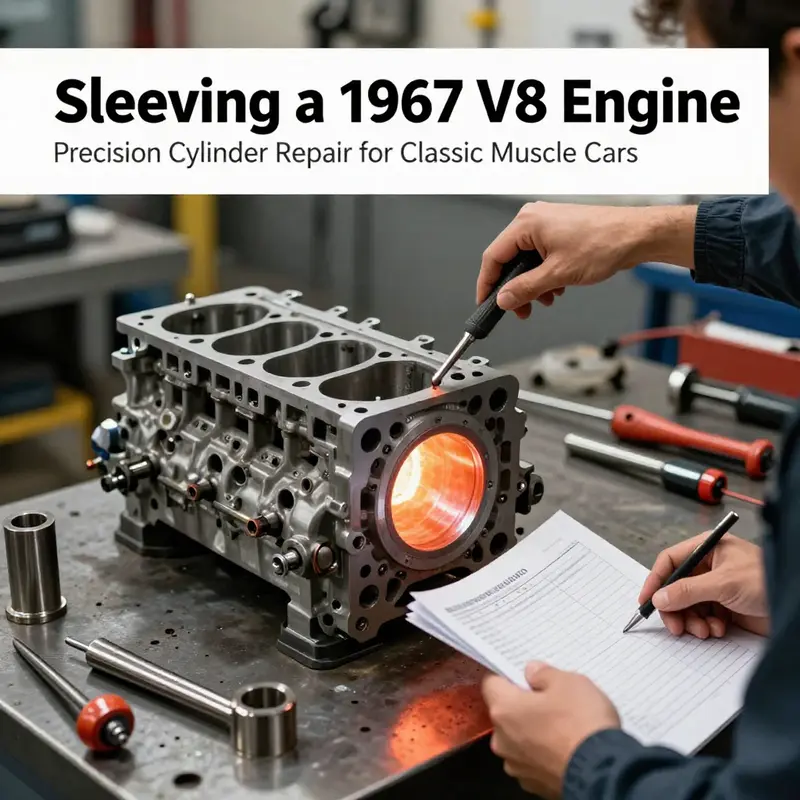
A crucial decision point awaits in the bore area. Old sleeves, if present, must be removed so that the block can be evaluated for its suitability to new sleeves. This step is not simply a mechanical removal; it is a diagnostic moment. Dry sleeves are pressed or driven out with a sleeve puller, while wet sleeves demand extraction tools designed for the specific sleeve and block combination. There is an art to this step: the sleeves must come out without distorting the bore walls or the deck planed surfaces. If the block is harmed during removal, that damage itself becomes part of the assessment—perhaps a signal that more extensive block work is needed before sleeving can be contemplated. As the sleeves depart, a clean, unobstructed bore surface is revealed. It is time to measure.
Inspection and measurement follow a measured philosophy. The block’s integrity becomes the primary variable; cracks, warping, and corrosion become the adjectives that define the decision tree. The bore surfaces are scrutinized for scoring, glazing, or glazing and scoring in combination. A bore gauge checks each bore at several points around the circumference and along the length to reveal taper, out-of-roundness, and any eccentricity. A micrometer then confirms the diameter to a high precision, establishing a baseline for sleeve oversize options and the eventual final bore after honing. Surfaces that will carpet the sleeve seat—deck faces, chamfers, and counterbores—are checked for deformation or heat-affected zones. Any deviation from flat, square, and true invites a conversation about whether the block should be remachined or replaced. The sleeve fitment surfaces are measured to ensure the deck height, the seating faces, and the bore chamfers will align with the chosen sleeve type and the intended sealing method.
From there, the question of sleeve type and compatibility arises. While many classic blocks relied on cast-iron sleeves for durability and a historically proven wear surface, some engines used steel sleeves for higher strength under load. The selection must reflect the original bore size, deck height, and the block’s material characteristics. In a precise, modern context, the goal is to achieve an interference fit for dry sleeves or a reliable seal interface for wet sleeves, without compromising bore geometry. This is a moment to respect the block’s original architecture and the sleeves’ performance promises. The measurements taken during inspection feed directly into whether the block can accept the sleeves with minimal additional machining: a simple sleeve press might suffice, or a deck face might require resurfacing to restore proper sealing planes.
Preparation of the cylinder block proceeds with a clean slate. Cleanliness matters more than most people realize because oil, gasket residue, and tiny debris can derail the fitment of a sleeve and the subsequent plateau honing that follows. After a meticulous clean, the bore is prepared by boring or honing to the target diameter that the chosen sleeve requires. The distinction between dry and wet sleeves guides the preparation strategy: dry sleeves demand a precisely controlled interference fit, while wet sleeves rely on robust sealing surfaces that must be flat and clean. It is a reminder that the sleeving decision is not merely about a sleeve wall; it is about a complete interface where coolant, oil, and piston rings interact. The compatibility of sleeve material with the block’s metallurgy and cooling system is a practical concern, too. The block’s history with overheating or coolant losses can influence how aggressively it is prepared for sleeving.
When sleeves are ready to be installed, the process again emphasizes precision and restraint. For a dry-sleeve installation, the bore is kept perfectly clean and aligned before a hydraulic press is engaged. The sleeve slides into the bore with its lips protected, and care is taken to ensure it remains perfectly perpendicular to the block face. Any misalignment soon translates into out-of-round bore conditions that will defeat a proper seal or cause ring land issues. The objective is a flush seating where the sleeve end sits just below, or at, the deck plane, depending on the block’s geometry and the sleeve’s design. For wet sleeves, sealing surfaces must be pristine. The gasket surfaces, any O-ring grooves, and the sealing interface around the sleeve must be free of scratches or debris that could become leak paths. In either case, post-installation measurements confirm the bore diameter and the seating of the sleeve, validating that the target tolerances remain intact.
Final machining and honing then refine the interior life of the cylinder. After installation, honing creates the right cross-hatch texture and an acceptable surface roughness that matches the ring material and the piston’s requirements. A plateau honing approach often yields the best balance between oil retention and ring seating. The roughness target depends on the ring combination and the engine’s intended service, but the principle remains: a controlled finish reduces break-in wear and promotes long-term performance. The block should be kept clean during this step, with air blasts and solvent swabs used judiciously to avoid contaminating fresh bore surfaces. The final geometry is checked again with bore gauges to confirm roundness and straightness, ensuring none of the subtle deviations observed during earlier checks have drifted in during the finishing work.
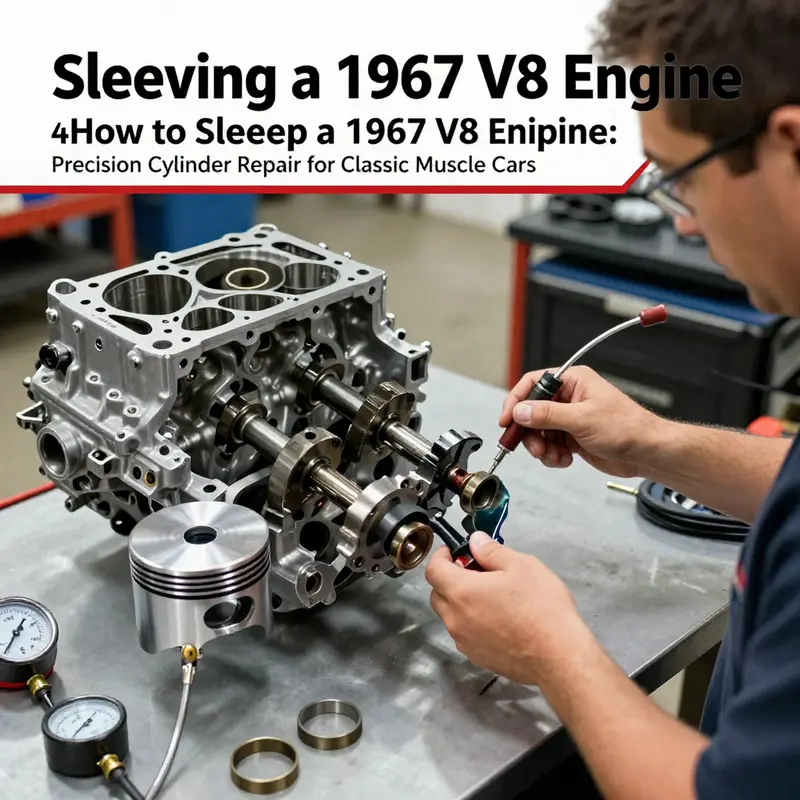
Reassembly is a respectful reversal of the dismantling, but it is not a moment to hurry. Piston rings, pistons, and connecting rods are installed with deliberate care, and the crankshaft, if removed, is returned with the correct torque sequence and lubrication. Gasket surfaces require meticulous cleaning, and all fasteners are torqued to the precise specifications in the correct order. The engine is then filled with oil and the cooling system is refilled, taking into account any changes in the sleeve configuration that affect coolant flow paths. The goal of this stage is to create a sealed, stable engine interior where the sleeves can perform as designed under life-cycle stresses. A leak-down test or a compression test offers the first quantitative glimpse into the health of the restored cylinders, and any cylinder showing weakness prompts a targeted check of ring seating, bore diameter, and sleeve contact.
Testing and verification seal the process with a practical verdict. The initial startup is a moment of cautious observation: listening for unusual noises, watching for leaks, and noting any temperature anomalies. A thorough compression test across all cylinders checks for sealing uniformity and a baseline against which future consumption can be judged. If the sleeves are wet, a coolant pressure test confirms coolant integrity around the sleeve interfaces, ensuring that the sealing surfaces are performing as intended. Break-in procedures then follow a measured tempo, allowing piston rings to seat and oil film to develop without abrupt, high-load demands. Oil consumption, pressure behavior, and cooling efficiency become performance signals for the first miles of road use after a sleeved build. The entire sequence—from disassembly to initial run—depends on patience and precision. The goal is not a flashy first start, but a confident, repeatable operation that will endure the miles.
In practice, sleeving a 1967 V8 is most robust when the team treats the block as a living history. The decision to sleeve, the choice between dry or wet sleeves, and the exact machining tolerances all hinge on the block’s age and the intended use. A rebuild is not merely about returning to a past spec; it is about creating a reliable foundation for a future with more miles, more memories, and the occasional spirited drive. The best work respects the block’s casting quality and the era’s engineering norms, blends those with modern sleeve materials and finish techniques, and finishes with a careful, measured reassembly and testing protocol.
To deepen your understanding of the broader context of engine sleeves and their place in modern rebuilding, you can explore a focused explainer on engine sleeves, which provides a concise overview of what sleeves are and why they matter in a sleeved engine. engine sleeves.
In the spirit of shared knowledge, this chapter also nods to established references that outline sleeve types, fitment philosophies, and practical installation guidance. The overarching takeaway is simple: a sleeved cylinder block demands exacting measurement, careful preparation, and disciplined execution. The goal is not a single flawless step but a coherent sequence that preserves bore geometry, ensures a secure fit, and enables dependable long-term operation. This approach applies whether the target engine is the 426 Hemi family, a classic V8 block like the big Mopar family, or a Ford FE-era chassis that has earned a second life through sleeving. The details may vary with block design, material, and sleeve type, but the core discipline—measure, fit, seal, finish, verify—remains constant.
External resource for further reading: https://www.engineersedge.com/machineryengineering/cylindersleeving_1.htm
Chapter 2: Selecting Sleeves and Preparing the Block for a 1967 V8—Foundations of a Durable Sleeved Restore
Sleeving a 1967 V8 is a careful restoration that anchors the rebuild. The choices you make in sleeve selection and block preparation set the stage for long‑term reliability, compression integrity, and oil control. This chapter focuses on choosing the right sleeves and preparing the block so the installation finds a true, stable home. The goal is to create a cylinder wall that behaves like a modern, well‑mated pair within a vintage chassis, while respecting the block’s original design and the wear it has seen. A methodical mindset, a clean workspace, and a clear plan ensure the sleeve’s geometry aligns with the engine’s intended performance envelope. Selecting sleeves begins with compatibility with the block; a 1967 V8 can originate from several families with varying bore diameters and deck heights, so the sleeve must match the original bore size and deck geometry. Cast iron sleeves are the usual choice for classic builds for their wear characteristics, while steel sleeves offer higher strength with proper handling to avoid heat distortion. The decision should reflect whether the build is street‑driven or higher‑performance, with machine‑shop oversight guiding the choice.
The sleeve oversize option matters when the block has been bored beyond stock. Common steps include .030, .040, and .060 oversize, and each requires a corresponding sleeve diameter. The machinist must plan the full bore‑to‑sleeve stack before ordering sleeves to restore wall thickness and piston clearance accurately. Accurate measurement with bore gauges and micrometers is essential, and the saying measure twice, cut once applies here. If the bore and sleeve don’t match, heat and pressure during service will reveal the mismatch as binding or leaks.
Internal fit is as important as external fit. The sleeve bore must be matched to piston design and compression goals to prevent excessive friction or poor ring seal. A well‑matched bore helps ring seating and reduces glazing or leakage during break‑in. Block preparation includes verifying flat, true deck surfaces, cleaning water jackets and oil passages, and ensuring a debris‑free bore edge for proper sleeve seating. If warpage exists, deck milling may be required to restore true surface geometry. After sleeves are installed, final boring to the exact sleeve primer size and a compatible cross‑hatch finish are used to achieve optimal ring seal and minimal oil consumption. The result is a cylinder that behaves as a unified component with the sleeve, capable of handling heat and pressure reliably.
When reassembling, attention to torque sequences, bearing clearances, and timing relationships remains crucial. A leak‑down and compression test after initial start provides a snapshot of cylinder integrity, while a careful break‑in with controlled heat cycles and oil changes yields long‑term performance. In sum, selecting sleeves and preparing the block for a 1967 V8 is a disciplined craft that merges vintage engineering with modern precision, creating a durable foundation for sustained power delivery, cooling efficiency, and oil retention. For reference, consult an engine component catalog and work with an experienced machine shop to translate these principles into a build that stands the test of time.
Chapter 3: Precision Sleeving a 1967 V8 — From Press Fit to Plateau Hone and the Art of Longevity

When you reach the point of sleeving a 1967 V8, the work moves beyond simple restoration and into a careful act of engineering patience. The goal is not merely to replace worn walls but to restore the cylinder with a precise, enduring barrier between piston rings and the tough demands of a high-performance, age-woured block. The process begins long before the first sleeve touches the bore; it starts with a disciplined inspection that defines the path forward. Disassembly reveals the true condition of each bore, and a bore gauge, used with steady hands, tells you whether the walls have enough measurable life to justify honing alone or if a full sleeve is the safer route. In engines of this era, wear can be uneven. Some bores show shallow scoring from old rings, others carry microcracks that only a careful magnifier and a trained eye can confirm. The decision to sleeve rests on those measurements, but so does the choice of sleeve itself, which will govern how well the block retains oil, how the rings seat, and how reliably the engine breathes at wide-open throttle many years after the rebuild. The concept of sleeve technology—to restore the bore by inserting a cylindrical wall with a stable, concentric inner surface—appears straightforward on paper. In practice, it demands exacting fitment, clean machining, and a controlled finish that lets the piston rings find their new, stable seating. For those who seek a compact reference to the sleeve idea itself, a concise explainer linked in a dedicated resource provides a clear overview: What are engine sleeves? This primer helps anchor the discussion as you move from rough measurements to precise metalwork. What are engine sleeves?
With a decision to sleeve made, the next step is selecting the sleeve type and ensuring compatibility with the 1967 block you’re working on. Cast-iron sleeves offer reliable, wear-resistant walls that suit vintage V8s well, while steel sleeves provide additional strength for high-stress builds or engines that see spirited use on weekends. The critical constraint is bore size and deck height alignment—the sleeve must drop into the bore with an interference fit that is neither too tight to install nor too loose to hold. The block is inspected for straightness and the deck surface is checked for any warping or irregularities that could compromise the sleeve’s seating. Compatibility is more than a model label; it’s a matrix of bore diameter, sleeve length, and the material’s flex under heat and pressure. In some restorations, builders rely on a precise, purpose-built sleeve set designed for classic V8s, and in others, they adapt standard sleeves with careful measurement and machining. The modern machinist’s toolkit, while vast, remains anchored by a few cardinal steps: make sure your sleeves match the original bore and the intended piston and ring package, and verify your engine block’s tolerances before you touch a single bore with a cutting tool.
The block preparation is where technique takes center stage. The block must be pristine, free of old gasket residues, and free of any debris that could compromise the seal between the sleeve and the block. A thorough cleaning follows, and a boring operation is performed with a purpose: enlarge the cylinder bores just enough to accept the sleeves without creating any misalignment or taper. Deburring the holes is essential, because a sharp edge can pinch or tilt a sleeve during press-fit. A precise boring bar or a dedicated engine boring machine is used to achieve a uniform diameter, and the operator meticulously checks concentricity between the bore’s center and the crankshaft centerline. This careful preparation is not a cosmetic step; it is the foundation of the entire restoration. The patience required here cannot be overstated, because any deviation at this stage translates into rough idle, reduced compression, or uneven wear once the engine runs.
When the block is ready, the actual sleeve installation begins. The block is heated just enough to allow the metal to expand; the sleeve is then pressed into the bore with a hydraulic press or an arbor press. The key is control: even, steady force, guided by fixtures that ensure the sleeve remains perfectly coaxial with the block bore. If the block is heated too aggressively, the sleeve can distort or seize during cooling. The goal is a clean, flush seating where the sleeve’s outer surface sits exactly at the block surface or slightly below, depending on the deck height specification. Slow, uniform cooling follows to develop an interference fit that anchors the sleeve without stressing the block. A misaligned sleeve becomes a chronic source of oil leaks and wears down the ultimate life of the engine; therefore, alignment checks after installation are a nonnegotiable part of the process. In many shops, this is where the art of the job becomes visible: small fixtures hold the sleeve steady as it seats, and the operator double-checks the registry against the crankshaft centerline to confirm true concentricity before calling the sleeve job complete.
With the sleeves in place, finishing machining resumes. The inner diameter of each sleeve must be brought to the exact final bore size for the intended piston and ring combination. This is where precision tools—boring bars held to careful tolerances, micrometers that read to tenths of a thousandth, and clean, heat-controlled environments—come into play. The finishing cut must maintain a consistent depth across the entire circumference of the sleeve, avoiding any taper that could throw off ring seal or oil control. After the final boring pass, the inner surface is honed to achieve the recommended crosshatch pattern, a delicate balance that favors both ring seating in break-in and long-term oil retention. Plateau honing is often the chosen method because it creates a flatter, more uniform surface that aids piston rings in achieving a controlled seating without scuffing. The crosshatch, subtly tuned by the finish, allows oil to coat the ring faces evenly as the engine first comes to life, a quiet but essential contribution to durability. This stage is the synthesis of the builder’s skill: the boring must be precise enough to meet a strict diameter, and the honing must be consistent enough to produce the optimal surface texture—neither too coarse to cause oil loss nor too fine to hamper ring seating.
The sequence does not end with the last run of the honing stone. The post-machining check is as important as any step in the procedure. A careful instrument run-down evaluates the bore diameter and roundness, and a test fit with a piston and rings in a mock assembly confirms that the final clearance and surface finish will perform as intended. Any misstep here is cumulative: a tiny out-of-roundness or a micro-taper in one bore stresses the entire set of cylinders as the engine heats and cools during break-in. The philosophy behind this approach is simple but exacting: you want the sleeves to act as a single, seamless wall that holds compression, guides the rings, and manages oil precisely where it is needed. The goal is not only restoration but predictable performance, even when the engine is pushed toward its practical limits on a modern track day or a spirited highway drive.
Reassembly follows a deliberate rhythm. The pistons, rings, crankshaft, camshaft, and ancillaries return to the block with meticulous cleanliness and correct lubrication. The first cranking attempts are accompanied by leak-down and compression checks that verify bore integrity and ring seating, confirming that the sleeves have not shifted and that the rings have established a reliable seal. The initial runs are short and often chilly, followed by careful oil changes and staged idle and light-load cycles designed to ignite a proper break-in. In a vehicle of this era, the break-in is one of the few ritual moments left that honor the engine’s legacy while recognizing the new, engineered tolerances that sleeves introduce. The careful, measured approach to start-up protects the investment and sets the stage for years of dependable service if the engine is treated with the respect a classic V8 deserves.
This work, while highly rewarding, is not a solo endeavor. The precision demands that a skilled machinist or a certified engine builder—someone with a track record of working on classic V8s—conduct the sleeving. The height of expertise comes not just from following a sequence but from interpreting the block’s unique features: the core shift, the valve deck height, and the potential presence of counterbored oil galleries that must be preserved. Compatibility remains a central concern. Engines from 1967 spanned a spectrum of configurations and displacements; the bore size, deck height, and the block’s material behavior under heat influence every decision. In practice, sleeving can be paired with parallel upgrades—stout pistons, refined cam profiles, and upgraded valvetrain components—so long as those changes respect the engine’s enduring architecture and the block’s structural limits.
As you consider the broader context, it helps to connect the workflow to the practical realities of restoration missions. Sleeving is often a decisive step in reviving a block that, though otherwise solid, has become a consequence of age and use rather than a simple wear pattern. The sleeve becomes a new life for the cylinder, a fresh canvas on which the engine’s future is painted—one that can endure when the rest of the drivetrain is refreshed as well. In practice, the sleeved cylinder is but one piece of a larger restoration puzzle, and the choice of how you approach it—whether you temper the project with a light rebuild or a more aggressive performance-oriented build—depends on the car’s goals, the owner’s expectations, and the shop’s confidence in delivering a consistent, measured result.
For readers seeking deeper context about the practical tools and procedures that flank the sleeve process, the official technical literature often emphasizes the installation method and the precise dimensions required for a proper fit. Those details inform this narrative and anchor the practical steps in a framework of standards. The material science behind sleeves—how the interference fit behaves during heating and cooling, or how the surface finish influences lubrication and wear—becomes a quiet undercurrent that explains why every step matters. It is in those subtleties that the craft reveals its value: a well-installed sleeve is a conduit for longevity, resilience, and a measured, predictable performance that honors the engine’s history while embracing the demands of modern operation. For readers who want a concise, technical introduction to sleeves themselves, a compact overview can be found in dedicated resources that explain the sleeve concept and its role in engine rebuilding. If you wish to explore the sleeve concept further, you can visit the linked article on engine sleeves for a foundational understanding.
To close this chapter, consider how the sleeving journey connects to the larger arc of the restoration: each step—from inspection through installation, finishing, and break-in—builds a chain of precision that translates into reliable power and enduring performance. This is where restoration becomes craftsmanship, and why the sleeving process, though technically demanding, is often the most transformative act a vintage V8 can undergo. By honoring the block’s original geometry, respecting the tolerances, and aligning every action with a disciplined plan, you bring a 1967 V8 back to life in a way that blends history with modern reliability. For those who wish to cross-check technical context or access broader guidance, an external resource provides a curated reference on sleeves and their applications in engine blocks. https://www.felpro.com/products/repair-sleeves
Breathing New Life into a Sleeved 1967 V8: Reassembly, Testing, and The Break-In Ritual
Restoring a sleeved 1967 V8 is more than a technical procedure; it is a careful conversation between preparation and precision, where every micrometer, every torque value, and every moment of patience counts. After the sleeves have been pressed into a block, the engine enters a phase where cleanliness, alignment, and correct assembly become the defining factors of reliability and performance. The reassembly process is a choreography of tightening tolerances and restoring the healthy geometry of the rotating assembly. It demands a mindset that blends old-school mechanic intuition with the exacting standards of modern machine work. When done correctly, a sleeved cylinder block can not only reclaim compression and durability but also recapture the sense of power that made a classic 1967 V8 legendary on the street and at the strip. The path from sleeved walls to a dependable, well-behaved idle is paved with deliberate steps that protect the new walls, preserve oil control, and ensure the piston rings seat properly against the freshly sleeved bores. It begins with an immaculate workspace, because the clean room is as essential to a successful build as the right torque or the correct end play. The block should be free of oil film, metal shavings, and gasket remnants. A lighting rig that reveals every corner is indispensable, for even a tiny particle can become a scoring stone when it lodges in a bearing clearance or finds its way between a piston ring and the sleeve wall during break-in. With the bore surfaces pristine, the sleeves themselves must be verified for concentricity and snug fit. A micrometer and a proper reference gauge are used to confirm that the sleeve diameter remains within the specified tolerance—typically +0.0005 inches to +0.0015 inches over the original bore size—so the piston rings can seal correctly without excess gap or rubbing. The alignment of sleeves with deck height is equally critical here; sleeves must sit squarely with the block face so the pistons travel true and the decks seal evenly against head gaskets. This level of verification seems almost ceremonial, yet it is the quiet backbone of a durable sleeved engine. Once the sleeves are confirmed, you move to the heart of the reassembly: pistons, rings, and the ring pack. The pistons are carefully oriented, with attention paid to the orientation marks and the slight differences among the rings. Each piston ring is installed in its proper groove, and the ring lands are lubricated with a thin film of clean engine oil to prevent micro-scuffing as the rings enter the bore. A ring compressor is used to gently guide the pistons into the sleeves without bending or nicking the rings. The piston-to-wall clearance—this is the critical space that determines oil control and ring sealing—must align with the engine’s manufacturer’s specification. In practical terms, that often translates to a clearance of about 0.002 inches to 0.003 inches, measured with a feeler gauge after the piston is seated and the rings are fully compressed. This step, seemingly small in isolation, becomes the foundation for effective compression and durable ring seating throughout the early miles of life after sleeving. The next act in the reassembly drama is the installation of the crankshaft and its bearings, followed by the connecting rods and their bearings. The main bearings are seated in their caps and the block with careful attention to fit and lubrication. A thin film of engine oil coats the bearing surfaces, creating the path for oil film formation as soon as the engine spins. The main caps are torqued in the sequence prescribed by the service manual for the engine variant, typically starting at the center and working outward. The final torque value, for many 1967 V8 configurations in this family, lands in a narrow window around 75 to 85 ft-lbs, but the exact number must be confirmed against the specific model’s manual. Precision in this step cannot be overstated; an uneven cap seating or a misordered torque sequence can lead to bearing wear and a costly failure long before the engine has much mileage. After the main bearings, the rods are reattached. The rod bearings are installed with their caps, and the rod bolts are torqued to the manufacturer’s specification, frequently in the 65 to 75 ft-lbs range. The torque sequence for the rod caps must be followed with a calibrated torque wrench, and the caps are oriented with the correct side up and the marks correctly aligned to prevent misfit. It is easy to rush this stage, but any deviation can produce an out-of-round crank or a scuff pattern on the bearing surface, undermining the long-term reliability of the sleeved block. With the bottom end secure, attention shifts to the camshaft and lifters. The cam lobes should be clean and lubricated with assembly lube before installation. The timing chain or belt is installed according to the engine’s specific timing procedure, with the marks aligned so that the valve timing matches the intended cam phase. The distributor is then positioned so that its rotor points toward the number one spark plug tower when the engine is at Top Dead Center on the compression stroke. This alignment is the gateway to a clean start and a predictable ignition event, which is crucial for the initial break-in and for avoiding timing-related misfires that can poison a fresh bore or a new sleeve. When the heads are finally placed, the surface where the head gasket will meet the block is prepared with care. A gasket sealant is applied per the manual’s guidance to prevent any leakage paths, and the head bolts are torqued in multiple passes in a crisscross pattern. The final torque is commonly in the 65 to 75 ft-lbs range, though the exact figure depends on the engine variant. After the final torque, there is a necessary pause—the bolts must settle, allowing the clamping force to normalize before the engine is rotated and tested. This moment of rest helps to ensure uniform gasket compression and a stable sealing interface from the outset. All of this is more than a matter of completing a checklist; it is about constructing a reliable, repeatable engine that can go on to perform under the stress of a sleeved cylinder wall. Once the top end is closed, a conscientious reassembly includes a thorough double-check of every hose, line, and connection. A careful inspection of fluid levels—oil, coolant, and the remainder of the fuel and vacuum lines—reduces the chance of a leak or air ingress that could derail the initial run. With the engine assembled, the testing phase is the next major stage, a practical rehearsal before the engine actually runs under its own power. The first check is a pre-start inspection: confirm that all bolts are in place, the ignition system is complete, and the fuel system is primed. Connect the battery and, with the key in the “on” position, listen for the fuel pump priming—the telltale whir that signals the system is pressurizing and ready for the first cranks. When you finally turn the key, the engine will likely cough and settle into a rough idle as the oil, fresh from the break-in, coats the cylinders and bearings. The oil pressure, an essential health indicator, should rise quickly within the first seconds of running and settle into a steady range typically between 30 and 60 psi at idle. If the oil pressure is low or absent, the engine should be shut down to prevent damage and to diagnose the issue before attempting a restart. The initial run is not a race; it is a controlled shakedown. The engine should be allowed to idle for 10 to 15 minutes while temperature, oil pressure, and exhaust condition are monitored. A small amount of blue smoke is generally expected as the rings burn off residual oil; however, thick white smoke can signal a head gasket issue or misassembly, while persistent black smoke might indicate an ignition or fuel-system problem. The goal is to reach a stable, quiet idle that gradually warms and shows consistent readings across the gauges. The break-in phase is the period where the engine learns its new geometry and seating. For a sleeved engine, the recommended regimen calls for at least 500 miles of varied driving, with a preference for not pushing the engine to peak RPM or sustained high-speed duty during this initial period. A routine mile-by-mile plan is to keep RPM below 3,000 for the first 100 miles, then gradually incorporate more variable driving—city stops, highway speeds with gentle acceleration, and modest bursts of power to promote even wear patterns and good ring seating. The first oil change should occur around 100 miles, with a high-quality oil appropriate for break-in duties and a new filter. This early change is critical to remove iron and other particles produced during the initial seating, and it helps to maintain clean rings and bearings as the engine’s surfaces settle. It is natural for the engine to consume a little more oil during break-in; monitor consumption and verify it remains within acceptable limits as reported by the engine’s manual. After the 500-mile mark, another oil change is prudent, followed by a transition to the regular maintenance oil that will protect the engine during its daily duty. The break-in is a delicate ritual because it defines the wear patterns that will define longevity. It is not a time for aggressive timing changes or high-load testing; the emphasis is on stable operation, proper lubrication, and gradual pressure on the mechanical interfaces. A sleeved block demands this disciplined approach even more than a standard rebuild because the sleeve-to-block interface, while secure, is still a surface that benefits from patient seating and careful oil film formation before demanding long hours of operation. In this sense, the reassembly and break-in are inseparable acts: one sets the stage with precision-fitting sleeves and clean surfaces; the other guards the performance with prudent driving and methodical maintenance, ensuring the rings seat evenly and the bearings wear in uniformly. The results, when these steps are observed, are not just better compression numbers or higher dynamic rigidity; they are a smoother idle, predictable throttle response, and the confidence to push the engine in performance contexts without fear of a sudden failure. The artistry of sleeving a 1967 V8 lies in translating the technical specifications on paper into a living, breathing engine that can endure a lifetime of spirited driving. For those seeking a broader understanding of sleeve concepts and their place in engine design, a concise primer on engine sleeves can be found here: What are engine sleeves?. This reference helps frame why the sleeved walls are so much more than a replacement part; they are an engineered solution that, when paired with precise reassembly and disciplined break-in, can restore classic V8s to near-original performance while preserving their hard-earned heritage. External resources provide additional context for those pursuing long-term restoration goals and a broader view of classic engine rebuilding. For further reference on traditional rebuild practices and vintage V8 specifications, see a detailed guide available online: https://www.classiccarrestoration.com/chevrolet-small-block-v8-1967-rebuild-guide
Final thoughts
Sleeving a 1967 V8 engine is a precise, technical process that blends classic machining with modern reliability goals. By methodically disassembling and inspecting the block, selecting the correct sleeving material, preparing the bore, executing a careful press-fit, and finishing with plateau honing, you create a durable, long-lasting restoration path for vintage V8s. When paired with thoughtful reassembly, leak-down and compression checks, and a proper break-in, sleeving delivers dependable performance gains and extended engine life. For shops and distributors, this approach translates into repeatable standards, clear communication with customers, and a solid framework for quality rebuilds that honor the heritage of 1960s American muscle.