When it comes to upgrading or replacing your car’s audio system, one common hurdle many enthusiasts face is how to effectively remove car stereo sleeve. This seemingly simple task can quickly turn into a frustrating ordeal if not approached with the right knowledge and tools. Whether you’re an auto repair shop technician or a hobbyist looking to enhance your vehicle’s sound, navigating the intricacies of the dashboard and stereo components is crucial. From ensuring you have the right tools at hand, like a trim removal tool or screwdriver, to understanding the layout of various vehicle interiors, each step is essential for a smooth operation. In this guide, we will break down the process into manageable steps, making it accessible yet technically sound for every motorcycle and auto owner. Let’s dive in and tackle this challenge head-on!
Essential Tools for Removing a Car Stereo Sleeve
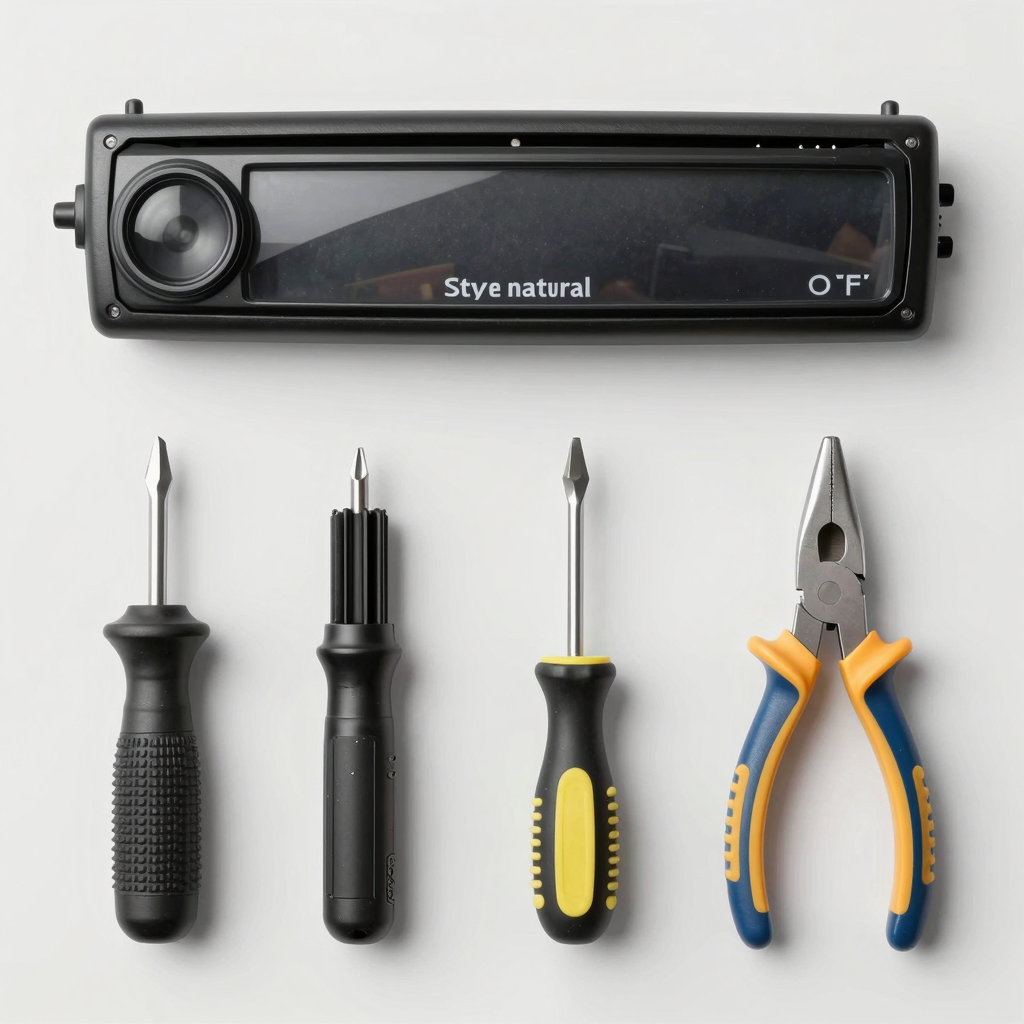
Removing a car stereo sleeve requires a specific set of tools to ensure the process is smooth and damage-free. Here’s a summary of essential tools and materials you’ll need:
-
Plastic Trim Removal Tool: This tool is critical for carefully prying apart the trim without scratching or damaging the dashboard or surrounding areas. It helps you access the stereo without using metal tools that can leave marks.
-
Screwdriver Set (Phillips and Flathead): A standard screwdriver set is necessary for removing the mounting screws of the stereo unit. Depending on the vehicle model, you might also need Torx screwdrivers (like T20 or T25).
-
Socket Wrench or Nut Driver: Some vehicles might require these tools, especially if the mounting screws are recessed.
-
Container for Screws: Keeping screws organized is crucial. A small container or magnetic tray can prevent losing screws during the process, making reinstallation easier.
-
Safety Equipment (Gloves & Eye Protection): While not always mandatory, using safety gloves and glasses can protect you from sharp edges and small debris.
Always remember to disconnect the vehicle’s battery before starting, ensuring safety and preventing electrical shorts. For more tips on proper car maintenance, explore essential car maintenance skills!
Step-by-Step Guide to Removing a Car Stereo Sleeve
Removing a car stereo sleeve can seem daunting, but with the right tools and steps, you can do it efficiently. This guide provides a clear outline to help you safely and easily remove your car stereo sleeve.
Tools You Will Need
- Plastic trim removal tool
- Screwdriver set (Phillips and flathead)
- Clean cloth
- Container for screws
Step 1: Preparation
Before you start, it’s crucial to prepare and ensure safety:
- Turn Off the Vehicle: Make sure that the car is powered down.
- Disconnect the Battery: To avoid any electrical shorts, disconnect the negative battery terminal.
Step 2: Remove the Dashboard Trim
The stereo sleeve is usually held by a dashboard trim. Follow these sub-steps:
- Locate the Trim: Identify the area surrounding the stereo where the trim needs to be removed.
- Pry the Trim: Use a plastic trim removal tool. Insert it gently between the trim and the dashboard and pry outward.
- Check for Hidden Clips: Be careful around any hidden clips that might require additional attention. Disconnect any electronic connections if necessary.
Tip: For a detailed reference on handling car electronics, read more about car maintenance skills.
Step 3: Unscrew the Stereo
Once the trim is removed, you need to access the stereo:
- Locate the Screws: Look for all mounting screws around the stereo, which can be 4-6 in number. Some may be hidden beneath the trim or rubber caps.
- Remove the Screws: Use the appropriate screwdriver to remove these screws. Place them in a labeled container to avoid losing them.
Step 4: Disconnect Wiring
To safely remove the stereo, you must disconnect it from the wiring:
- Identify Connectors: Locate the wiring harness attached to the back of the stereo. This may include power, ground, antenna, and speaker cables.
- Release Connections: Press the release tabs on each connector and gently pull them out, avoiding any force to prevent damage.
Step 5: Remove the Stereo
With everything disconnected:
- Pull the Stereo Out: Gently pull the stereo from its housing. Ensure no wires are snagged during removal.
- Inspect and Clean: Once removed, inspect the area for any damage and clean it as necessary with a cloth.
Tip: If you want to ensure the longevity of your car’s audio system, consider looking into essential engine upgrades for performance, which are closely related to maintaining your vehicle’s overall health. Learn more about essential upgrades.
Step 6: Document Connections for Reinstalling
It’s important before reinstallation:
- Take Photos: Document the wiring and mounting setup for easy reinstallation later.
- Keep Parts Organized: Make sure all screws and connectors are kept in an organized manner to avoid confusion when putting everything back together.
Conclusion
Removing a car stereo sleeve doesn’t have to be a complex task. With the right preparation and careful handling, you can manage this process on your own. Be mindful of all connectors and screws during the process to ensure safe reinstallation. Happy DIY-ing!
Stereo Sleeve Removal Checklist
-
Disconnect Battery
Disconnect the negative terminal of the battery to prevent electrical shorts. -
Remove Trim Panel
Carefully pry off the trim panel surrounding the stereo. -
Unscrew Sleeve
Locate and remove screws securing the stereo sleeve in place. -
Pull Out Sleeve
Gently pull out the stereo sleeve from the mounting bracket. -
Reconnect New Stereo
Position the new stereo in the sleeve and reconnect any electrical connectors.
This checklist is designed for quick reference in auto repair shops and garages. For further tips on maintaining your vehicle’s audio systems, check out our article on car maintenance skills. Additionally, if you’re interested in upgrading other parts of your vehicle, consider reading about essential engine upgrades for performance.
Essential Tools for Removing a Car Stereo Sleeve
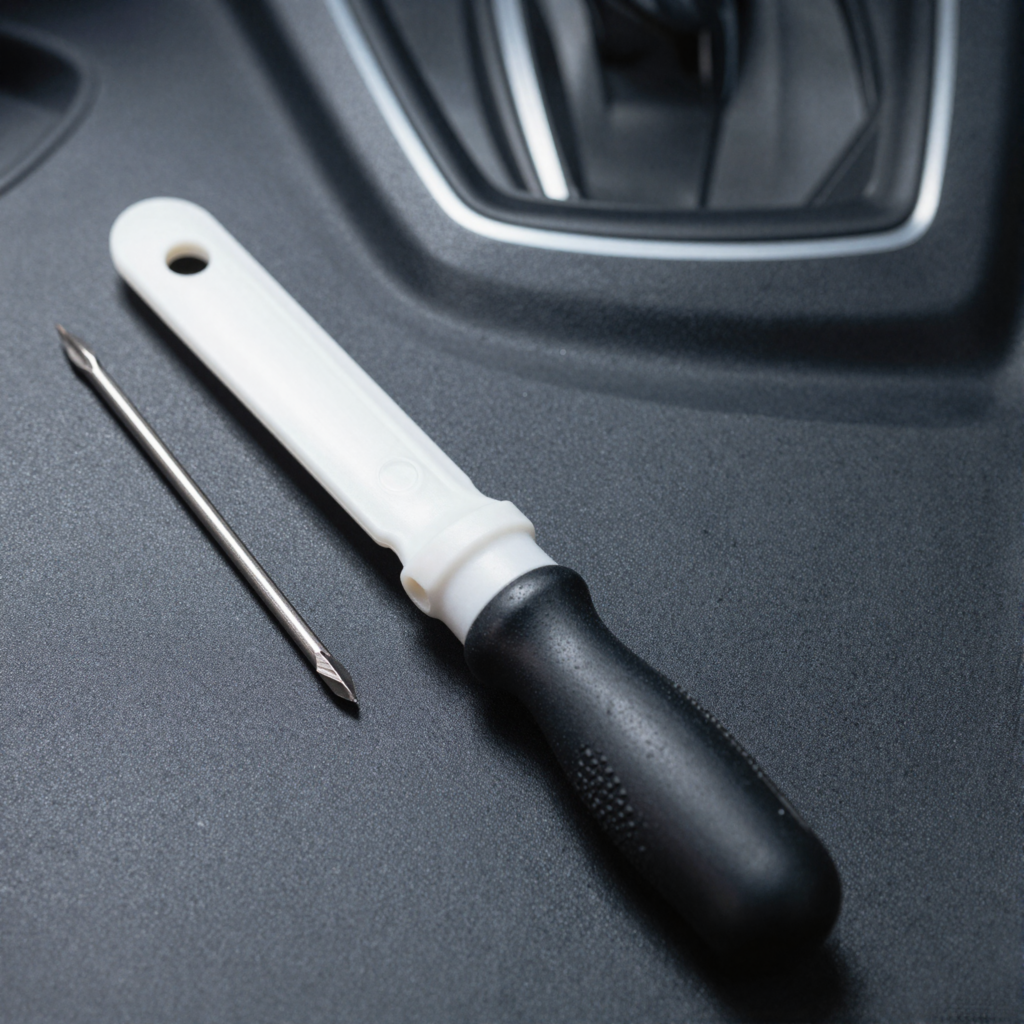
To effectively remove a car stereo sleeve, a few essential tools are required. Here are two illustrative images to help clarify the tools used in this process:
-
Essential Tools:
-
Using the Stereo Removal Tool:
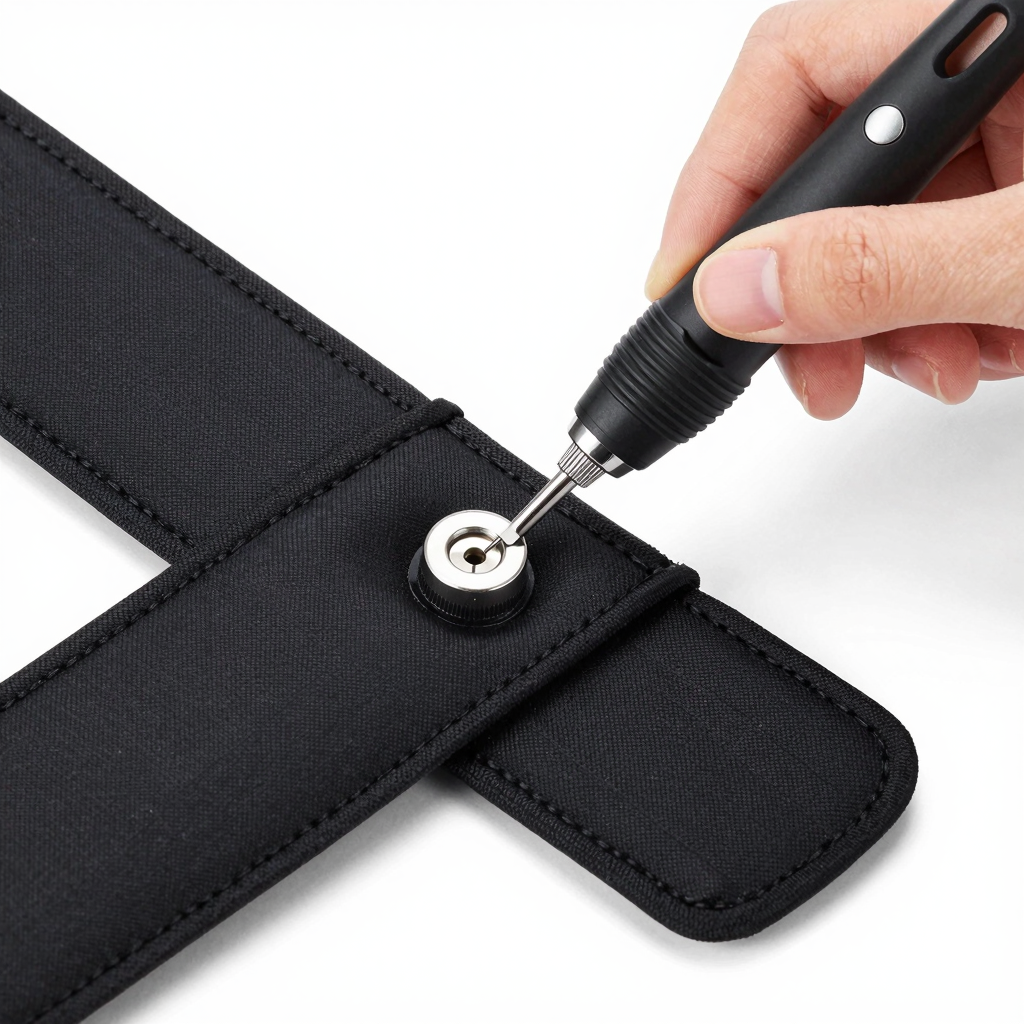
These images provide a clear visual reference for the motorcycle and auto owners, as well as auto repair shops and garages.
Frequently Asked Questions About Removing Car Stereo Sleeves
1. How do I safely remove a car stereo sleeve without damaging my vehicle?
To remove a car stereo sleeve without damage, follow these steps:
- Turn off the vehicle’s power to avoid any electrical surprises.
- Use a plastic trim removal tool to gently pry off the bezel surrounding the stereo. This helps avoid scratches.
- Don’t use excessive force; check for hidden screws that might be holding the bezel in place.
- Disconnect any connectors by releasing their locking tabs before unplugging them.
- Keep small parts and screws in a container to prevent loss.
For a detailed guide, check this resource.
2. Will removing the stereo sleeve affect my vehicle’s electrical system?
No, removing the stereo sleeve will not impact the electrical system as long as you take proper precautions. These include disconnecting the negative battery terminal before starting the removal process. Many modern stereo systems utilize plug-and-play connectors that minimize risk during disconnection. For more tips, refer to MotorTrend’s guide.
3. What common mistakes should I avoid when removing a stereo sleeve?
Some frequent mistakes include:
- Using metal tools during removal can scratch the dashboard.
- Forcing the bezel off can cause breakage.
- Forgetting to document the connector layout may lead to confusion during reinstallation. To ensure you don’t make these mistakes, consider using plastic tools and applying even pressure. Check this article for more insights.
4. What tools do I need for the removal process?
You will typically need:
- Plastic trim removal tools to avoid scratches.
- A screwdriver to remove screws.
- A container to keep screws organized.
Ensure you’re equipped with the right tools to make the process smoother.
“不当操作会损伤内部齿轮、驱动皮带或主控板,尤其在现代集成度高的系统中,一次错误的强行拔出可能引发永久性故障,维修成本是原装替换的数倍。正确的移除流程应先断电,使用专用工具(如塑料撬棒)轻缓施力,避免对金属支架或塑料轨道造成刮擦。”
- Mark Chen, Automotive Specialist
This highlights the necessity of proper techniques when removing a car stereo to avoid costly damages. For more information on essential car maintenance, learn more here.
| Removal Method | Pros | Cons |
|---|---|---|
| U-shaped removal key | Simple to use, widely compatible | Limited to vehicles with removal holes, may damage interior without care |
| Flathead screwdriver | Common tool, versatile | Risk of scratches, less effective for secured stereos |
| Removal tool set | Comprehensive, designed for stereo removal | Costly, may not fit all stereo brands |
| Professional service | Safer, expert handling | Higher cost, time-consuming |
Conclusion
In summary, understanding how to effectively remove a car stereo sleeve is crucial for both vehicle owners and professionals in the automotive sector. The process, while straightforward, requires attention to detail to avoid damage to the stereo unit or dashboard. Key takeaways include the importance of using the proper tools, following safety protocols, and maintaining a logical approach during the removal process. By being informed about stereo sleeve removal, vehicle owners not only save on potential repair costs but also gain confidence in handling minor car upgrades on their own. For further insights into essential car maintenance skills, be sure to check out our article on car maintenance skills. Additionally, understanding how to utilize upgraded audio systems can enhance the overall driving experience, making it even more vital to be well-versed in these procedures. Engage in continuous learning to ensure your vehicles perform at their best, and never hesitate to seek professional help if needed!
Ready to Elevate Your Ride with Summit Fairings?
At Summit Fairings, we understand that every motorcycle and car owner deserves the best. Our custom-fit fairings offer a perfect blend of style and functionality that enhances both the aesthetic and performance of your vehicle. Whether you are a motorcycle enthusiast or an auto repair professional, our fairings provide the perfect solution to meet your needs.
Why Choose Custom-Fit Fairings?
- Perfect Fit: Our fairings are designed specifically for your model, ensuring seamless integration and a sleek look.
- Enhanced Durability: Built with high-quality materials, our fairings stand the test of time, protecting your vehicle while looking great.
- Quick Service Response: We pride ourselves on our quick turnaround time, with responses to your inquiries within just six hours!
- Special Pricing: Take advantage of our fantastic pricing offers, making it more affordable to upgrade your ride.
Don’t settle for the generic when you can have the perfect fit. Explore our customized solutions and discover how Summit Fairings can enhance your vehicle’s performance and aesthetics today!
Join countless satisfied customers who have transformed their rides. Contact us now to learn more and experience the Summit Fairings difference!