When it comes to enhancing your vehicle’s audio experience, mounting a sleeve on your car stereo is a step that shouldn’t be overlooked. A properly installed sleeve not only secures your stereo in place but also significantly boosts audio quality, ensuring that every note resonates clearly, making your favorite tunes sound even more incredible. Moreover, a well-mounted stereo contributes to the overall aesthetics of your vehicle’s interior, providing a sleek and professional finish that is sure to impress passengers and onlookers alike.
Imagine cruising down the highway, the bass thumping perfectly in sync with the rhythm of the road, all thanks to an expertly mounted stereo sleeve. Whether you’re a motorcycle enthusiast or an auto owner with a taste for superior sound, taking the time to ensure a solid stereo installation can transform your driving experience. Stay tuned as we delve into the intricacies of this process and equip you with the knowledge to elevate your car audio setup to new heights.
Required Tools and Materials for Mounting a Sleeve on a Car Stereo
When preparing to mount a sleeve on a car stereo, having the right tools and materials is essential for a smooth installation process. Below is a comprehensive list tailored to fit the needs of both motorcycle and auto owners, ensuring you have everything on hand for this technical task.
Tools Needed
- Philips Head Screwdriver: For removing screws from the dashboard or stereo unit.
- Flat Head Screwdriver: Useful for prying off any trim panels or existing stereo components.
- Wire Strippers/Crimpers: To connect wires securely to the stereo after installation.
- A Trim Tool: To safely remove panels without damaging the interior.
- Drill: Required if new mounting holes are needed.
- Measuring Tape: Ensure that the sleeve fits perfectly within the dash space.
- Level: To make sure the stereo unit is installed evenly.
Materials Required
- Car Stereo Sleeve: The actual sleeve designed to house the stereo, often made of durable plastic or metal.
- Adhesive Tape: 3M double-sided tape is typically used to hold the sleeve in place.
- Mounting Brackets: May be necessary to reinforce the installation, depending on the vehicle.
- Electrical Tape: For insulating any exposed wires during the installation.
Additional Considerations
- Manufacturer Instructions: Always refer to the vehicle’s or stereo manufacturer’s guidelines for specifics on installation.
- Cleaning Supplies: Ensure the installation area is clean and free from dust and grease for a secure fit. Learn more about how to install car stereos effectively.
Having these tools and materials ready will help ensure that your car stereo installation is successful and lasts long.
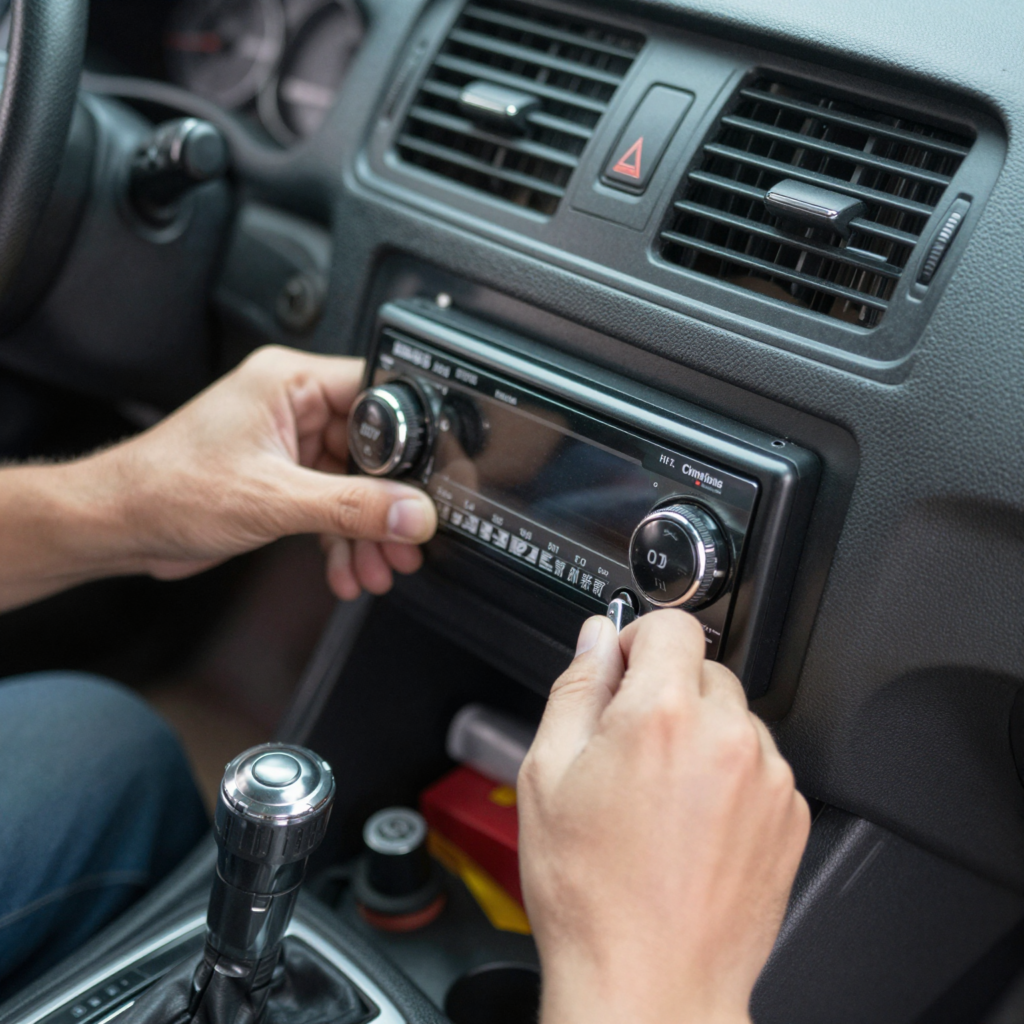
Step-by-Step Guide to Mounting a Sleeve on a Car Stereo
Mounting a sleeve onto a car stereo is a critical task that enhances the aesthetic appeal and functionality of your vehicle’s sound system. Whether you’re an auto repair shop or a garage owner, following these detailed instructions ensures a professional result. Here’s a step-by-step guide to help you through the process.
Safety Tips
- Disconnect the Battery: Always start by disconnecting the negative battery terminal within the vehicle. This ensures your safety by preventing any electrical shorts during installation.
- Use Proper Tools: Make sure you have the necessary tools on hand, including a screwdriver, trim removal tool, and microfiber cloth for cleaning. Using appropriate tools prevents damage to the dashboard and the stereo.
- Wear Safety Gear: Consider wearing safety glasses to protect your eyes from debris, and gloves to keep your hands clean and safe.
Step-by-Step Instructions
- Remove the Existing Stereo:
- Start by unscrewing the screws that secure the existing stereo in place. Use a trim removal tool to gently pry it away from the dashboard. This minimizes the chance of damaging the dashboard.
- Pull the stereo out gently, disconnecting any wiring harness present. Make a note of how the wiring is connected for a smoother reinstallation.
- Clean the Dashboard Opening:
- Use a microfiber cloth to clean the opening where the new sleeve will be mounted. Removing dust and debris ensures that the sleeve adheres properly if it has adhesive backing.
- Align the New Sleeve:
- Take the new sleeve and check for alignment. Place it over the opening to ensure that it fits snugly. The sleeve should fit comfortably without forcing it into position.
- Ensure that any tabs or clips are lined up with the dashboard contours. If needed, refer to the manufacturer’s instructions for specific alignment.
- Install the Sleeve:
- Once aligned, press the sleeve firmly into place starting from the center and working your way outwards to ensure all sides are evenly seated.
- If the sleeve has clips, you should hear a series of clicks as they engage properly. Be careful not to apply excessive force, which could cause damage.
- Reassemble the Stereo:
- Reconnect any wiring harness for the stereo. Slide the stereo back into the sleeve, making sure it locks into position without any gaps.
- Test the Installation:
- Before fully reassembling everything, reconnect the battery and test the stereo’s functionality. Check if all buttons are easily accessible and not obstructed by the sleeve.
- Final Adjustments:
- If you used any adhesive, press down on the sleeve for about 30 seconds to ensure solid bonding. Allow at least an hour for it to cure properly as per the adhesive’s instructions.
Common Pitfalls to Avoid
- Poor Measurement: Always measure the original stereo cutout dimensions before purchasing the sleeve. An ill-fitting sleeve can lead to issues down the road.
- Damage During Removal: Use trim tools to avoid scratching the dashboard. Pulling too hard or using the wrong tool can break clips and damage the dashboard.
- Forgetting to Clean the Area: A clean installation area is crucial for adhesive sleeves. Dust can compromise the hold and lead to the sleeve coming loose over time.
- Neglecting to Test Functionality: Always test the stereo’s functionality before final installation. This helps in ensuring that the sleeve does not obstruct any controls.
Conclusion
By following these step-by-step instructions, you can ensure a correctly mounted car stereo sleeve that not only enhances the vehicle’s aesthetics but also performs well. For additional insights on car maintenance, check our article on car maintenance skills. Properly mounting your stereo sleeve is part of comprehensive auto care, improving your car’s functionality and overall experience.
Comparing Different Sleeve Types for Car Stereos
When it comes to upgrading or replacing a car stereo, choosing the right sleeve type is crucial for ensuring compatibility and performance. Below is a comparison of various sleeve types available in the market, focusing on their material, compatibility, price, and pros and cons.
| Sleeve Type | Material | Compatibility | Price Range | Pros | Cons |
|---|---|---|---|---|---|
| Plastic Sleeve | PVC | Single-DIN, Double-DIN | $10 – $30 | – Lightweight and easy to install |
- Cost-effective | – Less heat resistance
- May warp over time |
| Metal Sleeve | Aluminum | Single-DIN, Double-DIN | $40 – $80 | – Durable and excellent heat resistance - Lightweight but sturdy | – Higher price point
- Can be prone to scratches |
| Rubber Sleeve | Rubber | Single-DIN, Double-DIN | $25 – $50 | – Provides basic shock absorption - Flexible and easy to install | – Limited durability in extreme conditions
- May not fit snugly in some vehicles |
Conclusion
Choosing the right stereo sleeve type involves understanding the specific needs of your car audio environment. Factors such as cost, material properties, and compatibility with your stereo system are paramount in making an informed decision. For those looking for more sophisticated installations, consider essential upgrades for audio performance to achieve the best sound experience while maximizing durability and functionality.
Additionally, ensure you are aware of the maintenance tips for your car stereo system to keep everything running smoothly.
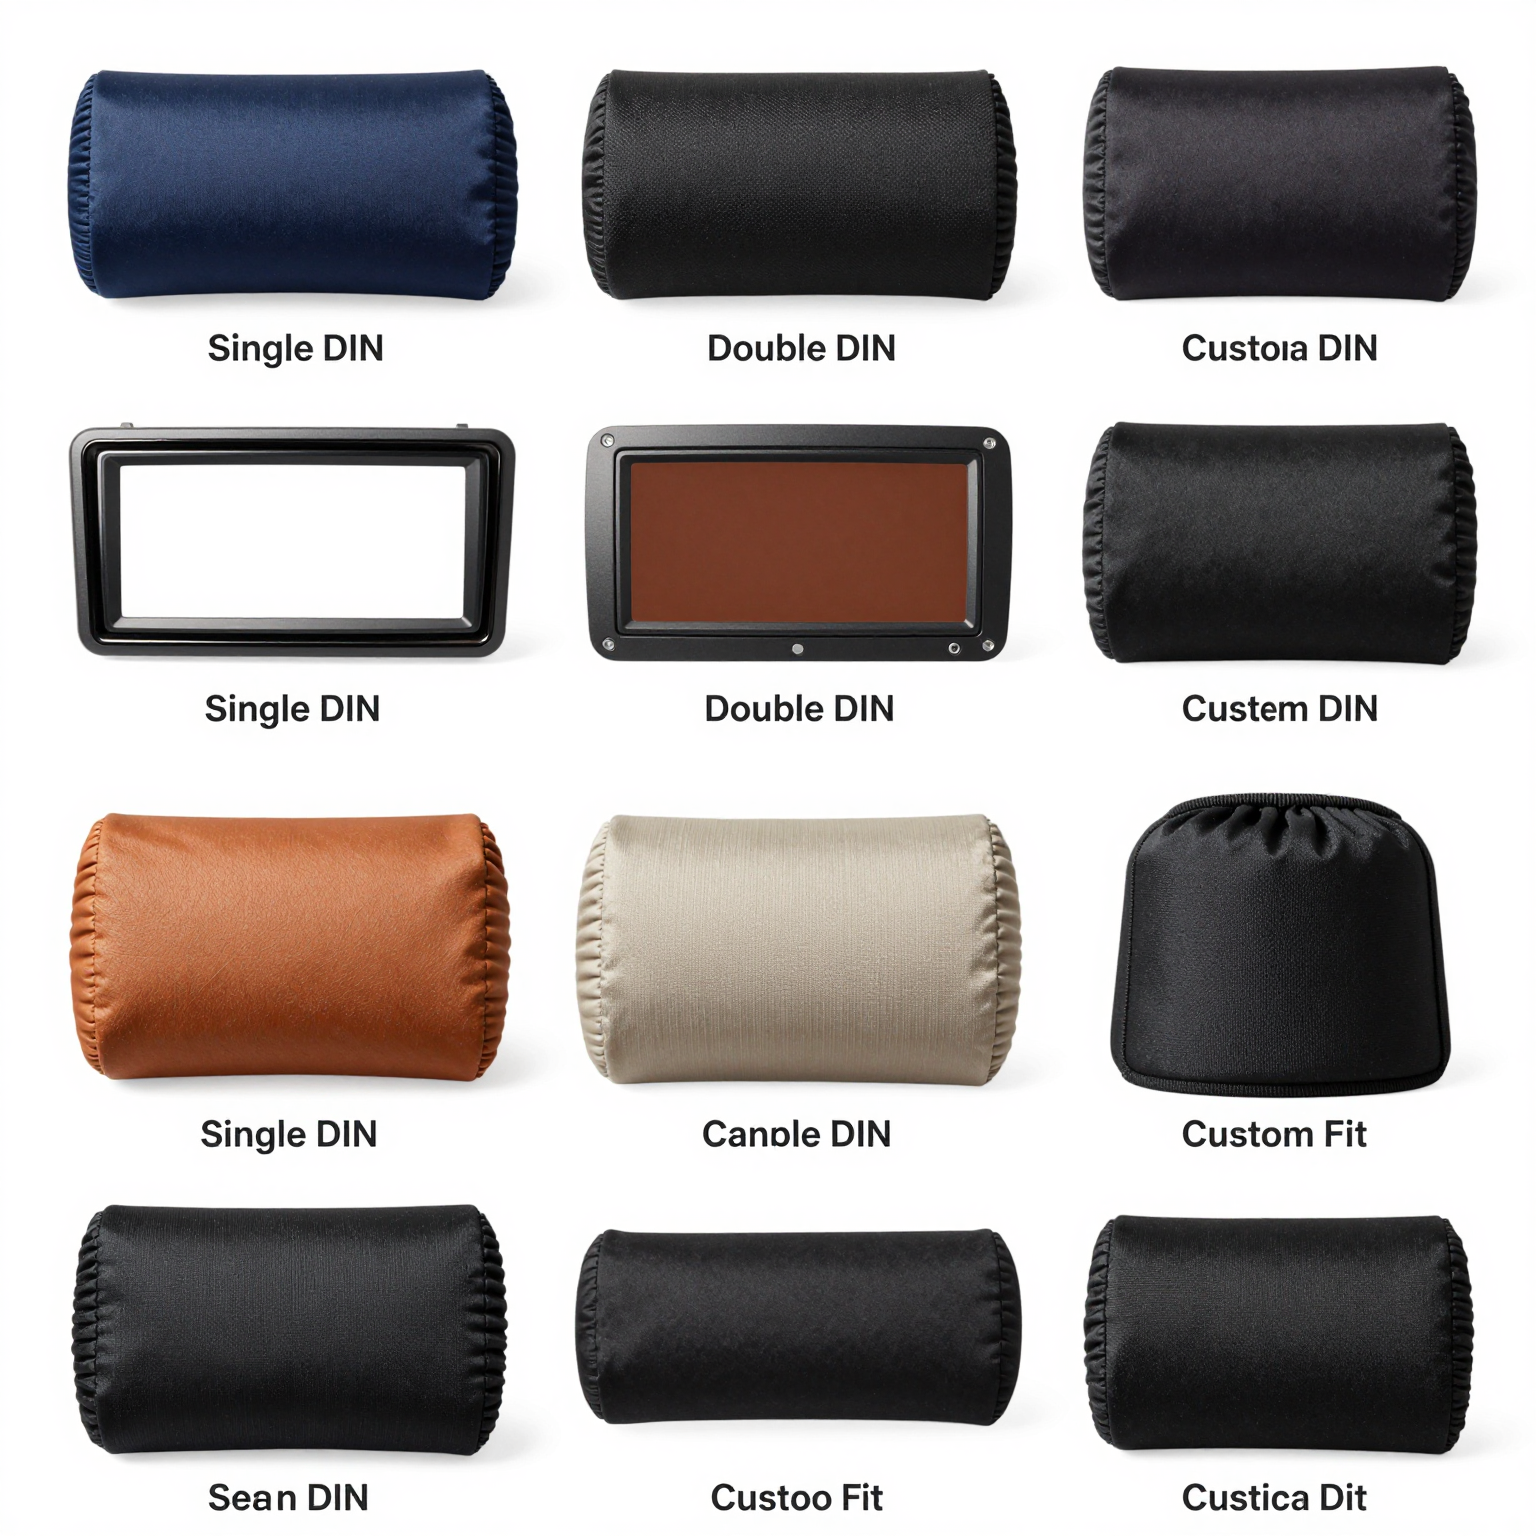
Exploring Car Stereo Sleeve Styles
When it comes to mounting a car stereo, one of the most important components you need is a stereo sleeve. Various sleeve styles cater to different stereo models and installation methods, allowing you to achieve a seamless look in your vehicle. Here’s a look at some of the popular styles:
- Single DIN Sleeves: Ideal for standard-sized head units, single DIN sleeves are compact and easy to install. They often feature a more straightforward design with fewer frills, emphasizing functionality.
- Double DIN Sleeves: For larger head units, double DIN sleeves accommodate more features and screens. These sleeves are perfect for those who want a high-tech upgrade to their audio system.
- Custom-Fit Sleeves: These sleeves are designed to fit specific vehicle models, ensuring a perfect match in terms of design and color. This style often provides more aesthetic appeal and integrates better with the vehicle’s interior.
- Flush Mount Sleeves: These allow the stereo unit to sit flush with the dash, providing a sleek appearance without protruding edges.
- Adjustable Sleeves: Some sleeves offer adjustable features to accommodate different stereo sizes, making them versatile for various installations.
Having the right stereo sleeve not only enhances the audio functionality of your vehicle but also maintains the car’s visual integrity. For those interested in upgrading their stereo systems or exploring different installations, understanding these styles is crucial.
For further details on ensuring your auto maintenance is top-notch, check out our essential car maintenance skills.
Here’s a visual guide showcasing the different designs of car stereo sleeves:
By recognizing the various sleeve styles, auto owners can make informed decisions that enhance both functionality and style within their vehicles.
Troubleshooting Common Car Stereo Installation Issues
Installing a car stereo can be a straightforward process, but it’s not uncommon to encounter some issues along the way. Here are some common problems and their solutions to help you achieve a smooth installation:
1. No Power to Stereo
If your car stereo won’t turn on, first check if the wiring connections are secure. Ensure that the power wire (often yellow) has a continuous connection to the battery’s positive terminal. You can use a multimeter to verify the voltage.
2. Poor or No Audio
This issue may arise if the speaker wires are not correctly connected or if the speakers themselves are damaged. Double-check your wiring, ensuring the correct colors are matched. Test the speakers individually by connecting them directly to the stereo.
3. Bluetooth Connectivity Problems
If Bluetooth won’t connect, ensure your smartphone is compatible and check for any software updates for both the phone and car system. Disconnecting previously paired devices can also help clear any interference.
4. Radio Reception Issues
Weak radio reception may be due to improper antenna installation or a damaged coaxial cable. Verify that the antenna is securely connected and positioned, preferably at the roof or rear window. In areas with poor reception, consider a signal booster for stronger performance.
For more detailed insights into car maintenance and audio systems, check out our blog on car maintenance skills to ensure your vehicle remains in top-notch condition!
The Impact of Sleeve Types on Audio Quality
When it comes to audio systems in vehicles, the sleeve type can significantly alter sound quality, particularly in bass response and clarity. Different shapes of sleeves serve various acoustic properties:
- Conical sleeves typically offer better bass response, rated around 7 out of 10, providing a fuller sound. However, their clarity is slightly lower at 6, potentially muddling finer details in the audio.
- Flat sleeves, on the other hand, shine in clarity, scoring an impressive 8, making them ideal for detailed sound. Their bass response, however, only rates a 5, which might disappoint bass enthusiasts.
- Dome sleeves provide a compromise with a bass response of 6 and clarity of 7, balancing the benefits of the other two types.
The chart below illustrates these distinctions, helping you decide which sleeve type best suits your audio needs.

How to Mount a Sleeve on Car Stereo Video
Installing a car stereo can sometimes feel like a daunting task, especially when trying to ensure that the aesthetic integrity of your vehicle’s interior is maintained. One of the best tools for achieving this is the car stereo installation sleeve. Designed for simplicity and efficiency, these sleeves help protect your dashboard from scratches and ensure that your new stereo fits perfectly into the designated space.
A verified customer shared their experience using a stereo sleeve, stating:
“I recently upgraded my car’s stereo, and the installation sleeve was a game changer! It not only protected my dashboard from scratches but also made the wiring process so much easier. The snug fit and the included tools saved me a lot of time. I highly recommend this product to anyone looking to do a DIY stereo installation!”
This testimonial reflects the sentiments of many users who have found the installation sleeve to be invaluable. Once you have the correct sleeve for your stereo model, the installation becomes much more straightforward. These sleeves come with various features, including cable management slots to keep wiring tidy and organized, which adds a professional touch to your installation.
For those hesitant about starting a stereo upgrade project, remember that preparation is key. Familiarize yourself with your vehicle’s wiring and layout, and watch a few instructional videos beforehand-there are many accessible guides online. You can also check out more tips for enhancing your car maintenance skills on our blog, such as essential maintenance skills for your vehicle to ensure that your car stays in optimal condition.
In summary, utilizing a stereo sleeve not only simplifies the installation process but also protects your vehicle’s interior. Consider giving it a try if you’re planning on upgrading your car stereo!
Conclusion and Call to Action
Mounting the sleeve properly in your car stereo video system is crucial not only for optimal performance but also for ensuring the longevity of your equipment. A well-installed sleeve can prevent issues like disconnections, disruptions in audio quality, and potential damage to your car’s electrical system. Understanding the importance of proper sleeve mounting allows motorcycle and automobile owners, as well as auto repair professionals, to improve system reliability and performance.
At Summit Fairings, we are dedicated to providing high-quality motorcycle and automotive upgrades that cater to your needs. Our products, crafted with precision and durability, are perfect for those looking to enhance both the aesthetics and functionality of their vehicles. Whether you’re an auto parts distributor or a garage owner, investing in Summit Fairings products can lead to significant enhancements in performance and style.
Explore our offerings today and see the difference that top-quality upgrades can make in your ride. Learn more about our products and elevate your automotive experience!
How to Mount a Sleeve on Car Stereo: A Comprehensive Guide
Installing a car stereo can greatly enhance your audio experience while driving. One crucial step in this process is mounting the sleeve correctly. This guide is designed for motorcycle owners, auto owners, and auto repair shops to provide clear instructions backed by the best practices in the industry.
Understanding the Importance of the Sleeve
A mounting sleeve is essential for securing your car stereo in place. This component not only enhances the aesthetic appeal by ensuring a clean fit in the dashboard but also contributes significantly to the sound quality by minimizing vibration. According to a guide on AutoZone’s Blog, using a mounting sleeve can prevent damage to your vehicle’s dashboard and maintain a factory-like appearance.
Tools Required for Installation
- Screwdriver: A Phillips screwdriver is recommended.
- Trim Removal Tools: To detach the dashboard trim without causing damage.
- Wiring Harness: Essential for connecting your stereo to the vehicle’s electrical system.
- Torque Screwdriver: To prevent over-tightening when securing the sleeve.
Installation Steps
- Disconnect the Battery: Always disconnect the negative battery terminal to prevent shocks or short circuits.
- Remove the Existing Stereo: Use trim tools to carefully detach the dashboard pieces and remove the old stereo system.
- Measure the Dashboard Opening: Check the size and compatibility of the mounting sleeve with the dashboard opening.
- Insert the Sleeve: Position the sleeve into the dash until it clicks securely in place.
- Connect the Wiring: Use a wiring harness adapter to connect the stereo wires according to the color-coded chart – ensure that the red wire connects to constant power and black to ground.
- Secure the Stereo: Once connected, place the stereo into the sleeve and secure it with screws. Use a torque screwdriver to tighten as needed.
- Test the System: Reconnect the battery and power up the new stereo system. Test all features, including radio, Bluetooth, and audio input.
Common Mistakes to Avoid
- Ignoring Compatibility: Always verify that the mounting sleeve works with your specific vehicle model. Mismatched sleeves can lead to improper fit and functionality.
- Over-tightening Screws: This can lead to damage to the dash or the stereo itself.
- Neglecting Grounding: Failing to ground the stereo correctly can cause performance issues and poor sound quality over time.
Choosing the Right Sleeve Type
There are various types of mounting sleeves available, each suitable for different vehicle types. Below is a comparative table that highlights the compatibility and performance improvements of different mounting sleeves:
| Mounting Sleeve Type | Compatibility with Vehicle Types | Performance Improvements in Sound Quality | Source |
|---|---|---|---|
| Universal Double DIN | Fits most vehicles with Double DIN stereo slots | Enhances stability, reduces vibration-induced noise | Amazon.com |
| Single DIN (1-DIN) | Older and compact models featuring 1-DIN stereo units | Reduces panel resonance leading to clearer audio reproduction | Amazon.com |
| Replacement Metal Cage | For damaged original cages in Double DIN systems | Prevents micro-vibrations degrading audio clarity | Amazon.com |
| Universal Installation Cage Kit | Works with various brands and models | Minimizes dashboard movement interference | Amazon.com |
Conclusion
Mounting a sleeve on your car stereo correctly is vital for optimal performance and longevity. By following the steps outlined above and utilizing the right tools, you can enhance your car’s audio system significantly. For additional insights on car maintenance, you can learn more about essential skills that every auto owner should have.
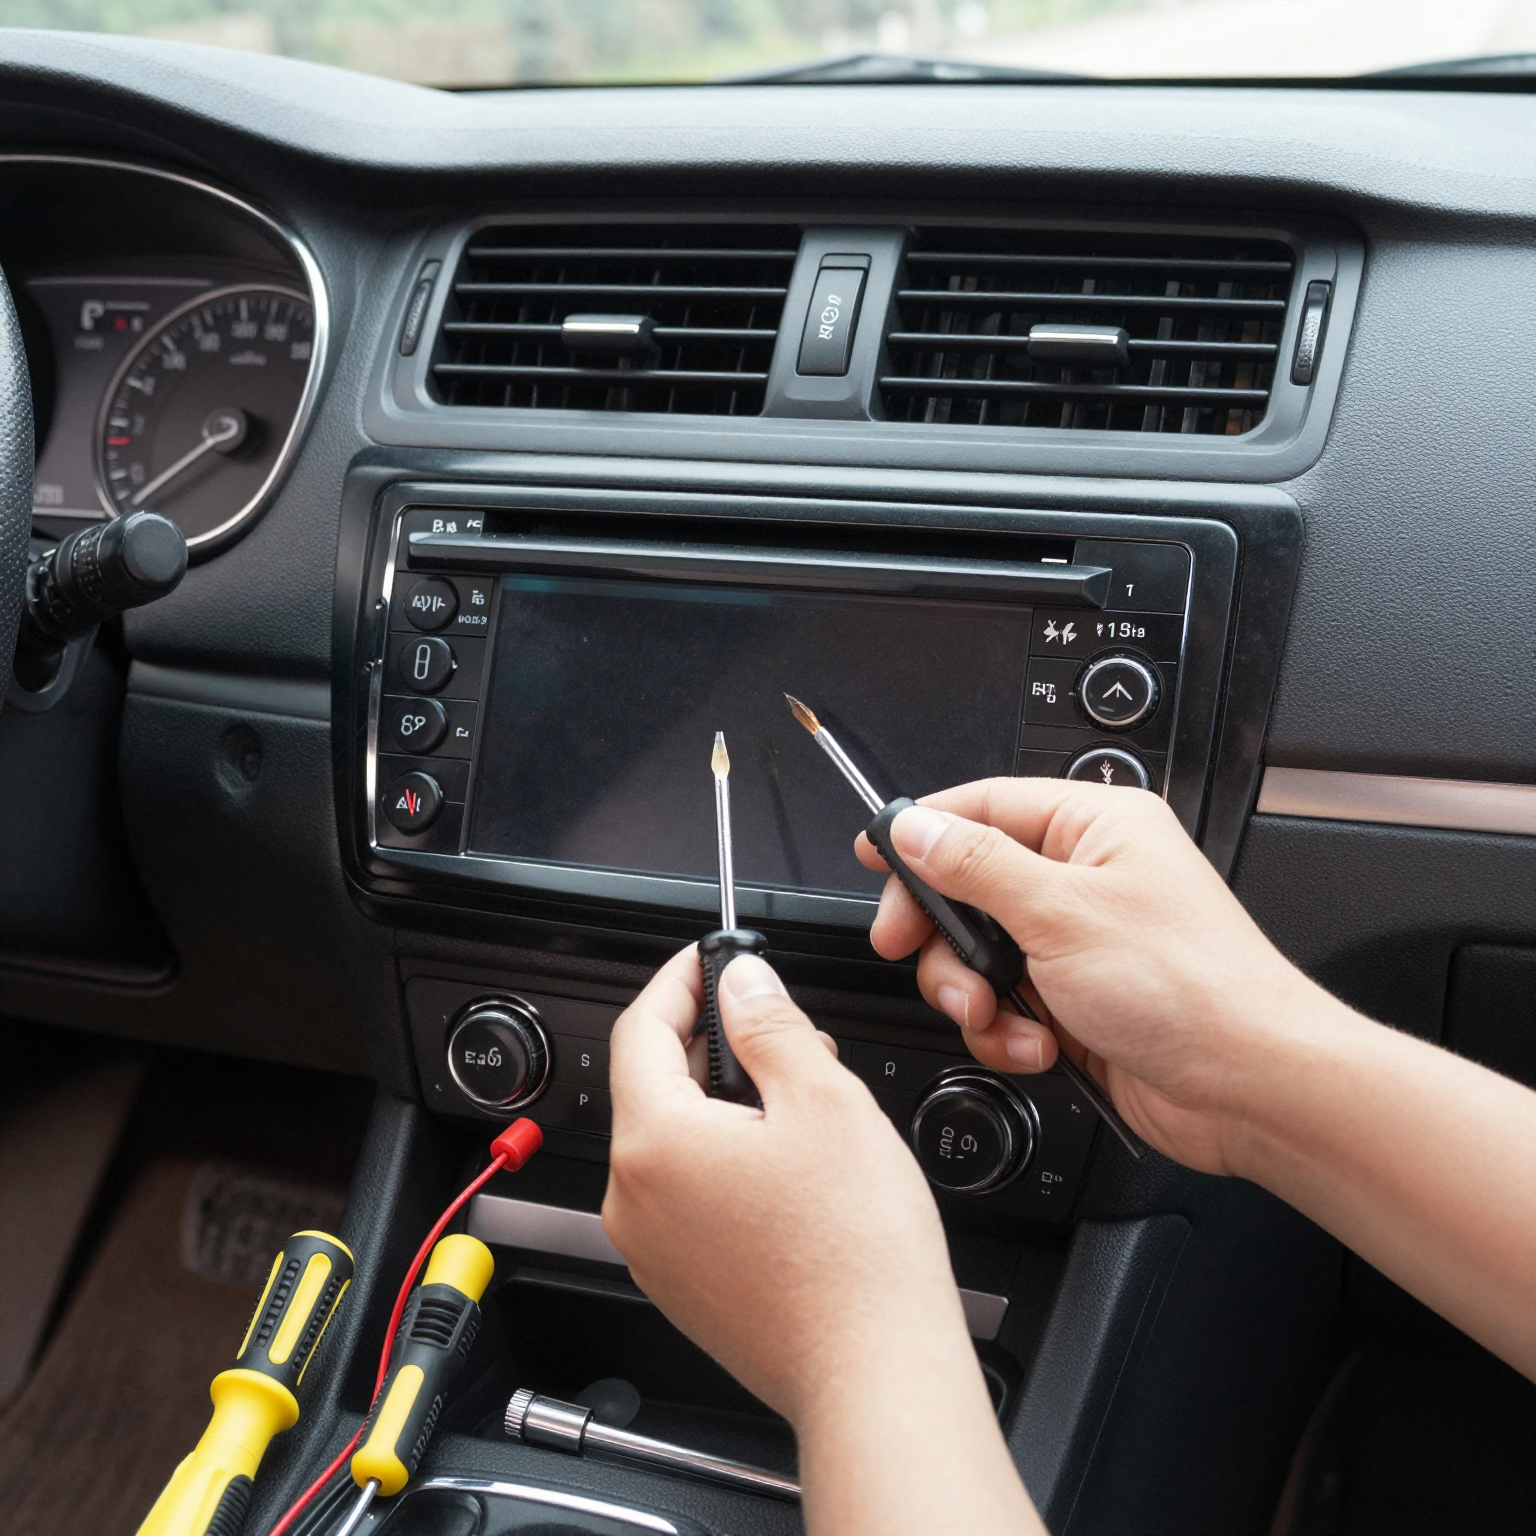
For a visual overview of the installation process, refer to our detailed image. Avoid common pitfalls by adhering to best practices for mounting sleeves and ensure a superb sound experience from your car stereo.
Check our chart below summarizing the compatibility of different mounting sleeves.