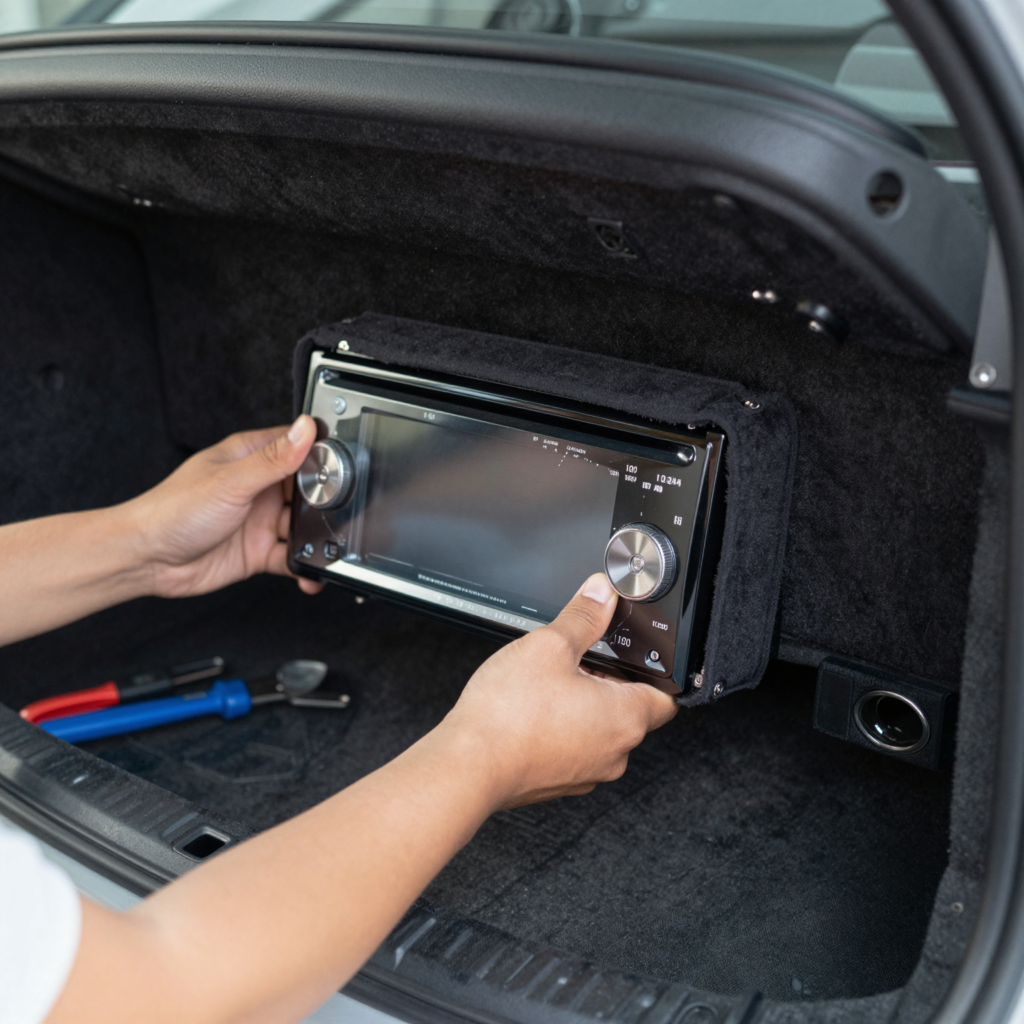
Installing a car stereo can be a daunting task, especially for those who find themselves facing the challenge of doing so without a sleeve. Many auto and motorcycle owners often grapple with fitting their new units securely while ensuring that all wiring is done correctly. The risks of improper installation can lead to poor audio performance, frustration, and even potential damage to the vehicle’s electrical systems. However, mastering the art of installing a car stereo without a sleeve brings a range of benefits. Not only can it save you money on installation fees, but it also empowers you to customize your vehicle’s sound experience to meet your specific needs. With practical knowledge, you can tackle this technical task confidently, ensuring that your next road trip is accompanied by high-quality sound. For those interested in enhancing their vehicle maintenance skills further, explore essential car maintenance skills that can help you maintain your vehicle’s performance effectively.
Tools Needed for Mounting a Car Stereo Without a Sleeve
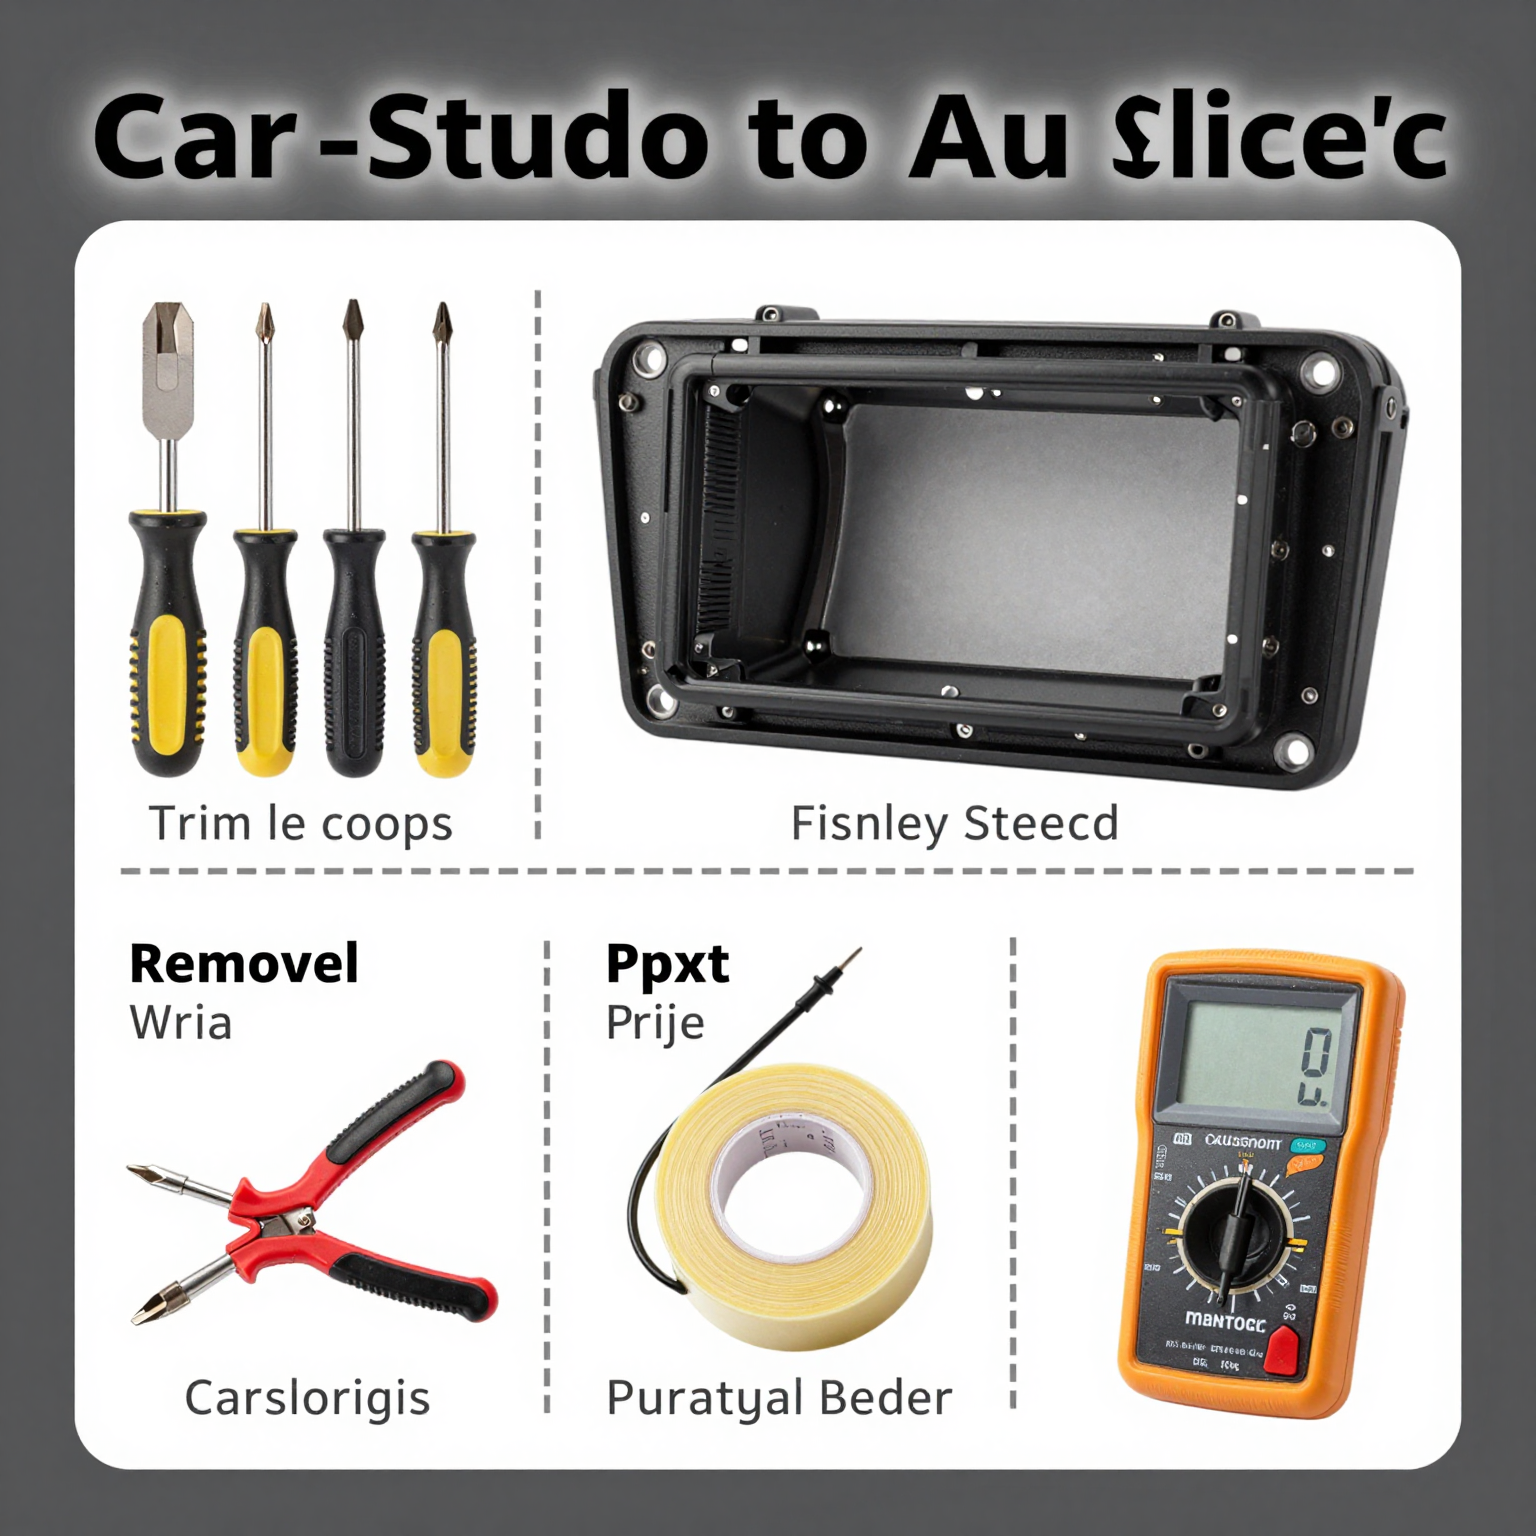
Mounting a car stereo without a sleeve can be a bit challenging, but having the right tools can make the process both efficient and straightforward. Below is a detailed list of essential tools to help you through the installation:
- Screwdriver Set
- Purpose: A multi-piece screwdriver set, including both Phillips and flathead screwdrivers, is essential for removing the dashboard panels and securing the stereo unit. Different vehicles may use different screw types.
- Trim Removal Tool
- Purpose: This plastic tool helps you to carefully pry off the dashboard and trim pieces without scratching or damaging the interior surfaces. It’s designed to fit into tight spaces without causing damage.
- Wire Strippers/Cutters
- Purpose: Essential for preparing the new head unit’s wiring. These tools allow you to safely strip insulation from wires and make clean cuts where necessary. Proper wire preparation is crucial for a reliable connection.
- Electrical Tape or Heat Shrink Tubing
- Purpose: These materials are used to insulate any exposed wires after making connections, preventing short circuits and ensuring safety. Heat shrink tubing provides a more durable, professional finish.
- Digital Multimeter
- Purpose: This tool is used for identifying wire functions and ensuring accurate connections. The multimeter can help you find the right power, ground, and illumination wires, thus avoiding fuse blowouts and potential damage to your stereo system.
- Electrical Connectors (e.g., Crimp-On or Solderless)
- Purpose: These connectors are vital for making secure electrical connections without soldering. They come in various types to suit different wire gauges and help ensure a strong, dependable link between wires.
Additional Tips
Always remember to disconnect your car’s battery before starting any installation work to prevent electrical shocks or damage to the vehicle’s electronics. For more information on manufacturing and repair aspects, visit car maintenance skills.
Step-by-Step Guide to Mounting a Car Stereo Without a Sleeve
Installing a car stereo without a mounting sleeve may seem daunting, but with the right tools and steps, you can achieve a professional-looking installation. This guide will outline the process in clear, accessible language suitable for motorcycle and auto owners, as well as auto repair shops.
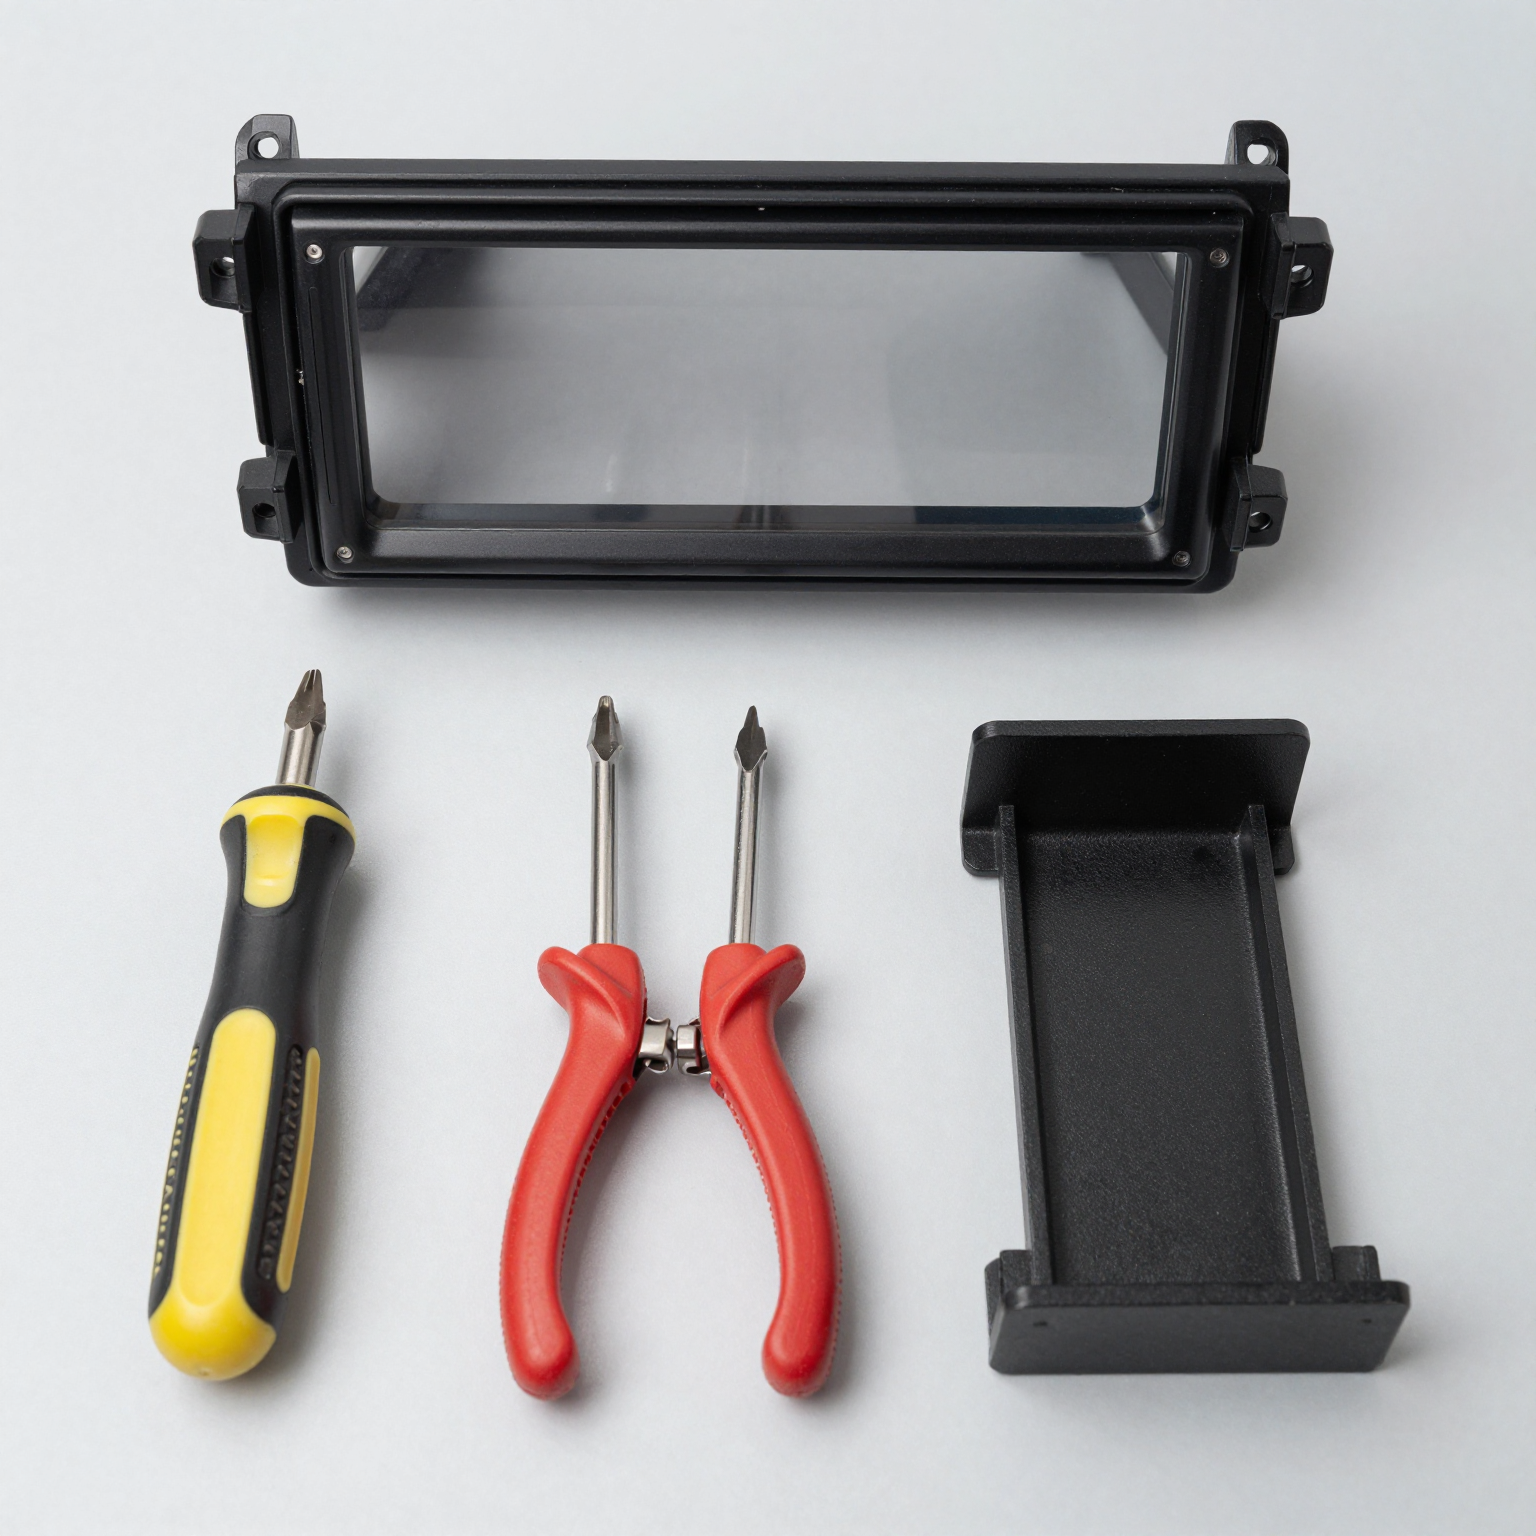
Tools You’ll Need
Before starting your installation, gather the necessary tools:
- Trim Removal Tool (Plastic Pry Bar): To safely remove dashboard panels without damaging them.
- Screwdriver Set (Phillips and Flathead): For removing screws that secure the factory stereo.
- Wire Strippers: To strip the insulation off the ends of wires for connecting.
- Electrical Tape or Heat Shrink Tubing: For insulating and protecting electrical connections.
- Multimeter: To test the continuity and ensure proper voltage in wires.
- Crimp Connectors: If you’re not soldering, these will help connect wires securely.
Step 1: Preparing Your Vehicle
- Turn Off the Ignition: Safety first! Always ensure your ignition is turned off to prevent any electrical issues.
- Disconnect the Battery: Remove the negative terminal of your car battery to avoid any shocks or short circuits during the installation. This is critical for safety.
Step 2: Remove the Factory Stereo
- Access the Dashboard: Use the trim removal tool to carefully pry off the dashboard panels surrounding the stereo. Make sure to avoid any quick or forceful movements to prevent breaking clips or causing minor damage. Reference this professional guide for visual aid if necessary.
- Unscrew the Factory Stereo: Locate and remove any screws securing the stereo. Place the screws in a safe spot where they won’t get lost.
- Disconnect Wiring: Carefully unplug the factory wiring harness from the old stereo. Take a moment to note the wiring colors for reference during the new installation.
Step 3: Connect the New Stereo Wires
- Wire Identification: Match the wires from your new stereo to the corresponding wires on the factory harness. Refer to a wiring diagram if available. Use the multimeter to verify continuity and ensure you’re connecting the right terminals. You can check out this comprehensive guide on wiring for additional support here.
- Splicing Wires: Strip the ends of the wires and connect them using either soldering or crimping techniques. If you’re soldering, make sure the connections are solid and insulated with heat-shrink tubing or electrical tape.
- Connect Ground Wire: It’s crucial to connect the ground wire properly. Find a suitable grounding point near the stereo that connects to the vehicle chassis. This ensures optimal performance and reduces noise interference.
Step 4: Mounting the Stereo Without a Sleeve
- Align the Stereo: Gently slide your new stereo into the dash opening ensuring it’s aligned correctly.
- Secure the Stereo: If your stereo came with mounting brackets, use them to secure the unit in place. Otherwise, ensure it’s snug in the opening, using any provided screws to fasten it directly to the dash frame.
- Test for Stability: Before replacing the dashboard panels, briefly reconnect the battery and turn on the car to check if the stereo powers up and functions correctly. Test the sound, check the display, and ensure all features work as expected.
Step 5: Final Assembly
- Reattach Dashboard Panels: Once everything is confirmed to be functioning well, carefully reattach the dashboard panels by pressing them back into place.
- Reconnect the Battery: Finally, reattach the negative terminal of the battery.
Conclusion
Installing a car stereo without a sleeve can be accomplished with patience and the right tools. By following these steps, you can not only save money on professional installation but also gain valuable skills in car maintenance. If you’re interested in honing your skills further, make sure to check out our guide on car maintenance skills. With practice, your confidence in handling car audio projects will grow, making you more adept at handling other upgrades too!
Troubleshooting Common Problems During Car Stereo Installation
Installing a car stereo can enhance your driving experience dramatically, but it might not be smooth sailing for everyone. Here are some common issues faced during installation, along with practical solutions to help you troubleshoot and resolve them effectively.
1. Car Stereo Resets After Engine Off
- Description: The stereo loses memory settings each time the ignition is turned off.
- Solution: Ensure the Constant (Yellow) Power Wire is correctly connected to a battery source that maintains power even when the engine is off. Check the wiring harness for proper installation and damage. A multimeter can verify continuous voltage at the constant wire.
2. Bluetooth Connection Drops During Driving
- Description: Frequent disconnections disrupt calls or music playback while driving.
- Solution: Check for interference from nearby Wi-Fi routers or cell towers. Ensure that the firmware of the car stereo and your phone is up to date. After clearing existing pairings, re-pair the device and keep the phone in a consistent location to improve signal stability.
3. One Side of Audio Sounds Different
- Description: Only one speaker produces clear sound while the other is weak or silent.
- Solution: Inspect the speaker wires for loose connections or damage. Testing each speaker individually with a known functioning audio source may help pinpoint the faulty component. Ensure that impedances between speakers and amplifiers match correctly.
4. No Sound Output from Stereo
- Description: The stereo powers on but produces no audio output.
- Solution: Confirm amplifier and speaker connections. Check related fuses and test different audio sources. If using an aftermarket head unit, ensure the RCA outputs are correctly connected to the amplifier.
5. Poor Bluetooth Pairing Success Rate
- Description: Difficulty pairing the smartphone with the car stereo.
- Solution: Reset Bluetooth on both devices and clear all previous connections. Disable Bluetooth on the phone during setup to avoid conflicts. Make sure both devices support compatible Bluetooth profiles such as A2DP and HFP.
6. Incompatible with Apple CarPlay / Android Auto
- Description: The infotainment system does not recognize CarPlay or Android Auto.
- Solution: Verify that your stereo supports these features and use a certified USB cable in the correct port. Updating the stereo’s software may also resolve compatibility issues.
Visual Representation of Common Problems
Here is a chart summarizing the common problems encountered during car stereo installation:
| Common Problem | Description | Recommended Solution |
|---|---|---|
| Car Stereo Resets After Engine Off | The stereo loses memory settings each time the ignition is turned off. | Ensure the Constant Power Wire is connected to a battery source and verify with a multimeter for continuous voltage. |
| Bluetooth Connection Drops During Driving | Frequent disconnections disrupt calls or music for drivers. | Check for signal interference, update firmware, and re-pair your device. |
| One Side of Audio Sounds Different | Only one speaker sounds clear; the other is weak or silent. | Inspect speaker wires and test speakers with a known audio source. |
| No Sound Output from Stereo | The stereo powers up, but no audio is produced. | Confirm connections to the amplifier and check related fuses; try different audio sources. |
| Poor Bluetooth Pairing Success Rate | Difficulty pairing the smartphone with the stereo. | Reset Bluetooth on both devices and clear old pairings. Ensure compatibility with Bluetooth profiles. |
| Incompatible with Apple CarPlay/Android Auto | Infotainment system fails to recognize CarPlay/Android Auto. | Check for compatibility, use a certified USB cable, and update the stereo’s software. |
For more detailed guidance on various installation techniques, feel free to check out our articles on essential car maintenance skills and troubleshooting techniques.
| Mount Type | Pros | Cons | Installation Difficulty | Cost Estimate |
|---|---|---|---|---|
| Dash-Mounted | – Clean look – Minimal installation effort |
– Requires exact model matching | Low | $15 – $80 |
| Universal Mounting Brackets | – Highly versatile – Works with most head units |
– May need drilling – Can be less secure |
Medium | $20 – $250 |
| Flush-Fit Panels | – Factory-like finish – Ideal for custom installations |
– High installation difficulty – Can be costly |
High | $100 – $300+ |
Summary of Each Mount Type
- Dash-Mounted:
- Pros: These mounts offer a clean look and are generally easy to install.
- Cons: However, they require precise model matching, which can limit compatibility.
- Universal Mounting Brackets:
- Pros: These brackets are versatile and can accommodate most head units.
- Cons: They may include drilling during installation and can sometimes be less secure than other options.
- Flush-Fit Panels:
- Pros: Provide a professional, factory-like finish, great for a customized appearance.
- Cons: They require advanced installation skills and tools, leading to a higher cost.
For more on installation techniques, consider checking out how to install a car stereo without a sleeve or view a comprehensive guide on car stereo mounts.
Importance of Proper Stereo Installation
Proper installation of a car stereo is crucial for achieving optimal sound quality and ensuring the longevity of the audio system. As John Miller, a certified car audio specialist with over 15 years of experience, emphasizes:
“Improper installation is the leading cause of premature system failure and poor sound quality. Even the most advanced components will underperform if wiring is incorrect, grounding is poor, or speakers are not properly sealed and aligned. A professional install ensures optimal signal integrity, prevents electrical interference, and protects your investment by avoiding heat buildup and vibration damage.”
- Source: CarAudio.com
For additional insights on improving car maintenance and installations, check out this article on essential car maintenance skills.
Mounting a Car Stereo Without Sleeve: User Reviews and Insights
Mounting a car stereo without the traditional sleeve is becoming increasingly popular among motorcycle and auto owners looking for versatile and effective solutions. This guide summarizes various user reviews and experiences with different mounting options that do not require sleeves, pointing to their pros and cons.
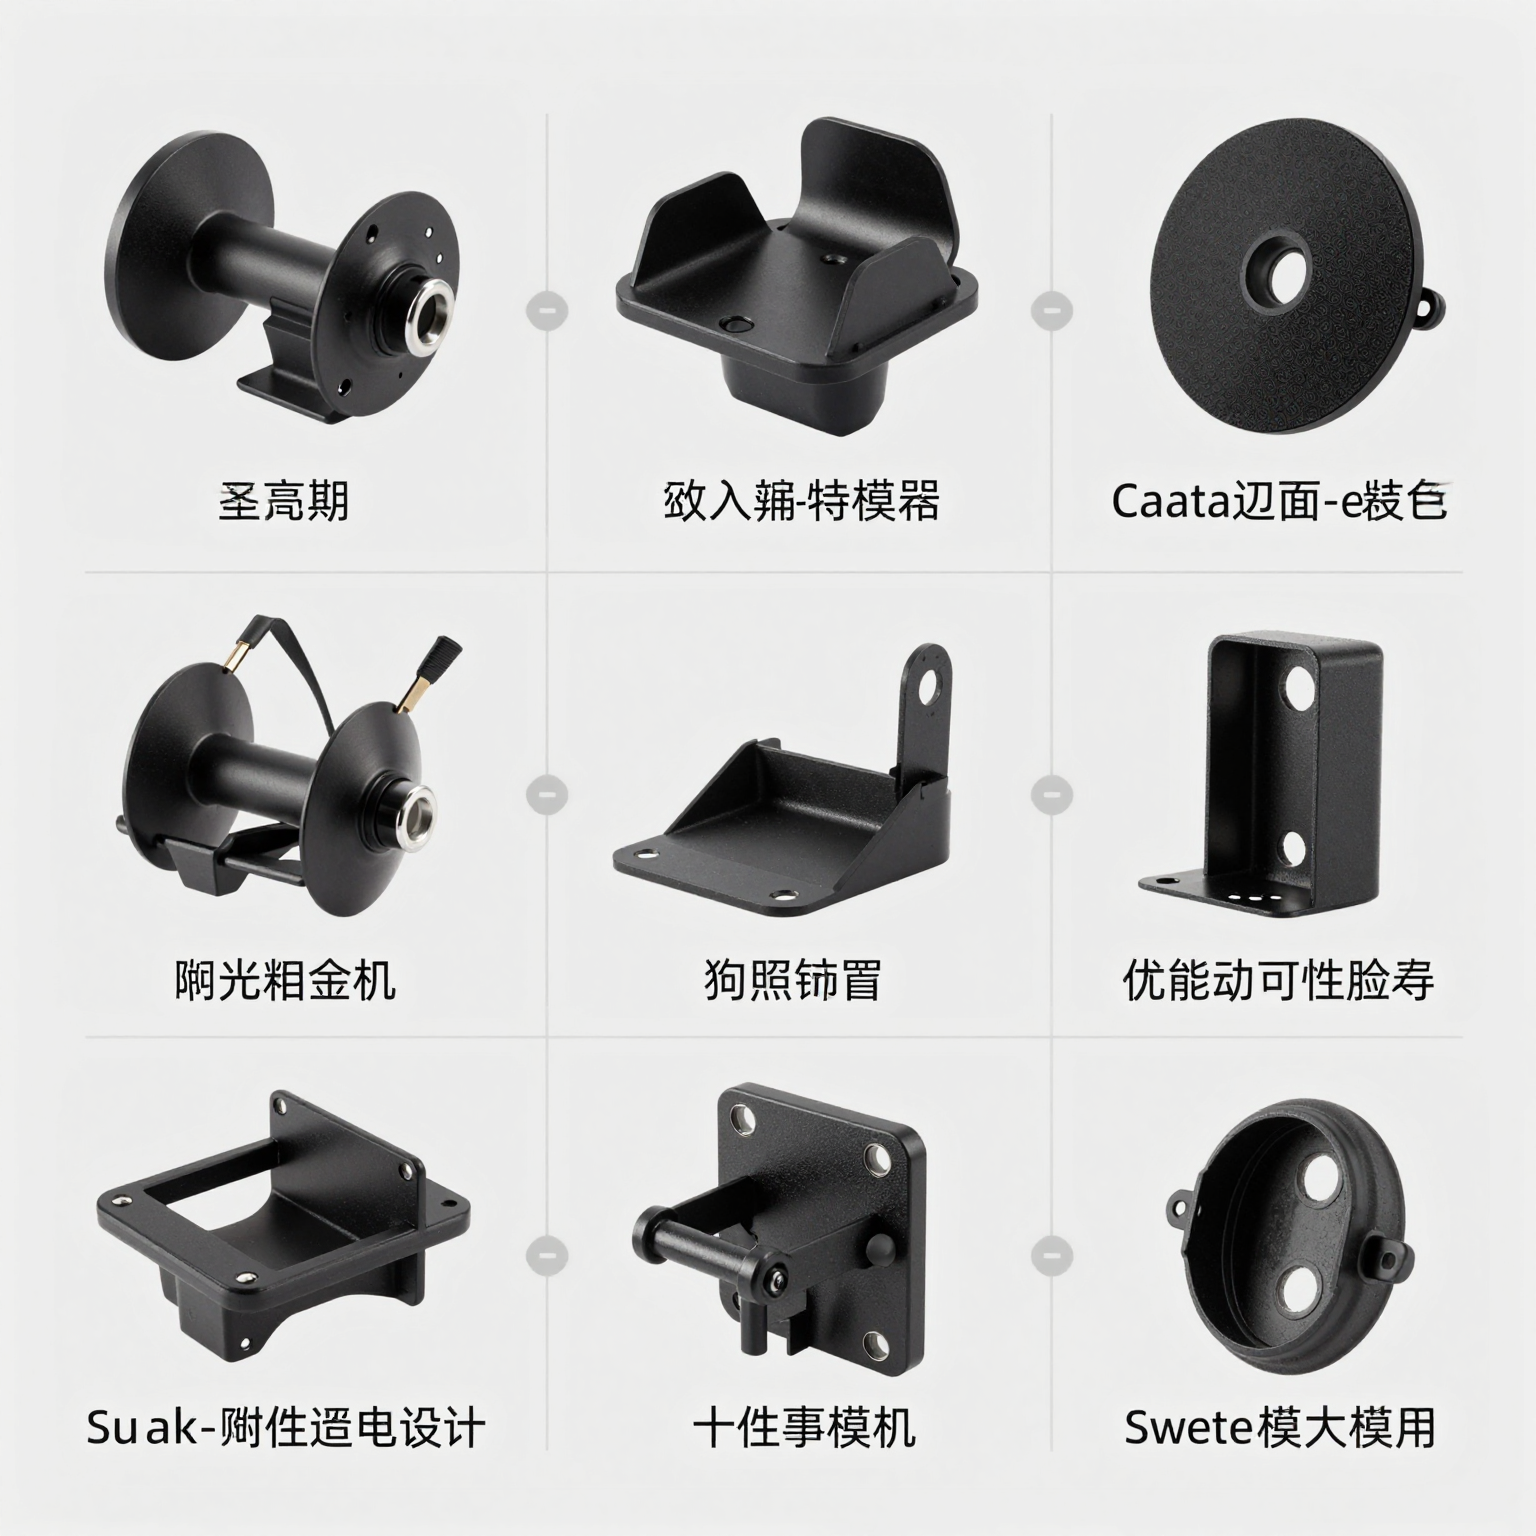
Popular Sleeve-Free Mounting Options
- Clamp-on Mounts
- User Satisfaction Rating: 4.3/5
- Key Pros:
- Secure fit on various surfaces
- Easy to install and remove
- Widely compatible with different devices
- Key Cons:
- Can slip under heavy vibration or bumpy roads
- May damage the finish if applied too tightly
- Source: Motorcycle & Auto Review Hub
- Adhesive-Backed Brackets
- User Satisfaction Rating: 3.8/5
- Key Pros:
- Clean, invisible installation
- No drilling required
- Good for temporary use
- Key Cons:
- Performance degrades over time due to heat or humidity
- May leave residue or damage surface upon removal
- Source: Car Accessories Forum
- Mechanical Clamps
- User Satisfaction Rating: 4.6/5
- Key Pros:
- High stability
- Excellent grip even in rough terrain
- Durable construction
- Key Cons:
- Requires precise alignment
- Can be difficult to install on some vehicles
- Limited compatibility with certain dashboard designs
- Source: AutoTech Insights
- Screw-in Bracket Mounts
- User Satisfaction Rating: 4.7/5
- Key Pros:
- Maximum stability and security
- Permanent, reliable installation
- Ideal for long-term use
- Key Cons:
- Permanent modification
- Requires tools and drilling
- Not suitable for rentals or shared vehicles
- Source: Vehicle Gear Review Network
Summary of Insights
User reviews indicate a strong preference for clamp-on mounts among motorcycle owners due to their performance on bumpy roads and ease of installation. Mechanical clamps received high marks for stability, but installation challenges may deter some users. Adhesive-backed options emerged as a convenient choice for quick installations, although their durability was frequently questioned. Screw-in mounts, while offering robust security, are more suited for permanent setups, making them less ideal for casual users who may wish to retain vehicle resale flexibility.
Visual Representation

In conclusion, selecting the right mounting option for your car stereo requires understanding the pros and cons of each method, particularly in the context of your specific vehicle type and usage needs. Whether you ride a motorcycle or drive a car, weighing user experiences can significantly enhance your mounting experience.
Conclusion and Call to Action
Mounting a car stereo without a sleeve may seem unconventional, but it can offer significant advantages when done correctly. For motorcycle and auto owners, this method may optimize dashboard space and provide easier access to sound control functions without compromising the aesthetic appeal of the vehicle’s interior. It’s essential to ensure that the stereo is securely mounted using alternative methods like custom brackets or rubber gaskets to prevent rattling and maintain electrical integrity. For further guidance, you can check the [CarStereo installation guide](https://www.cars stereo.com/install-car-stereo-without-wiring-harness) which elaborates on proper techniques and tips to avoid common pitfalls.
While contemplating upgrades, consider how enhancing your motorcycle’s cockpit with quality accessories can dramatically improve your riding experience. Choosing components like those offered by Summit Fairings not only boosts functionality but also adds to the overall aesthetic and comfort of your ride. Their fairing kits are designed with durability and performance in mind, ensuring protection from elements and rider fatigue. Read more about why many riders highly recommend Summit Fairings by visiting Motorcycle Customization Today.
Get started today, and elevate both your vehicle’s audio and your riding experience with the best accessories available!
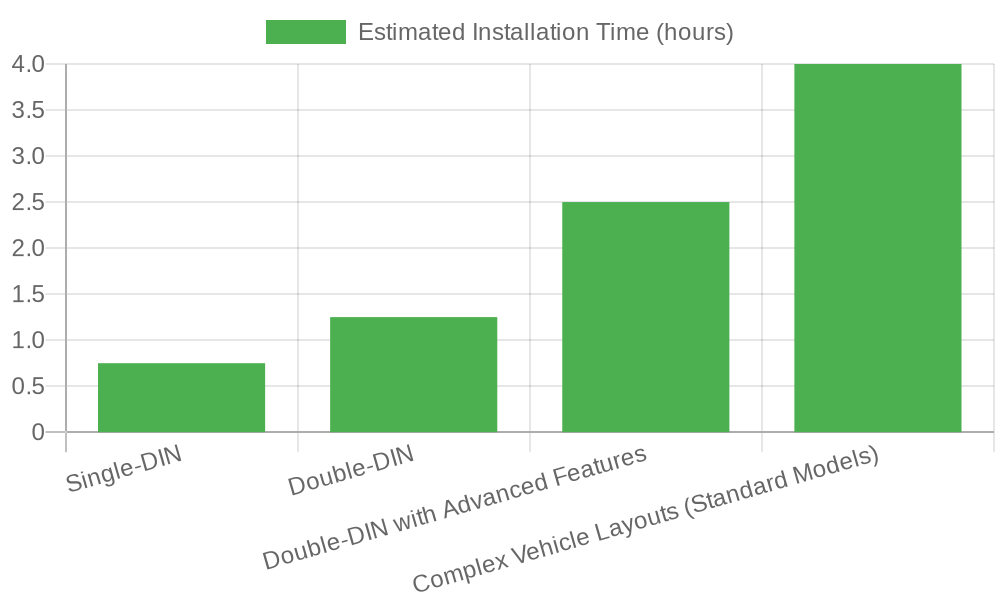 \n\n## Installation Time for Different Car Stereo Types\nThis chart depicts estimated installation times for various types of car stereos without sleeves categorized by their complexity. Below are the typical times based on differing types of stereos:\n\n| Car Stereo Type | Estimated Installation Time | Notes |\n|—————–|——————————|——-|\n| Single-DIN | 30-45 minutes | Standard installation for basic audio systems; minimal dashboard modification required. |\n| Double-DIN | 1-1.5 hours | Larger form factor allows for bigger screens and enhanced functionality; may require custom mounting or panel modifications. |\n| Double-DIN with Advanced Features (e.g., Apple CarPlay, Android Auto, GPS, touchscreen) | 2-3 hours | Includes integration of navigation, smartphone connectivity, and multimedia apps; often requires wiring harnesses, antenna setup, and calibration. |\n| Complex Vehicle Layouts (Standard Models) | Up to 4 hours additional | Vehicles with intricate dashboards, integrated steering controls, or factory-installed systems may significantly extend installation time even for standard models. |\n\nSource: Industry installation benchmarks from automotive electronics service providers (2026 data).